![[Logo]](/img/hat.gif)
All-sky Camera
Project Goals::- Cloud detection
- Automated very wide-field astrophotography
- Time lapse imagery
- Raspberry Pi 3 Model B+
- Raspberry Pi High Quality Camera
- Arecont Vision MPL1.55 CS-mount 1.55mm Fixed Fisheye Lens
- 64 GB MicroSD card
- Allsky Optics Allsky Camera casing - Full Build, with Raspberry Pi HQ Camera Cradle
Status: Prototype successful, build in progress
February 4, 2022
It is possible with the Raspberry Pi 3 Model B+ (NOTE: not the original 3B) to disable all four LEDs on the system: system power, system activity, Ethernet link, Ethernet activity. You can do this by adding the following lines to the [all] section of /boot/config.txt:
dtparam=eth_led0=14
dtparam=eth_led1=14
dtparam=pwr_led_trigger=none
dtparam=pwr_led_activelow=off
dtparam=act_led_trigger=none
dtparam=act_led_activelow=off
There are different values for eth_led0 and eth_led1 on Raspberry Pi 4 systems: consult the output of the dtparam command for further details. The system power and system activity LEDs can be disabled on original Raspbery Pi 3 Model B (and earlier?), but not the Ethernet LEDs. In theory you should be able to disable the LEDs on the fly with the dtparam command, but in practice I found I had to add the configuration to /boot/config.txt and reboot before I saw the change.
February 3, 2022
I have installed Raspberry Pi OS Bullseye (January 28, 2022 release, "Raspberry Pi OS with desktop") onto the MicroSD card. I don't need the desktop software and will be disabling the graphical interface, among other services, but I think it's an easier starting point than building up from Raspberry Pi OS Lite. Rumor has it that with the RPi 3B+, I can turn not only the power and system activity LEDs off, but also the Ethernet link and activity LEDs.
February 2, 2022
I have received the parts for this build from Allsky Optics. The case came pre-wired, with a 5m power cable coming out of the bottom that terminates in a 12v cigarette lighter plug. On the inside, the power cable is spliced in two directions. One is connected to the dew heater under the 3.5" dome. The other gets stepped down to 5V and then terminates in a Micro USB plug to power the Raspberry Pi. The RPi HQ camera is already in its cradle, though I will need to remove it to take the protective foam off and put the lens in position.
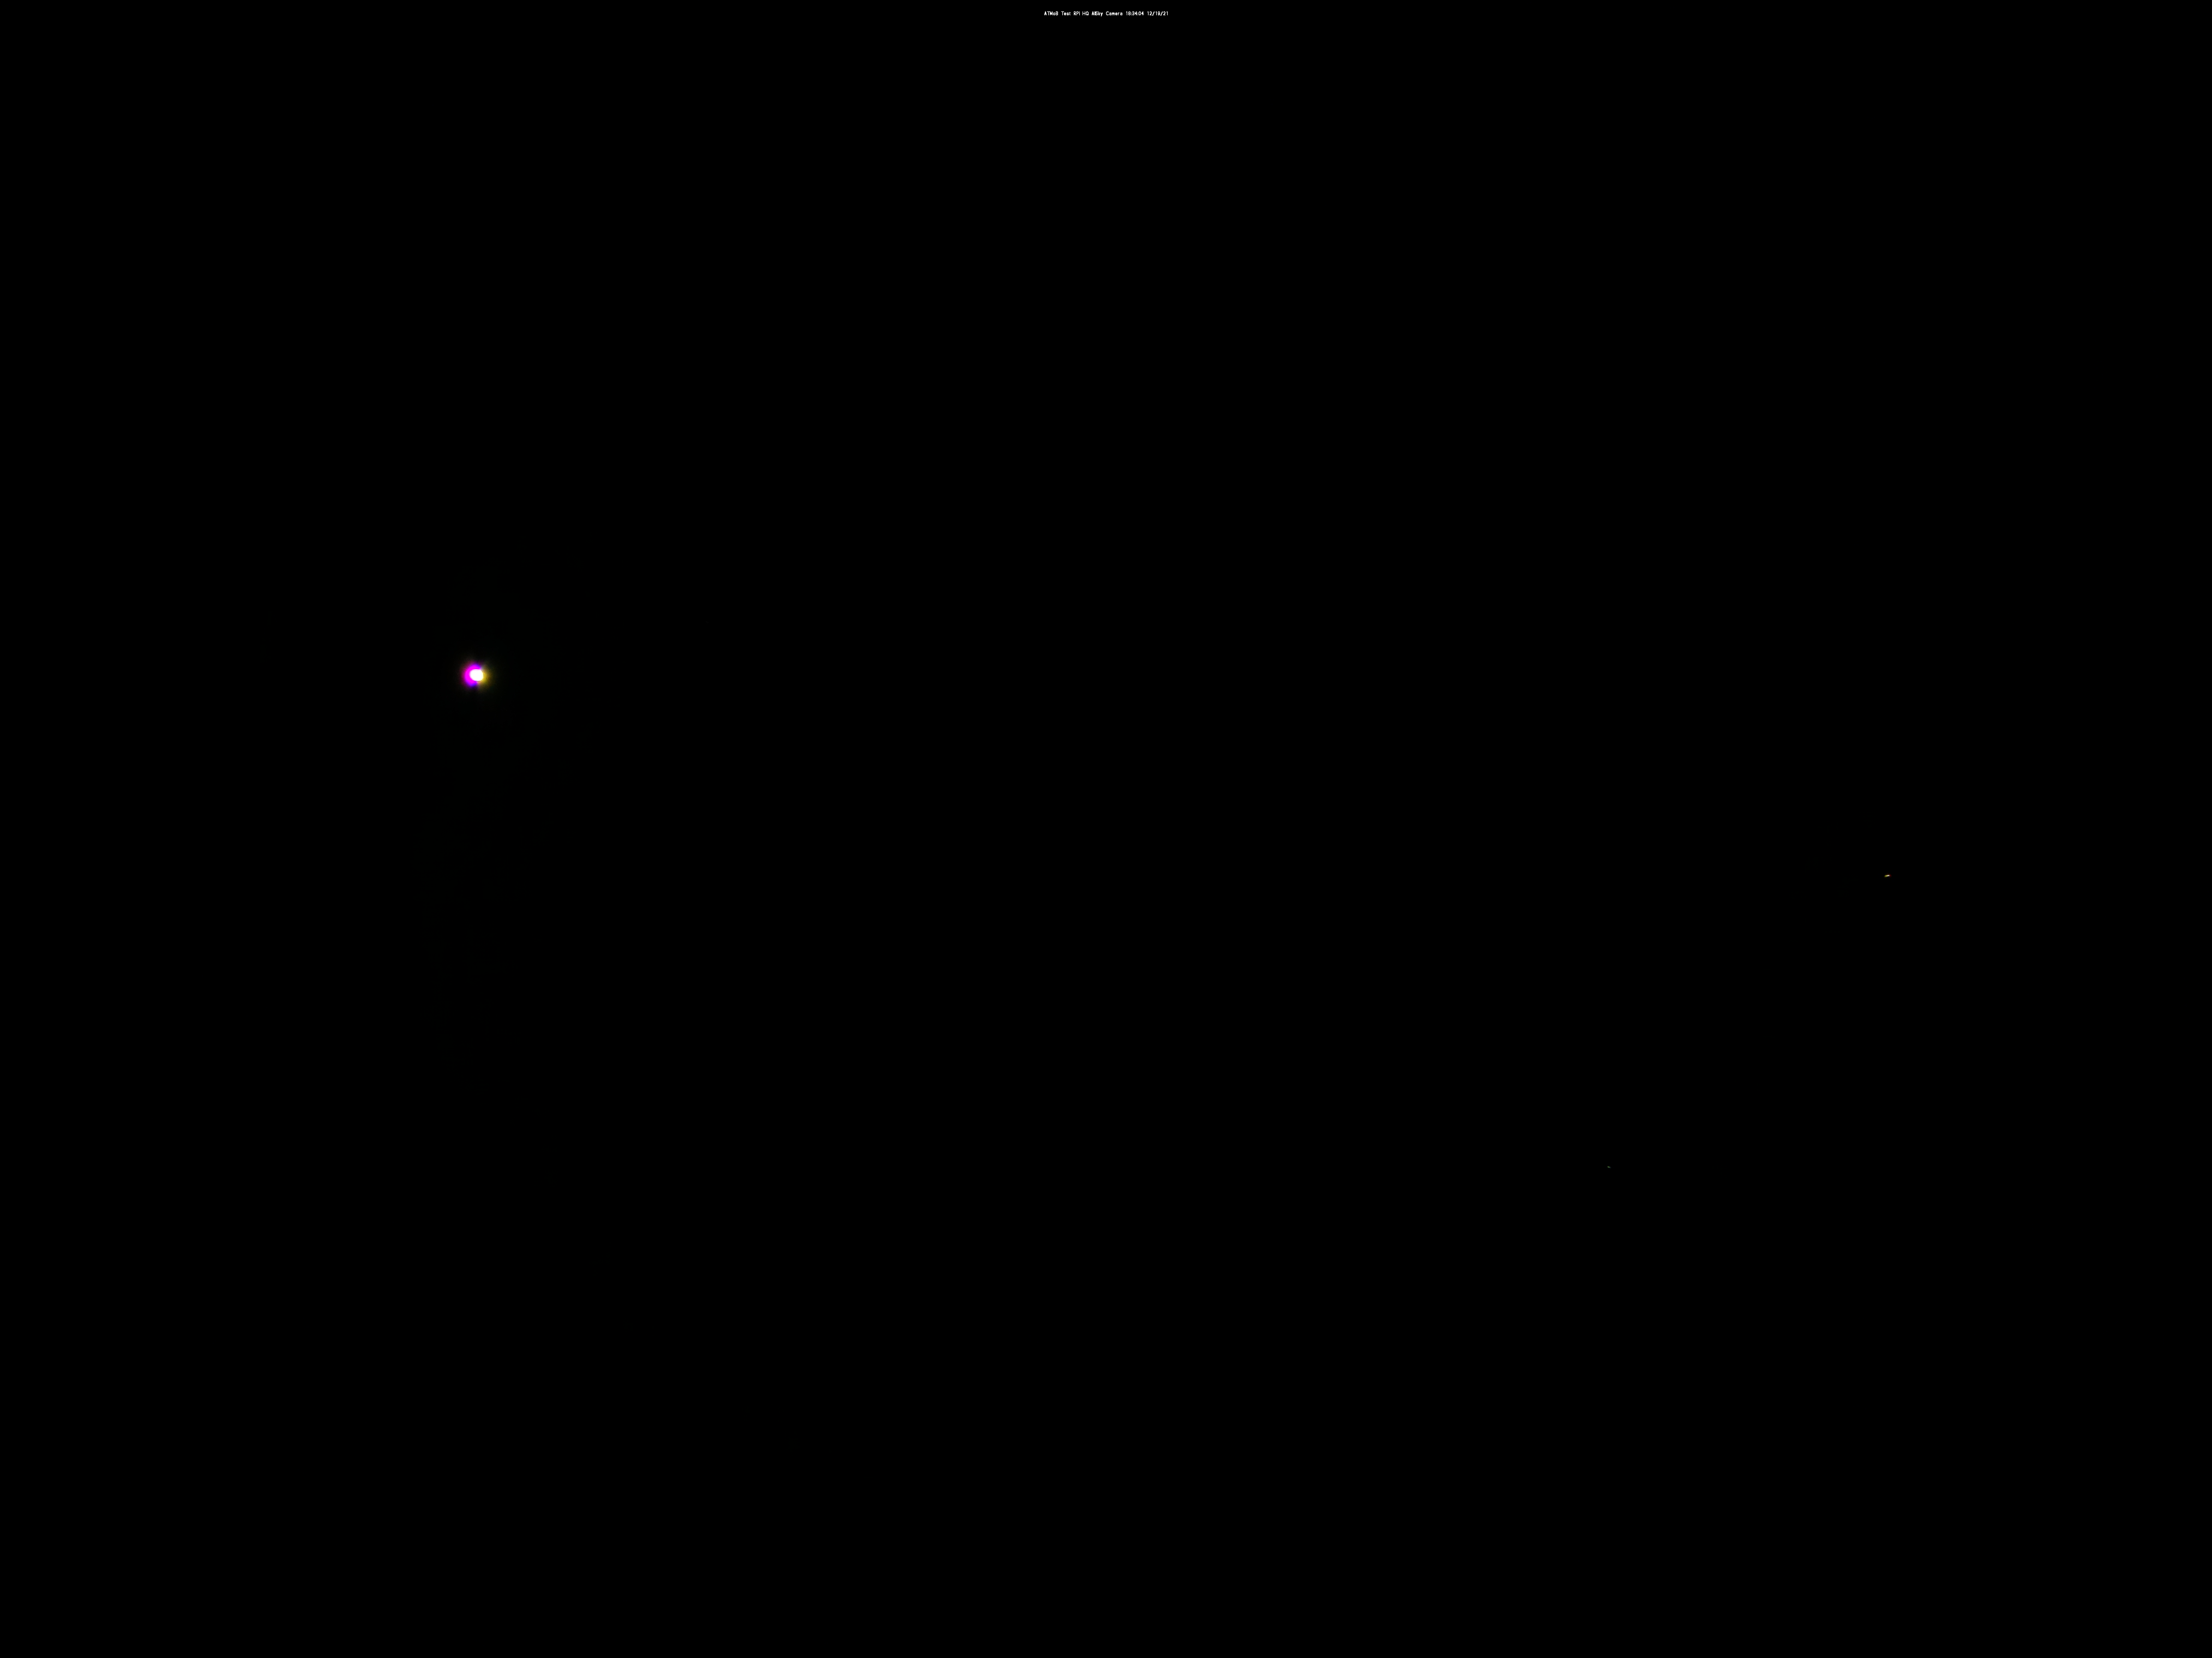
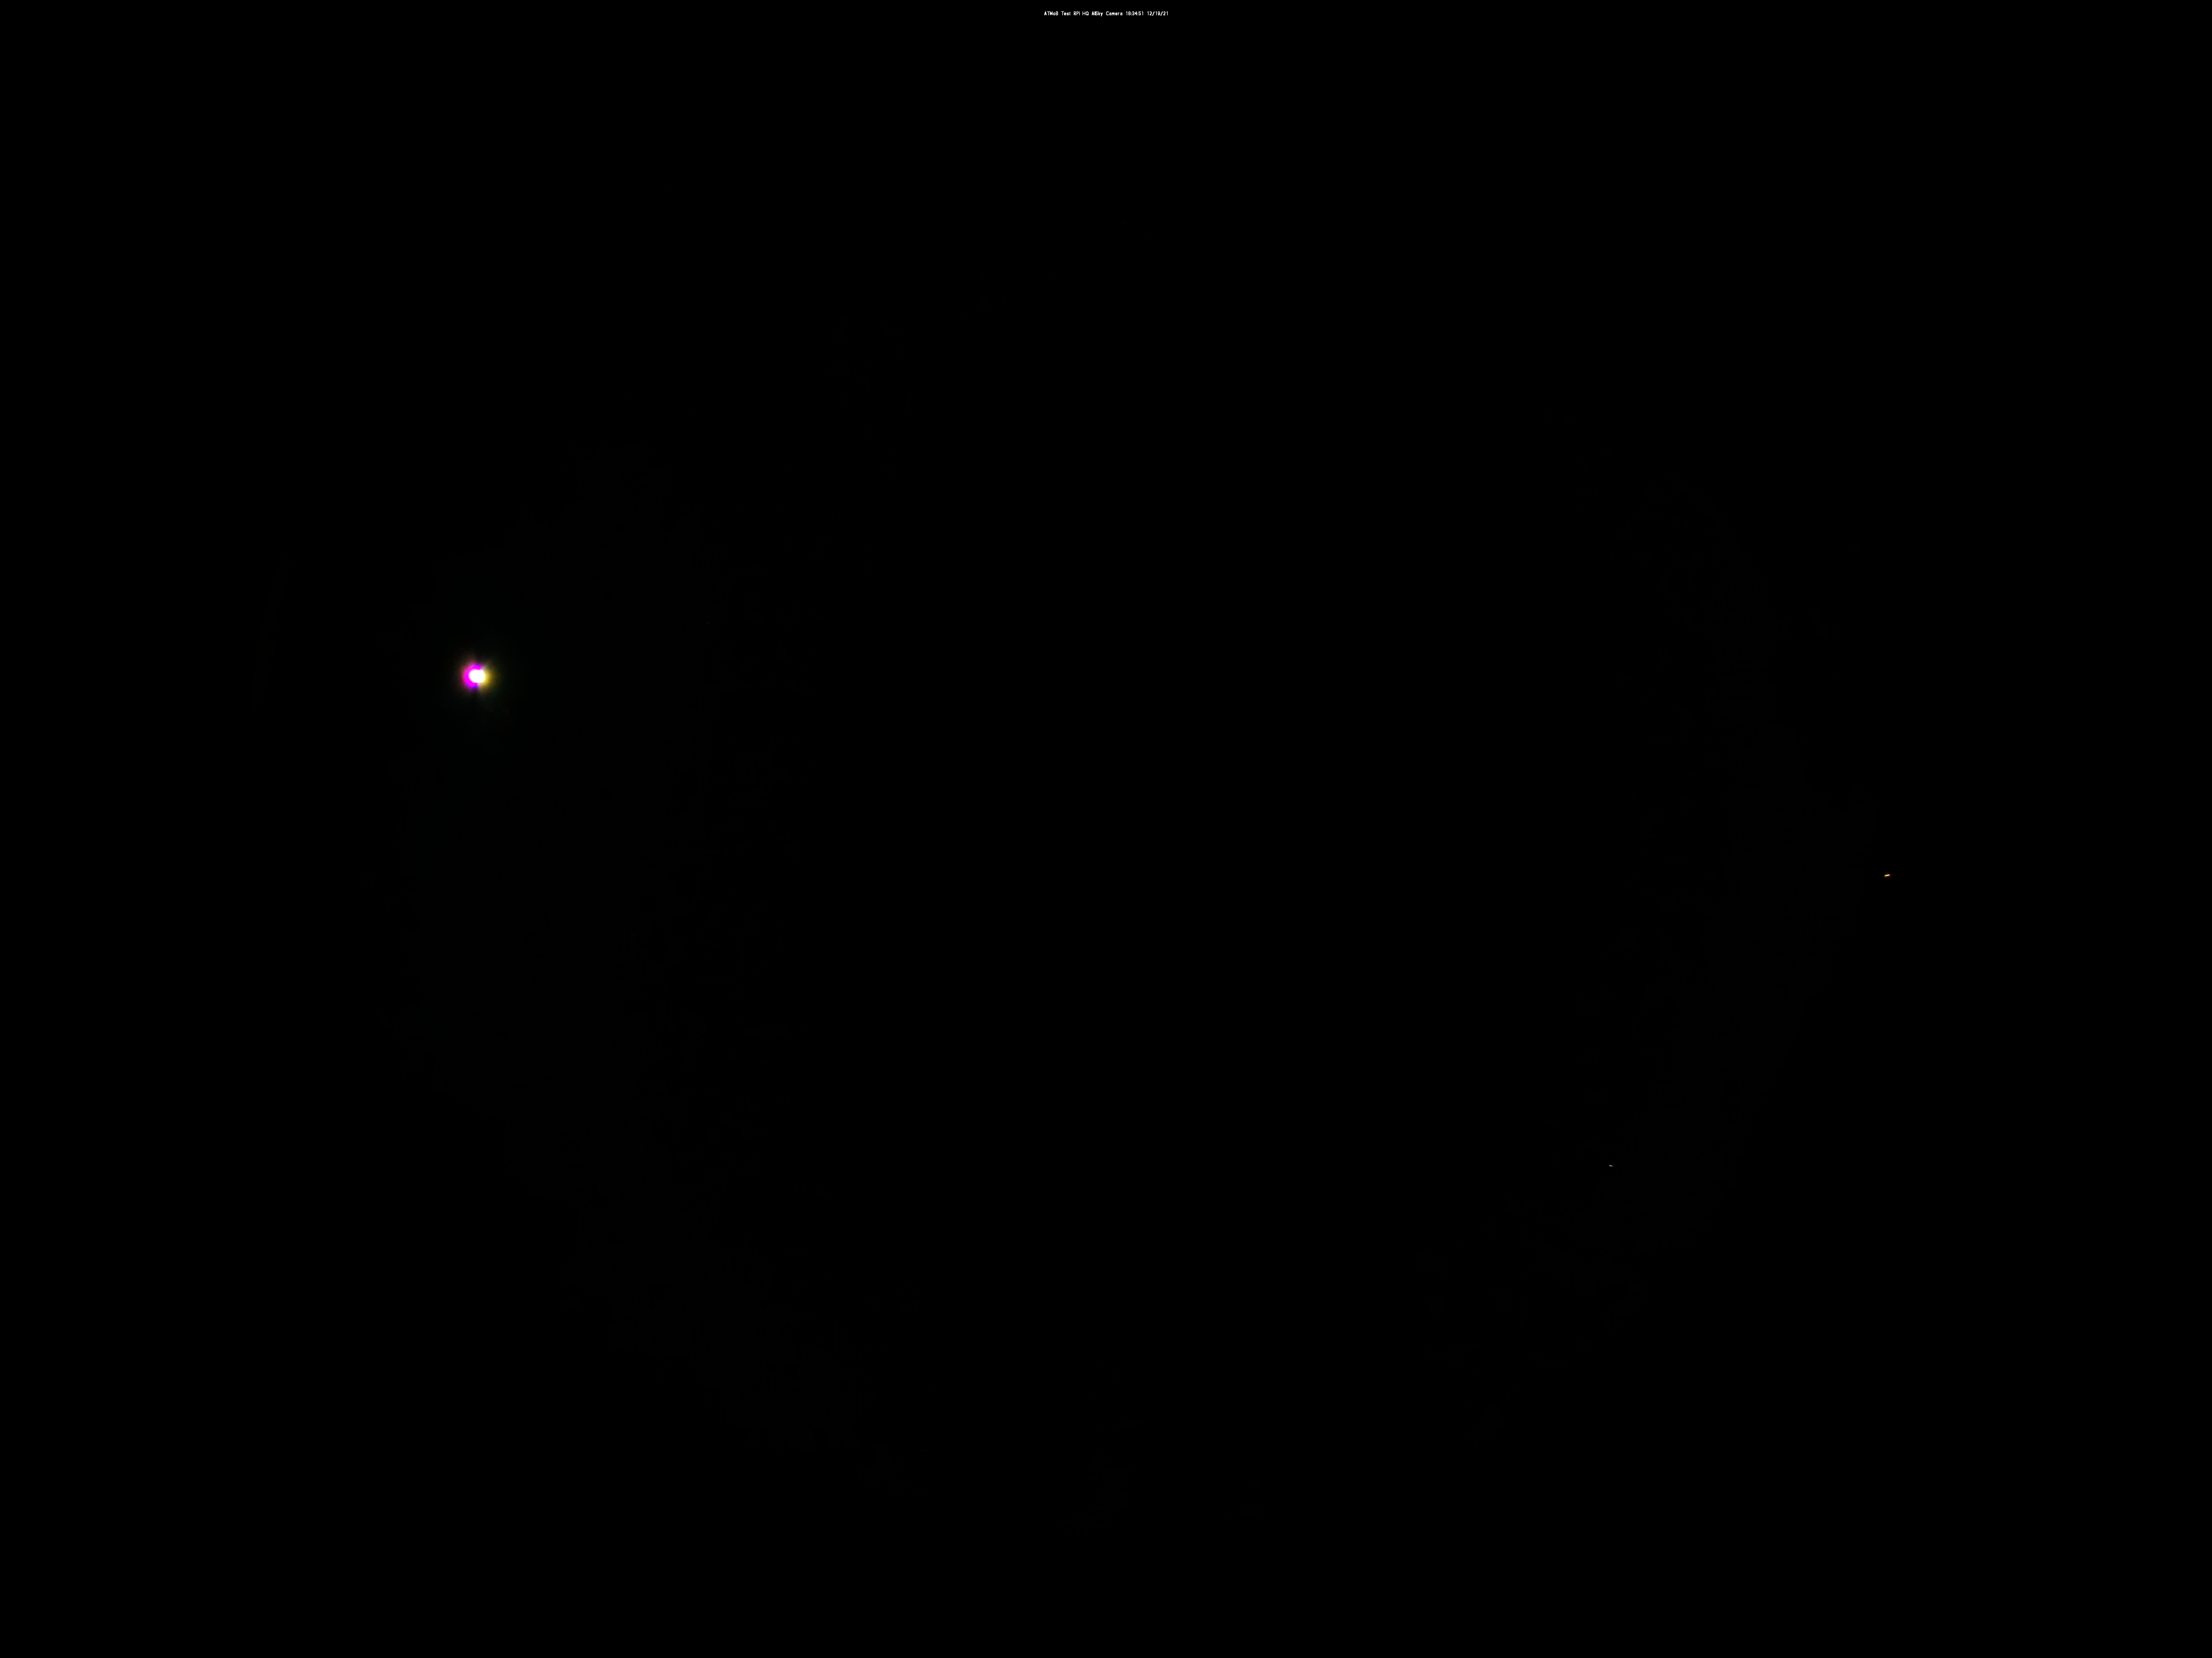
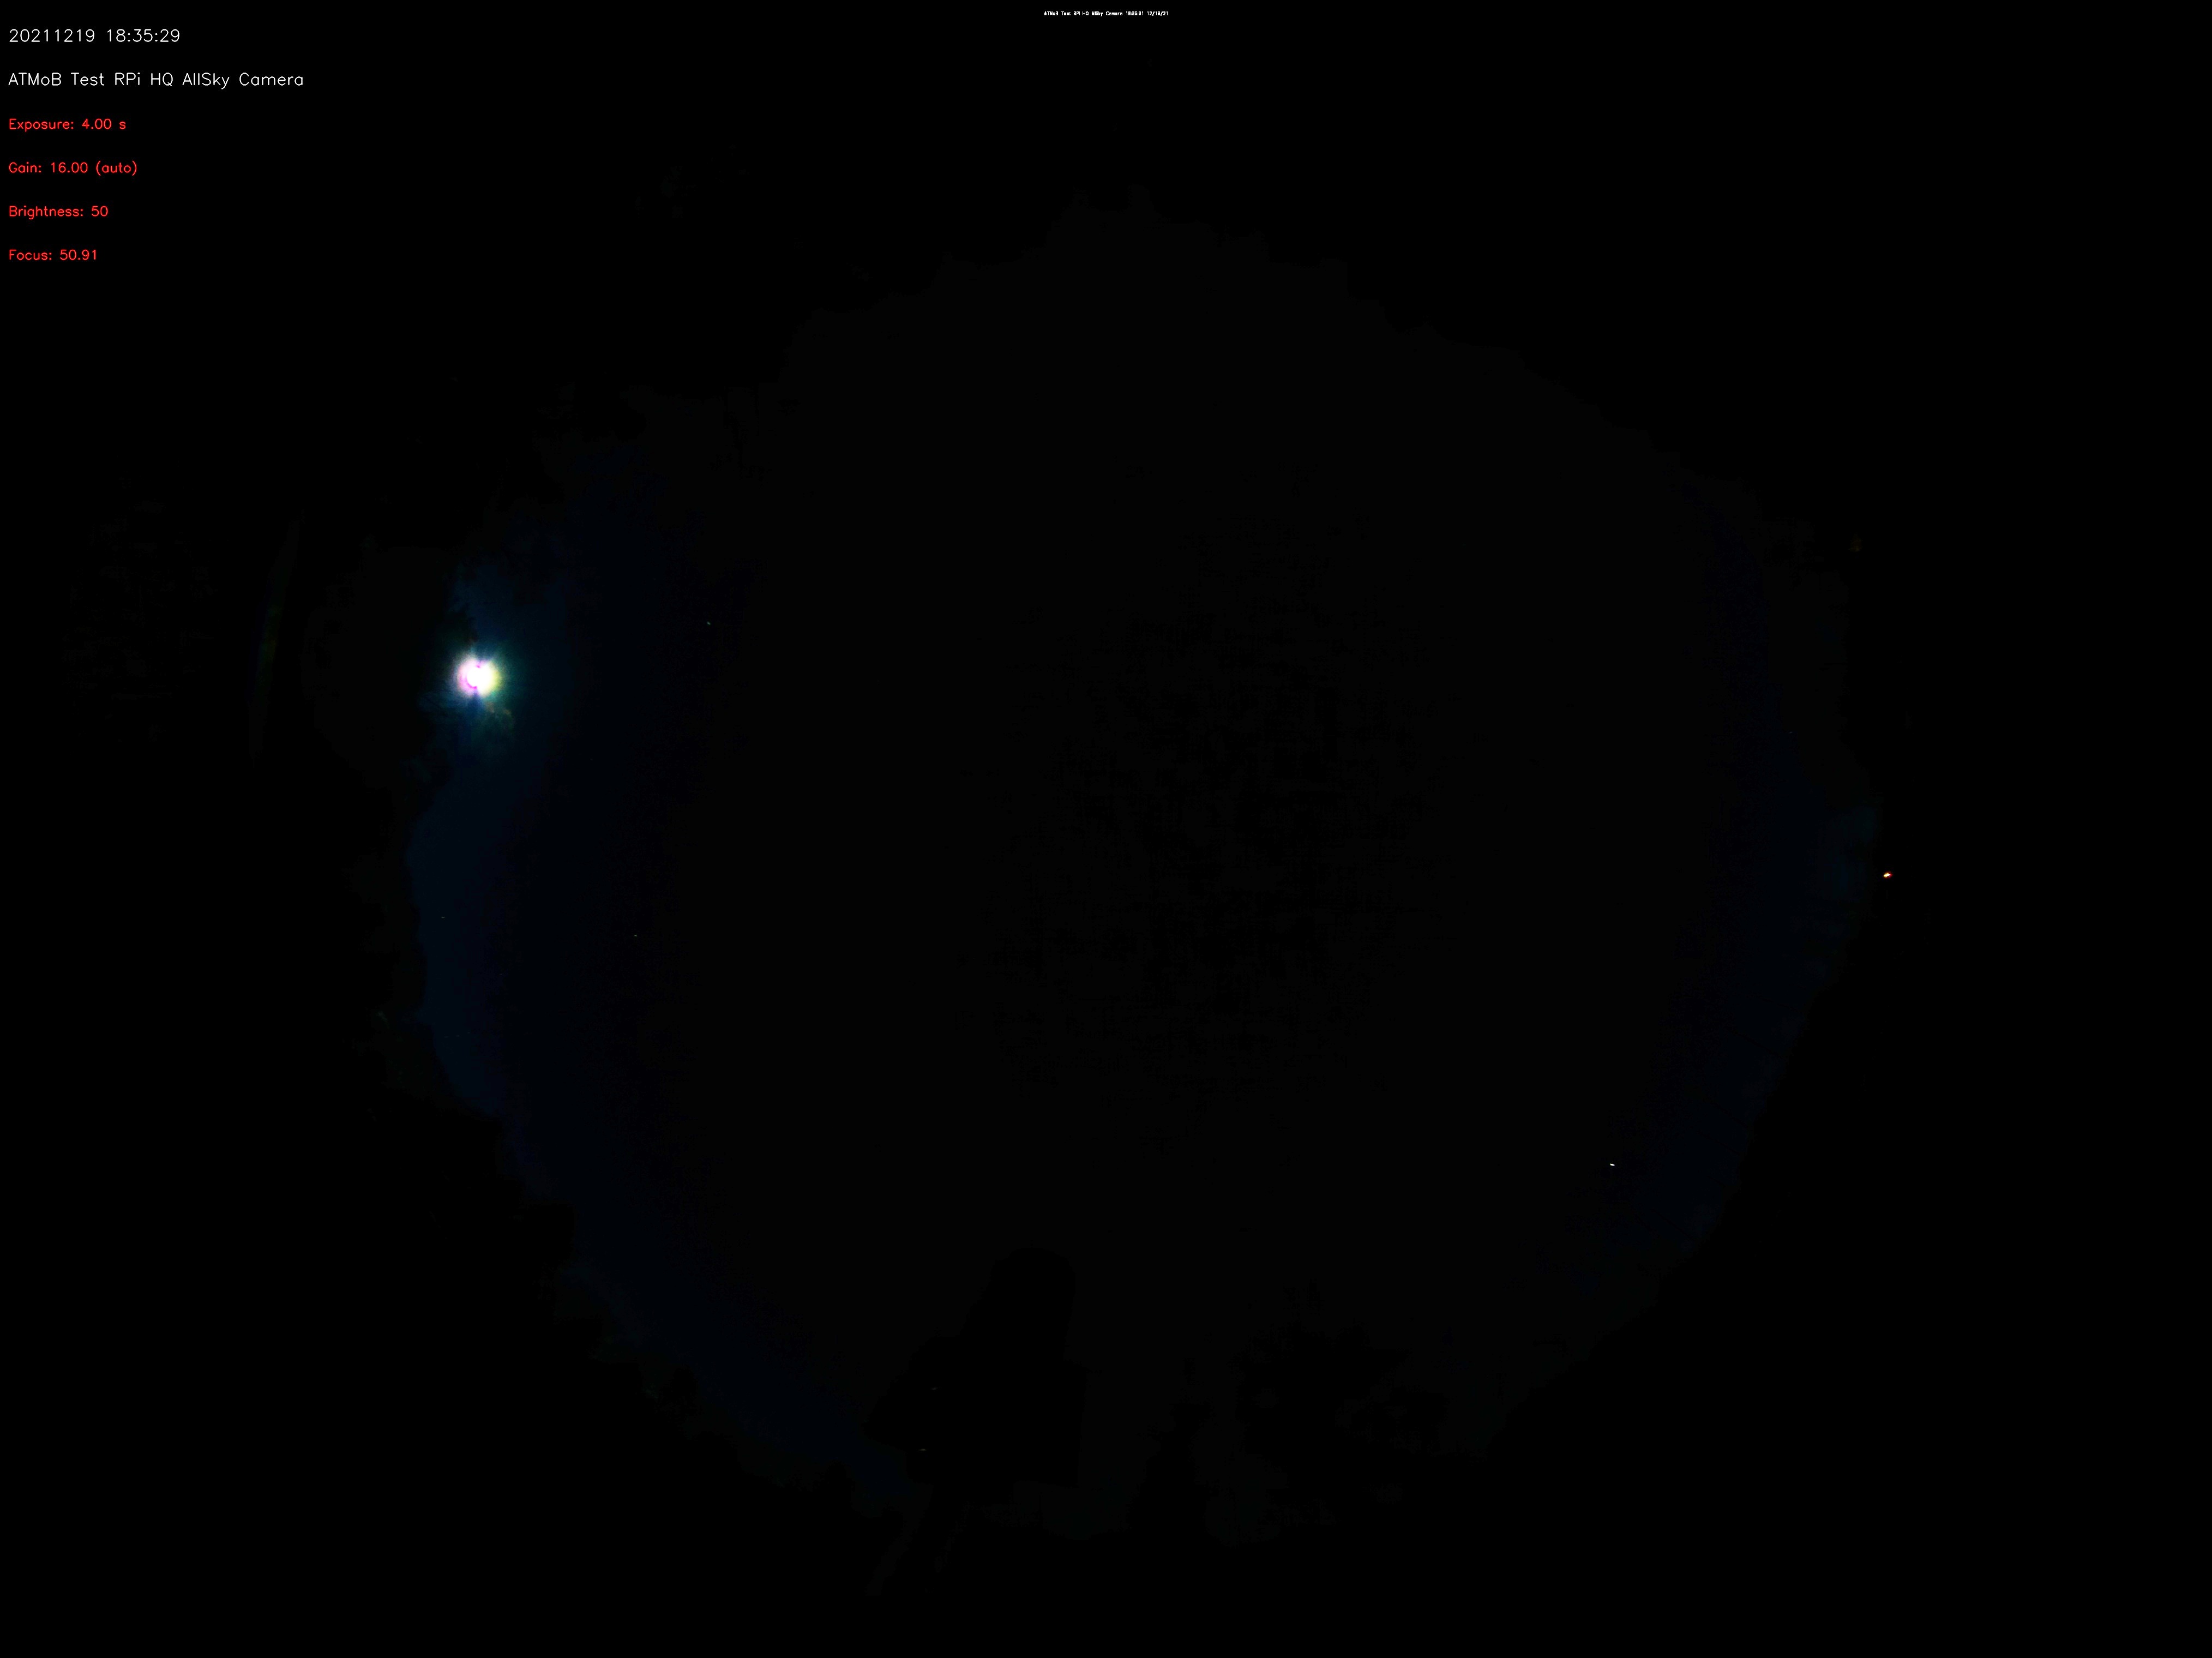
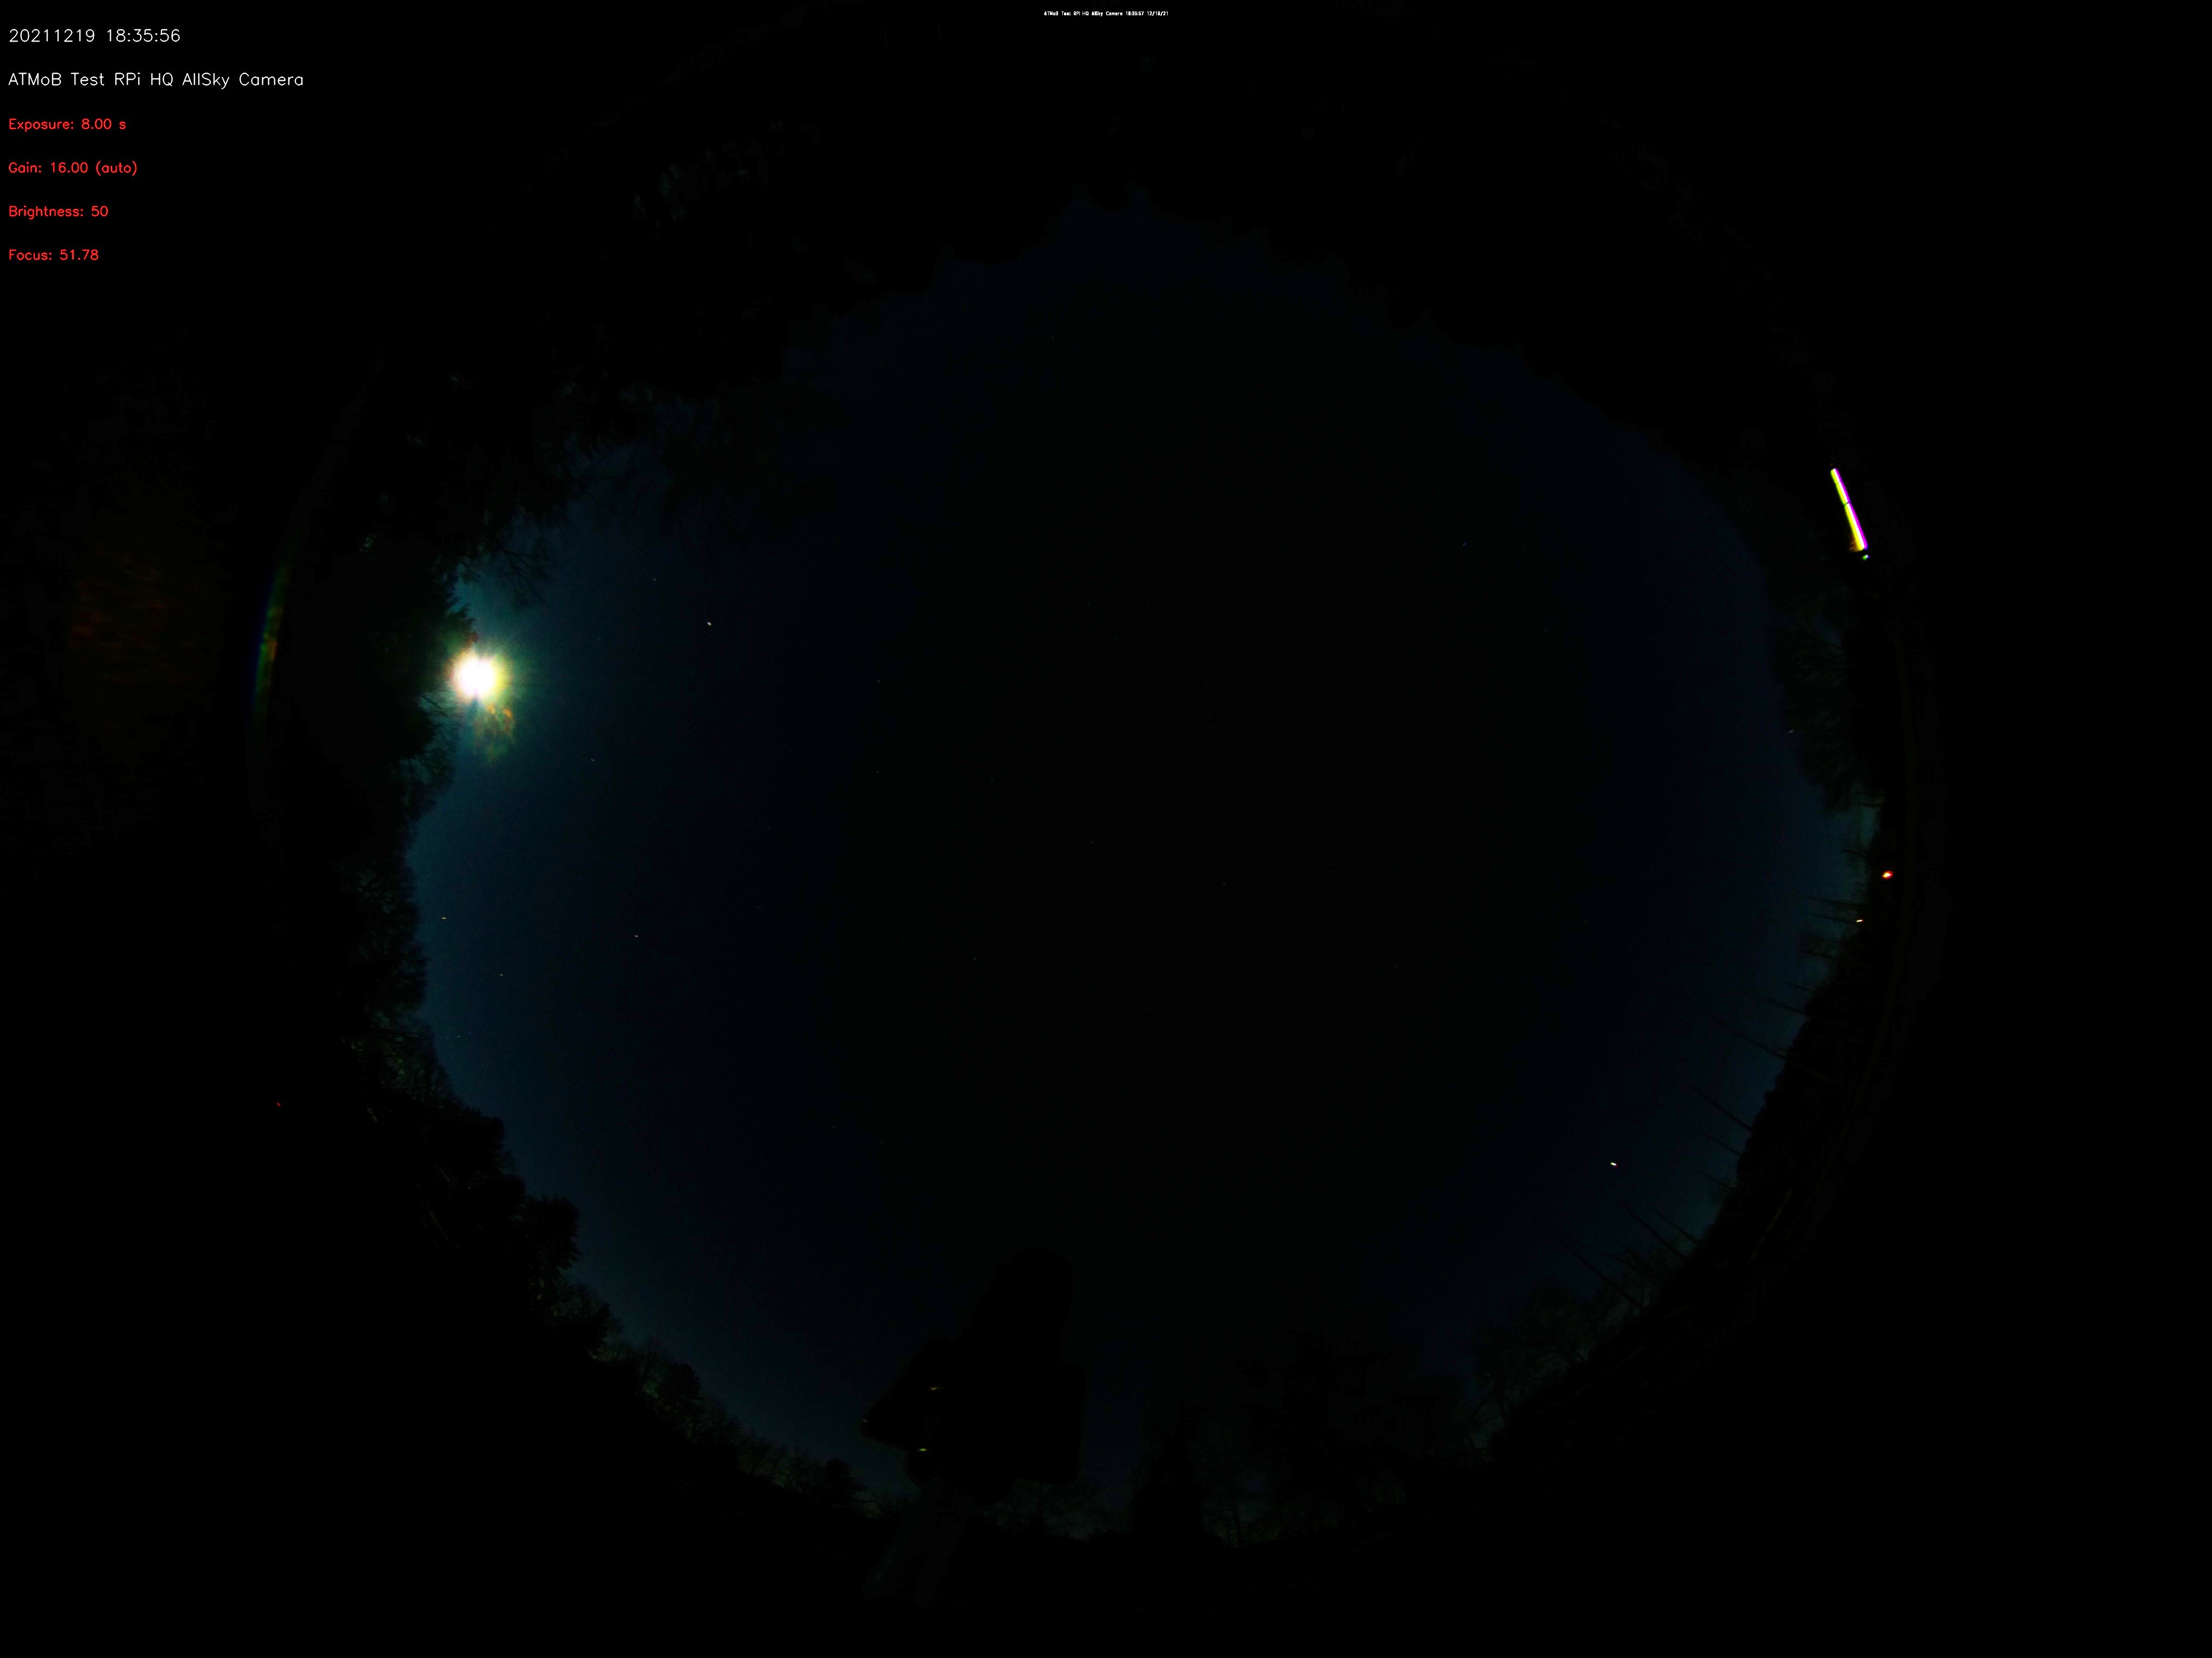
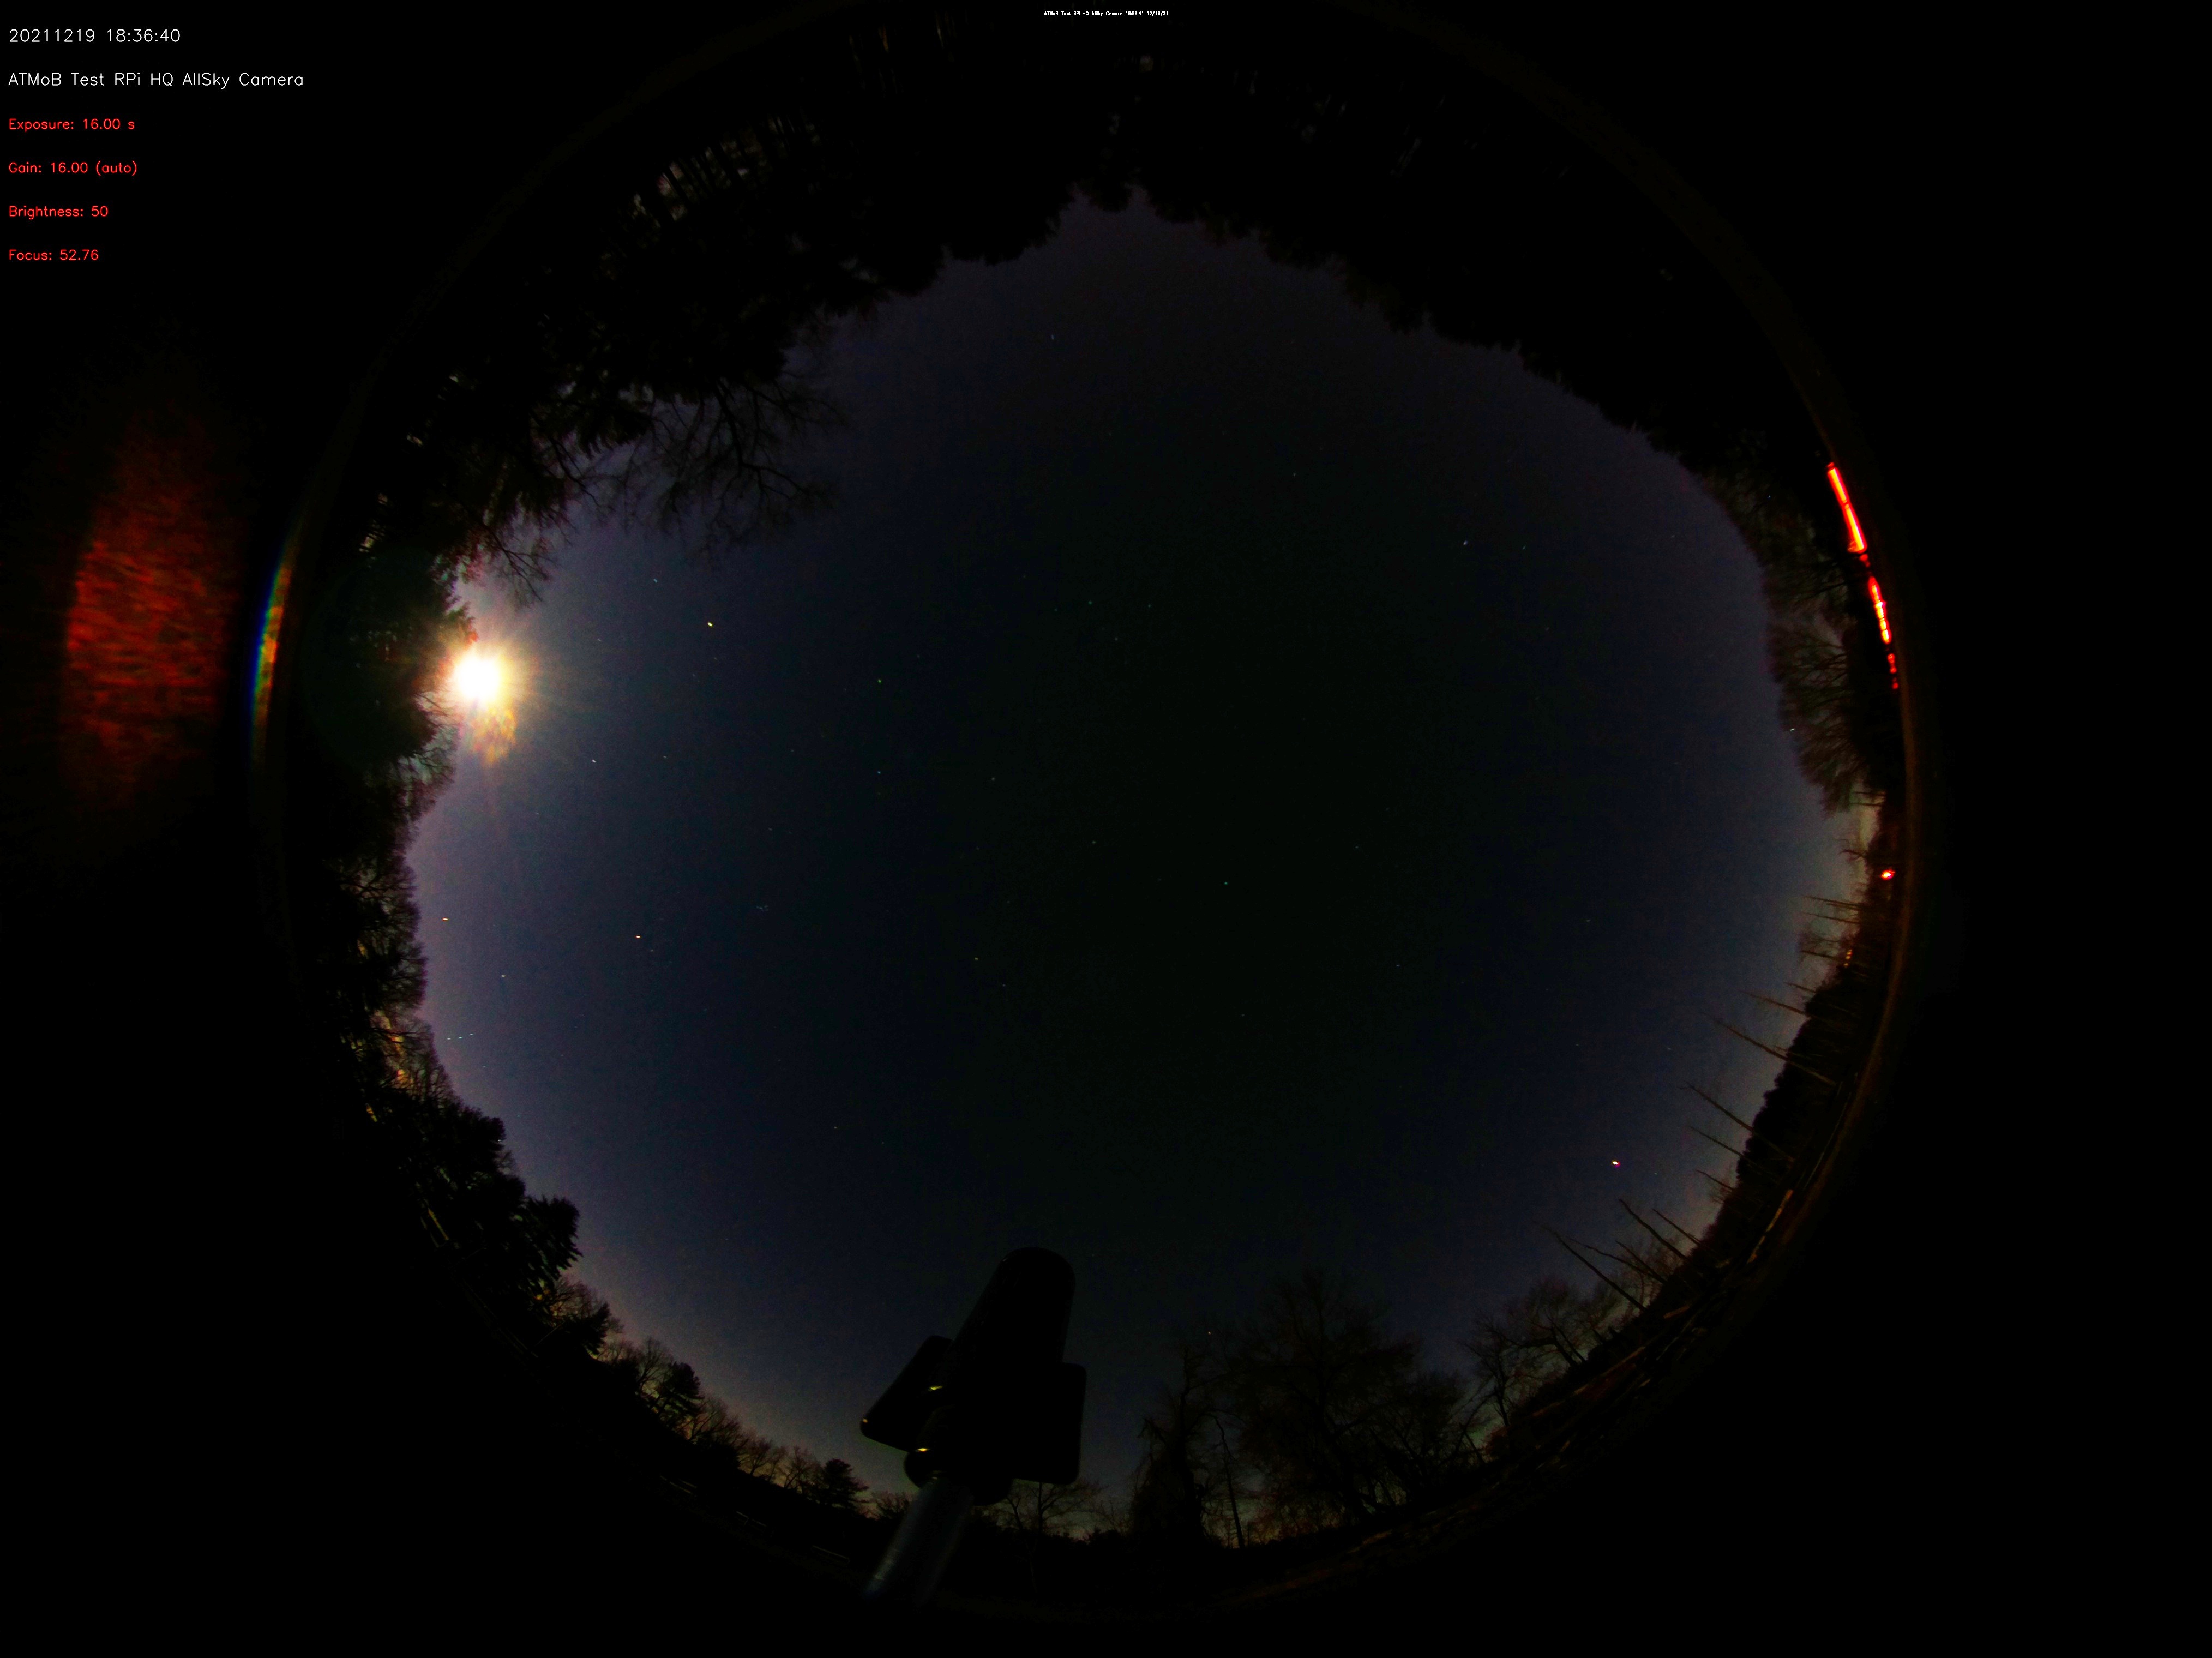
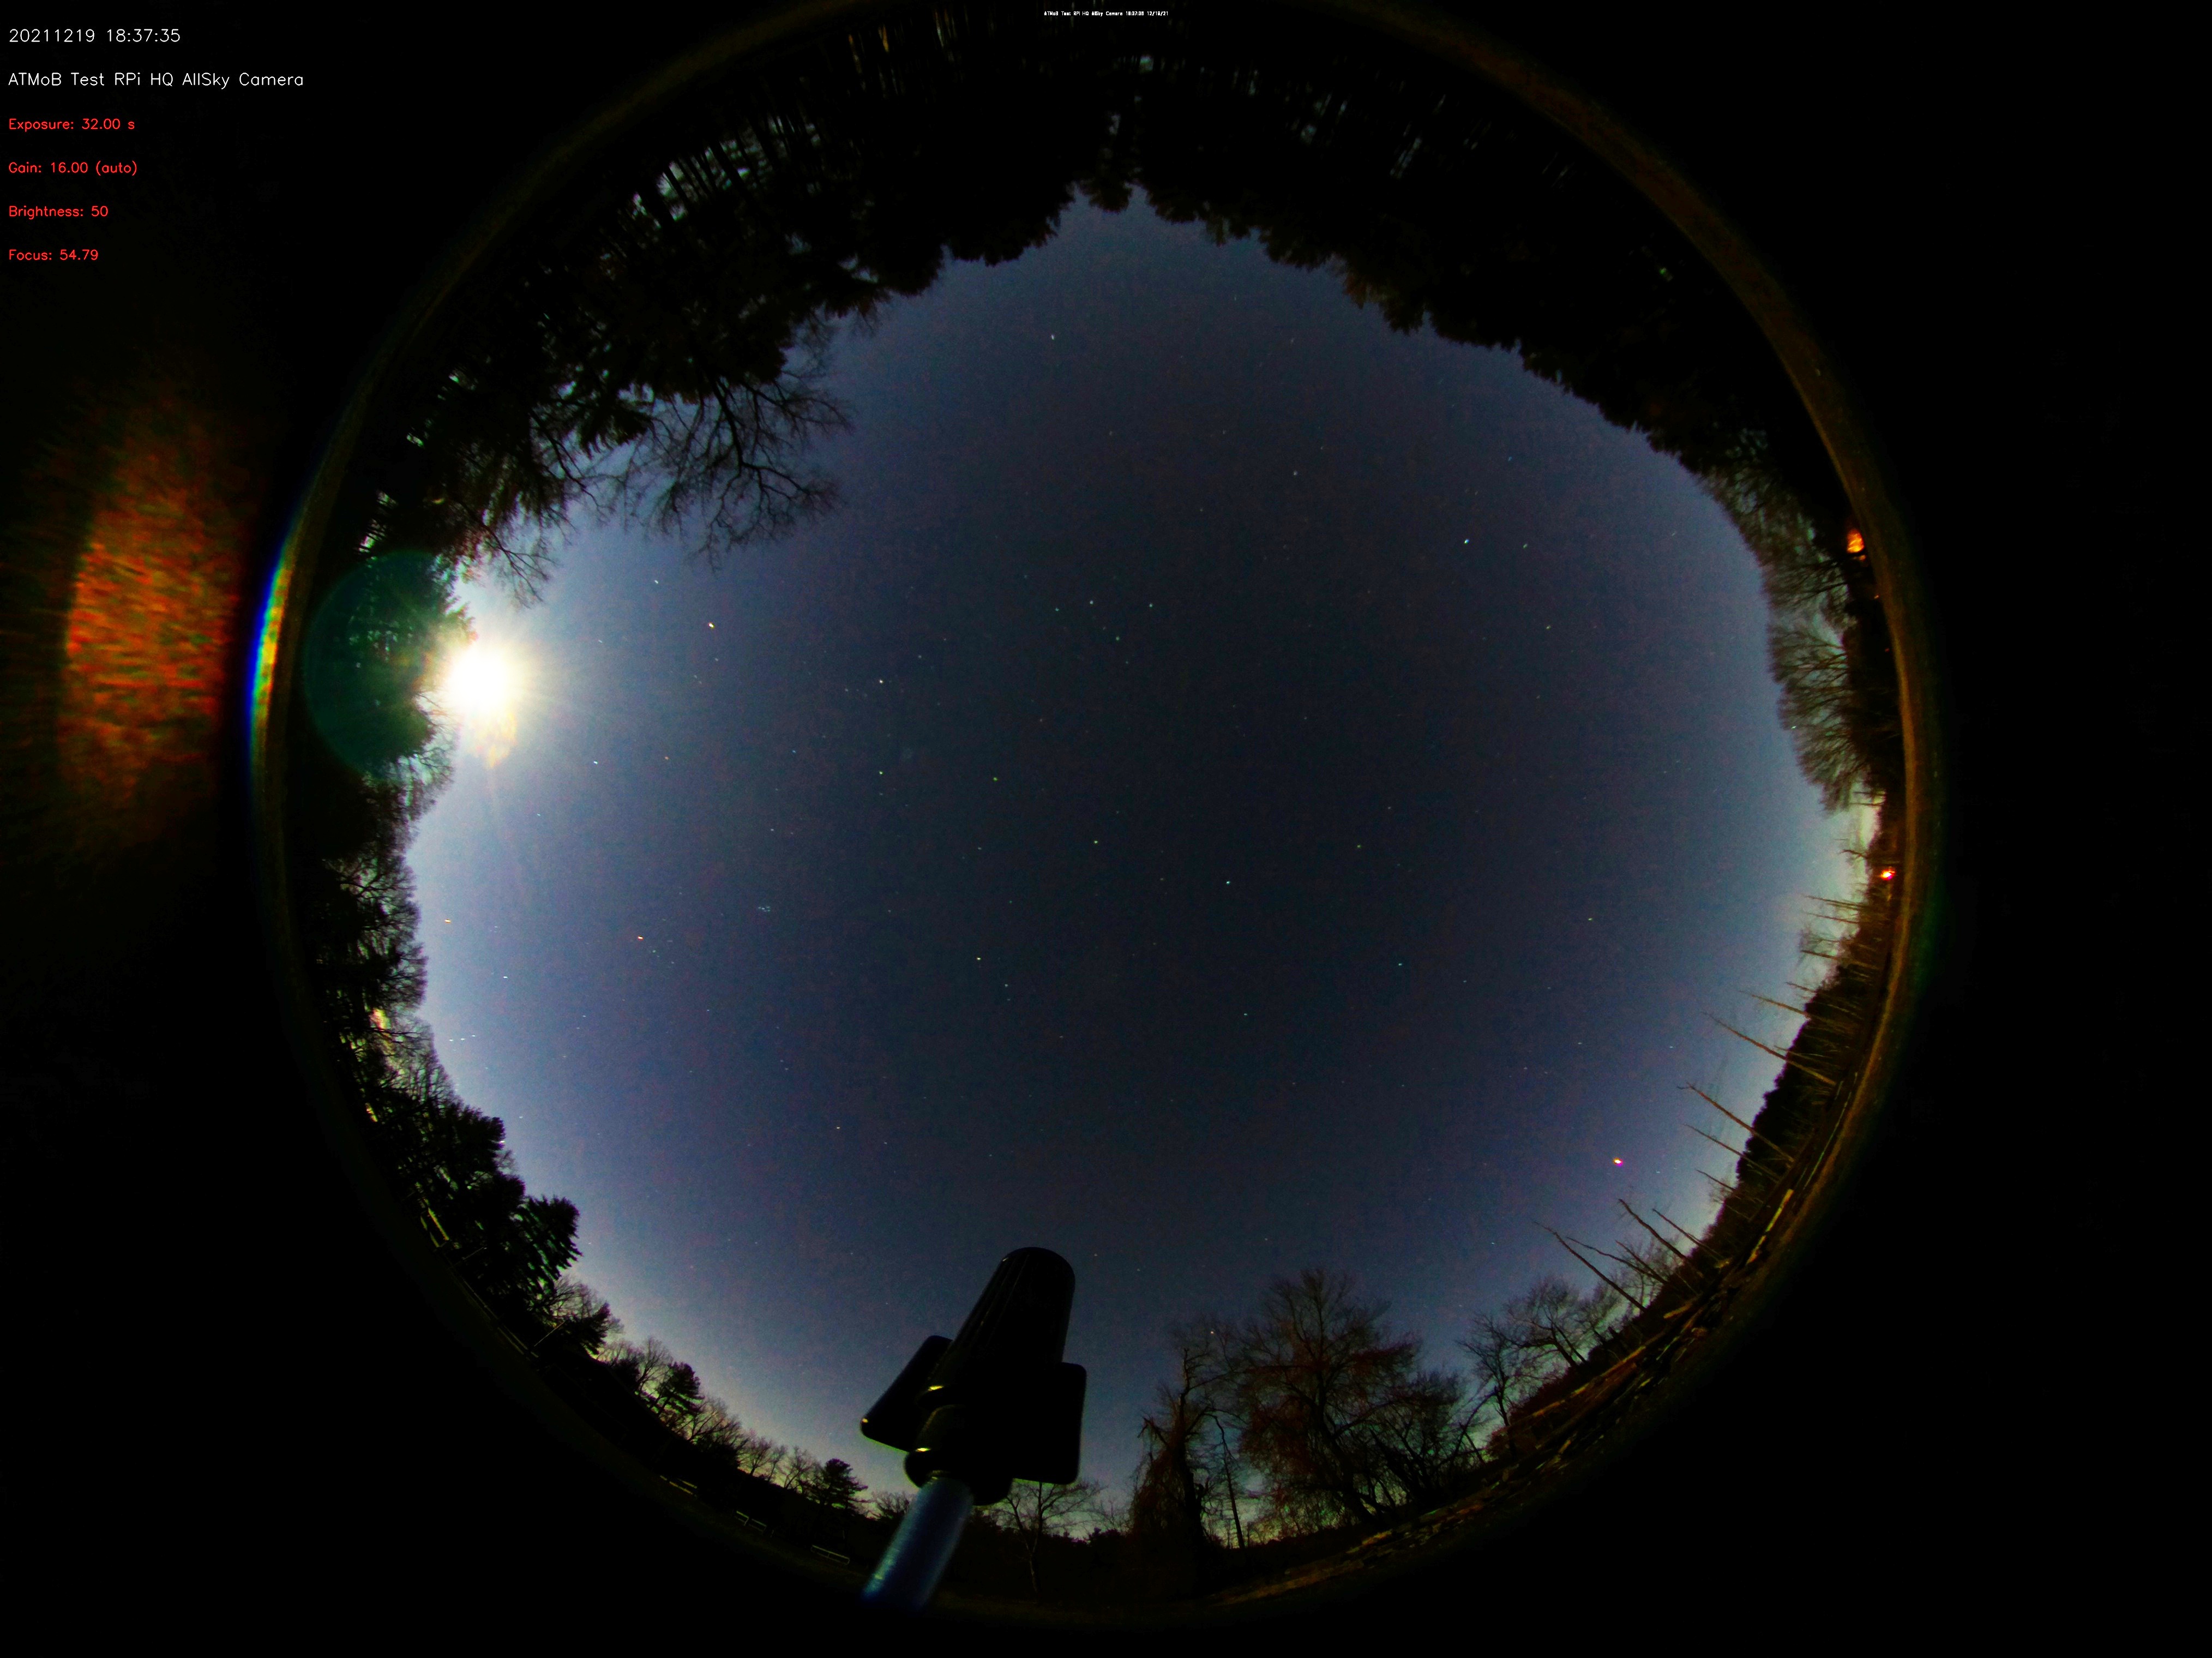
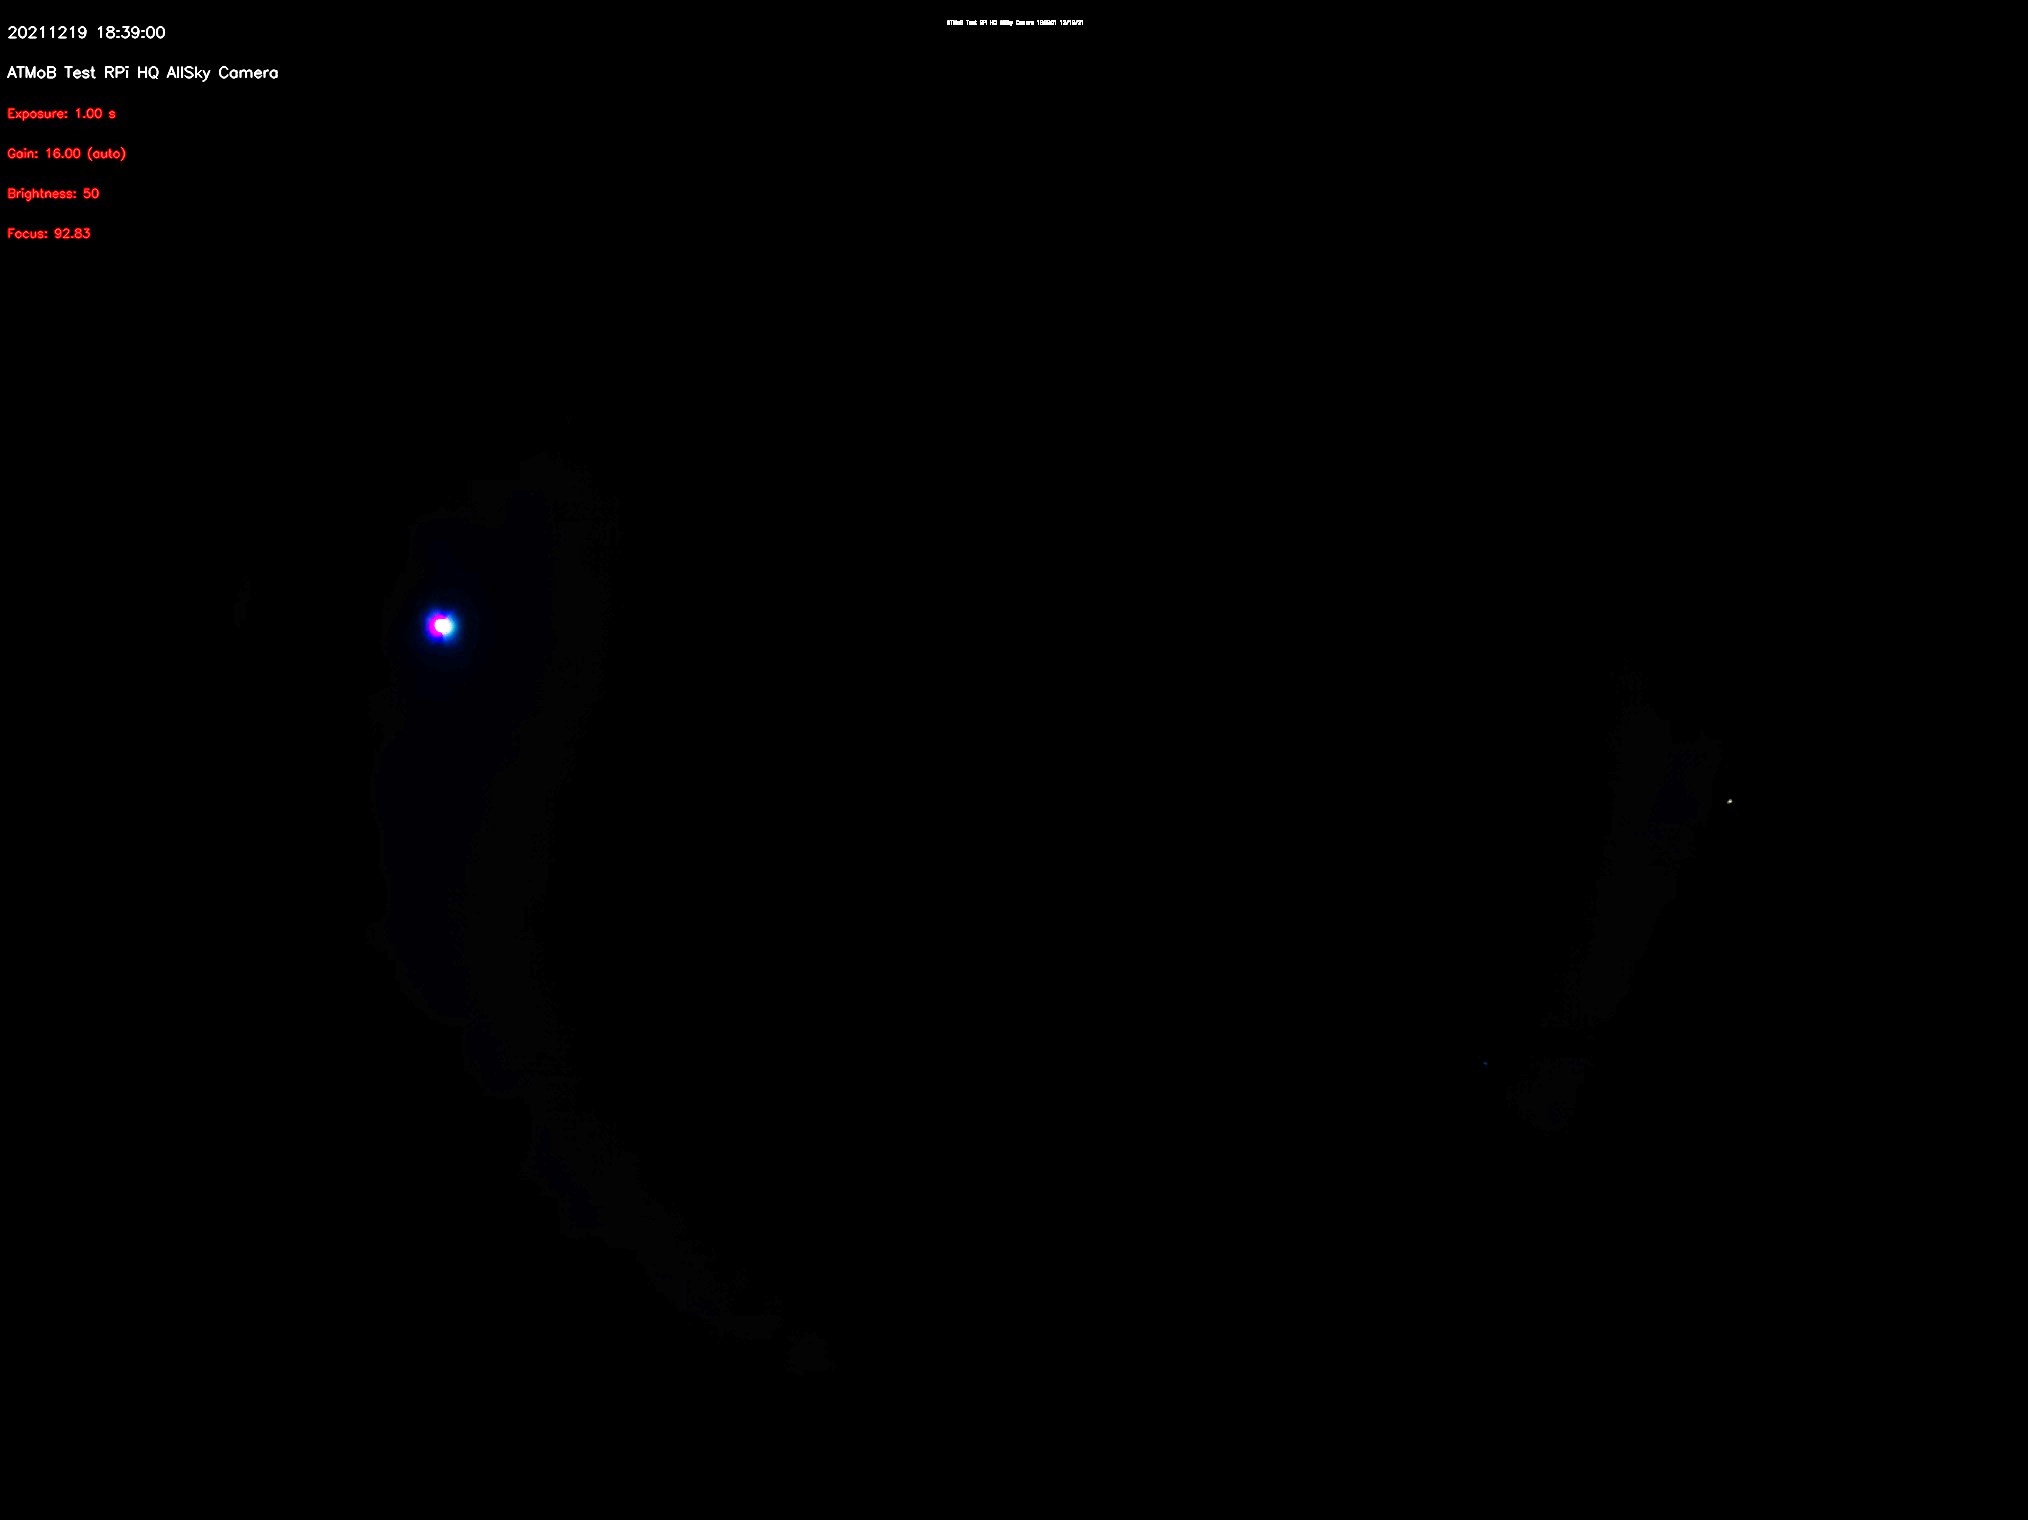
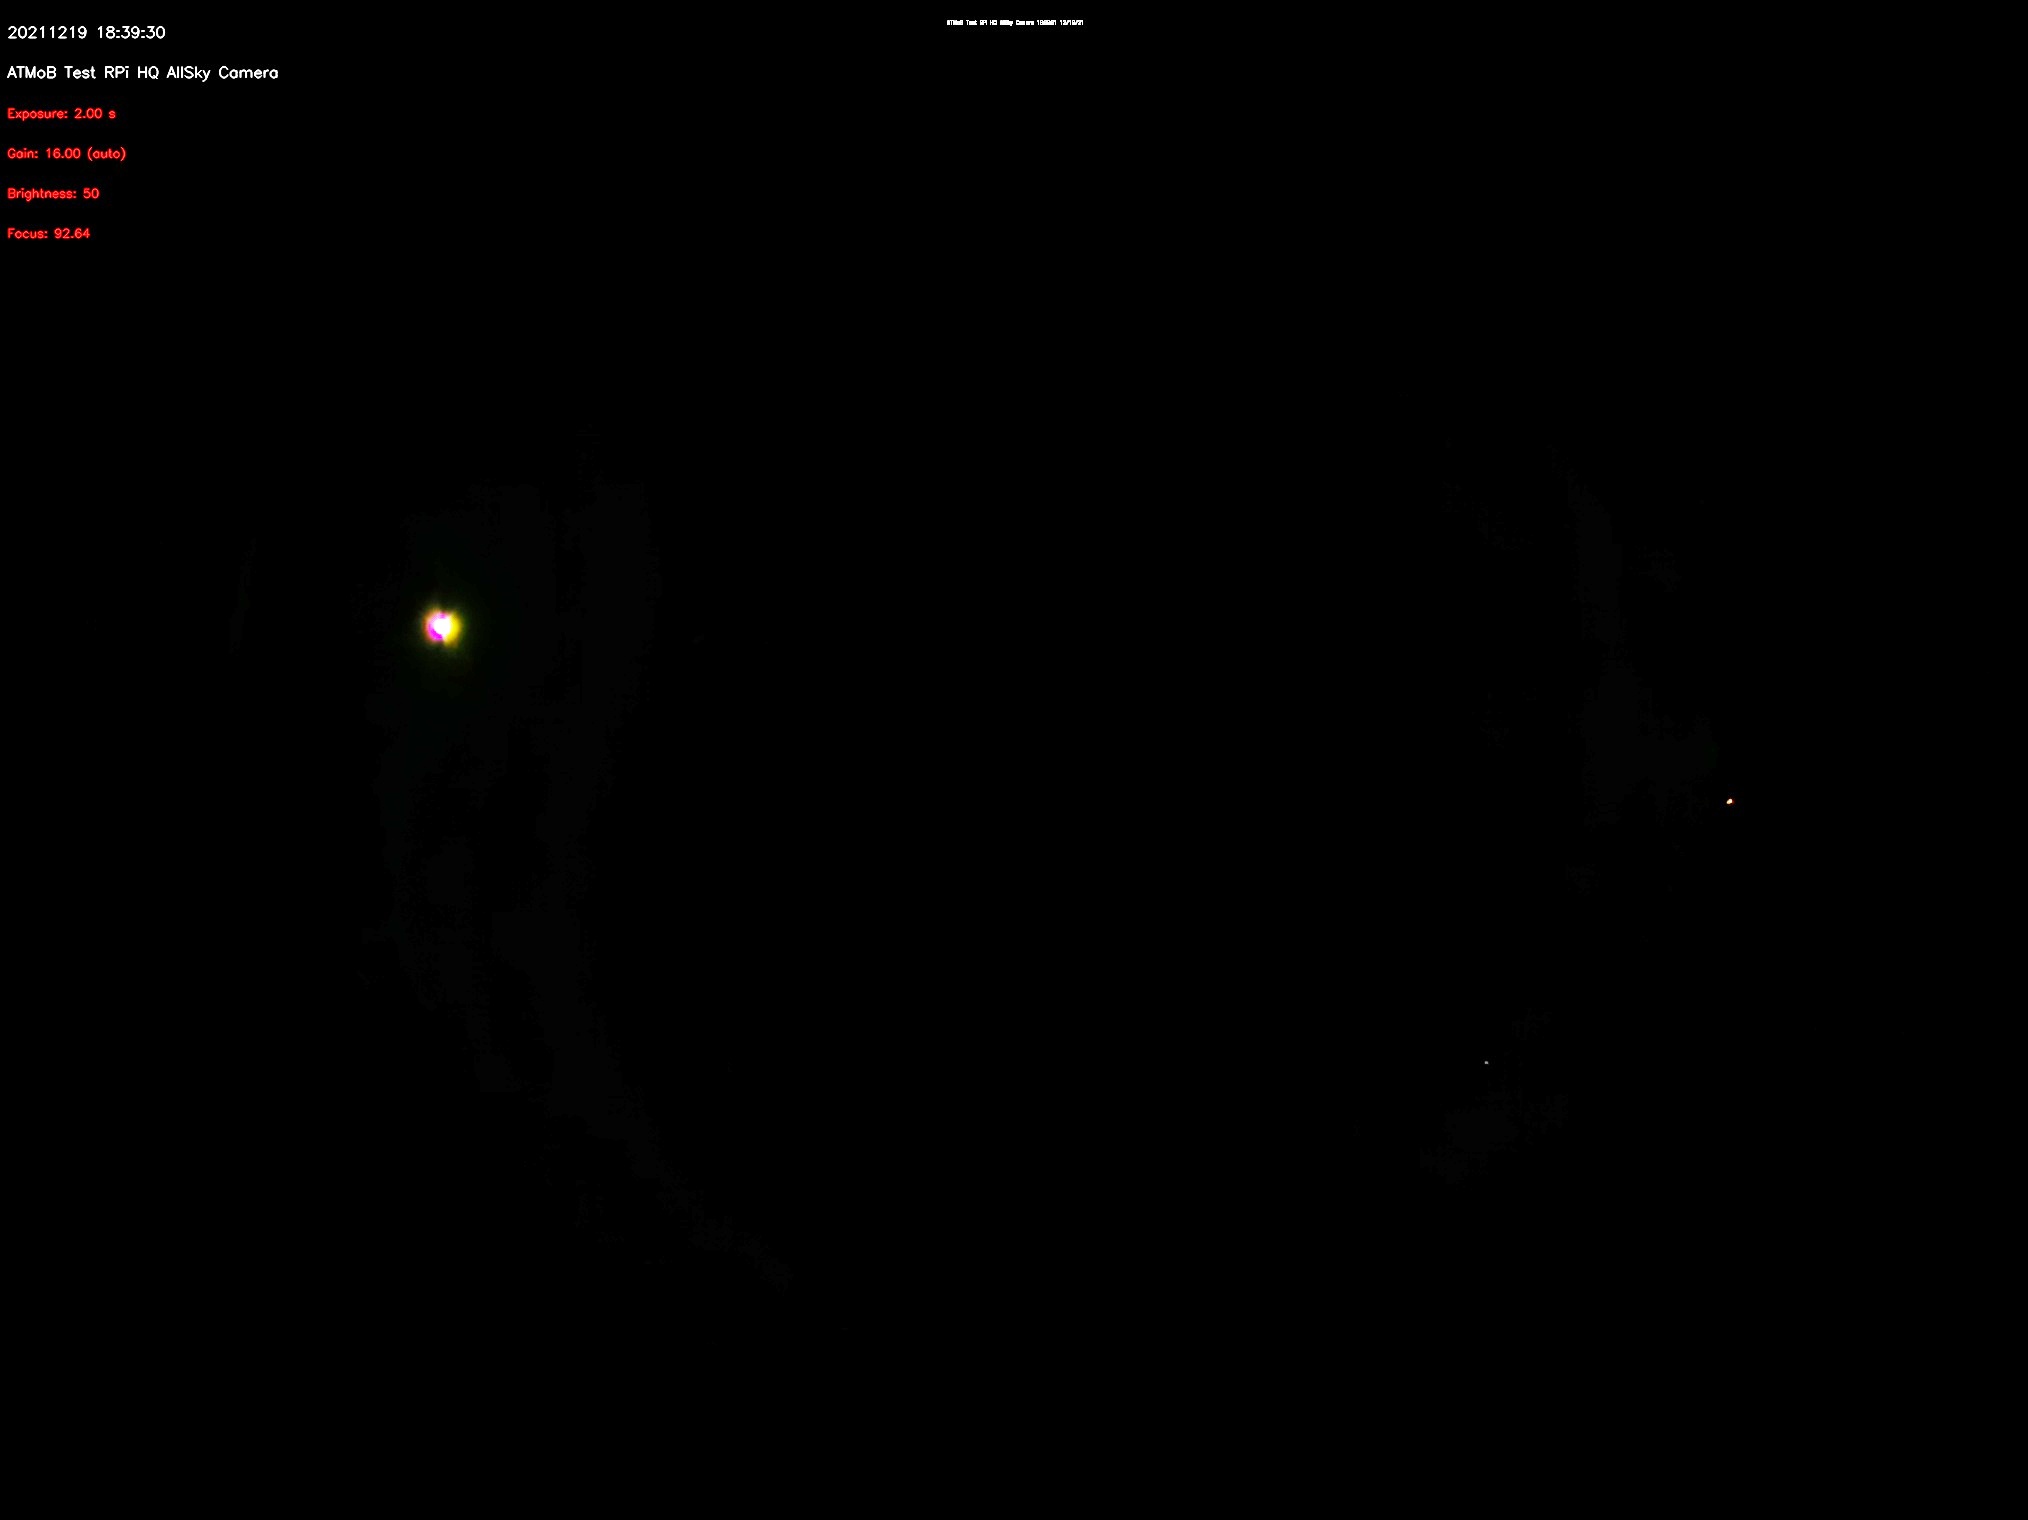
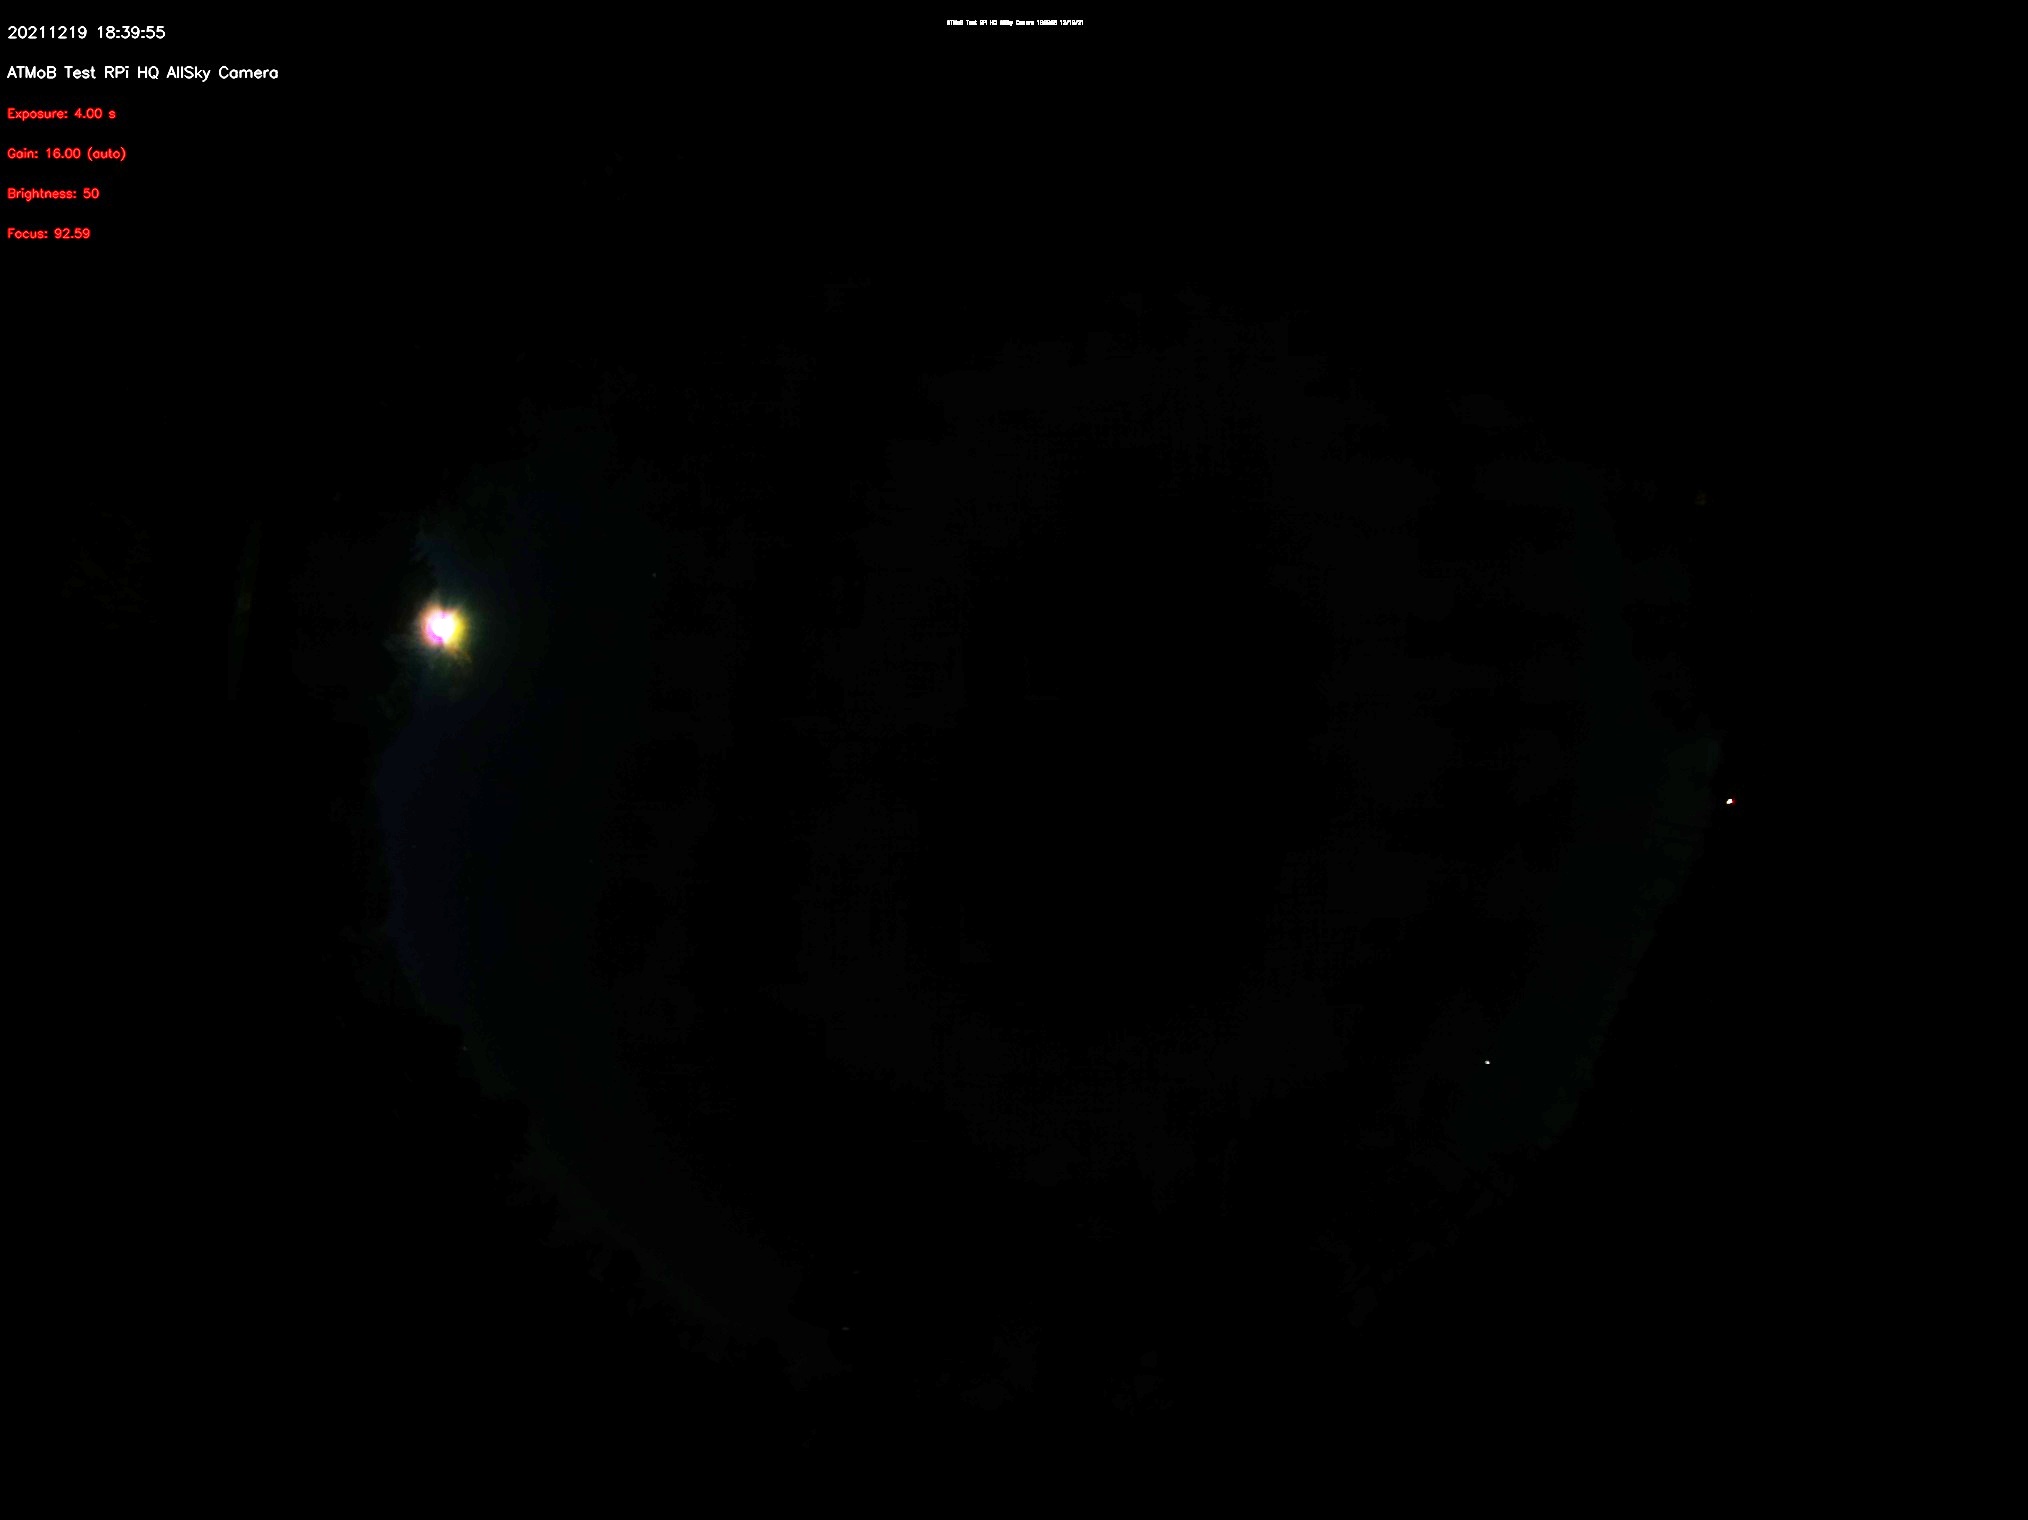
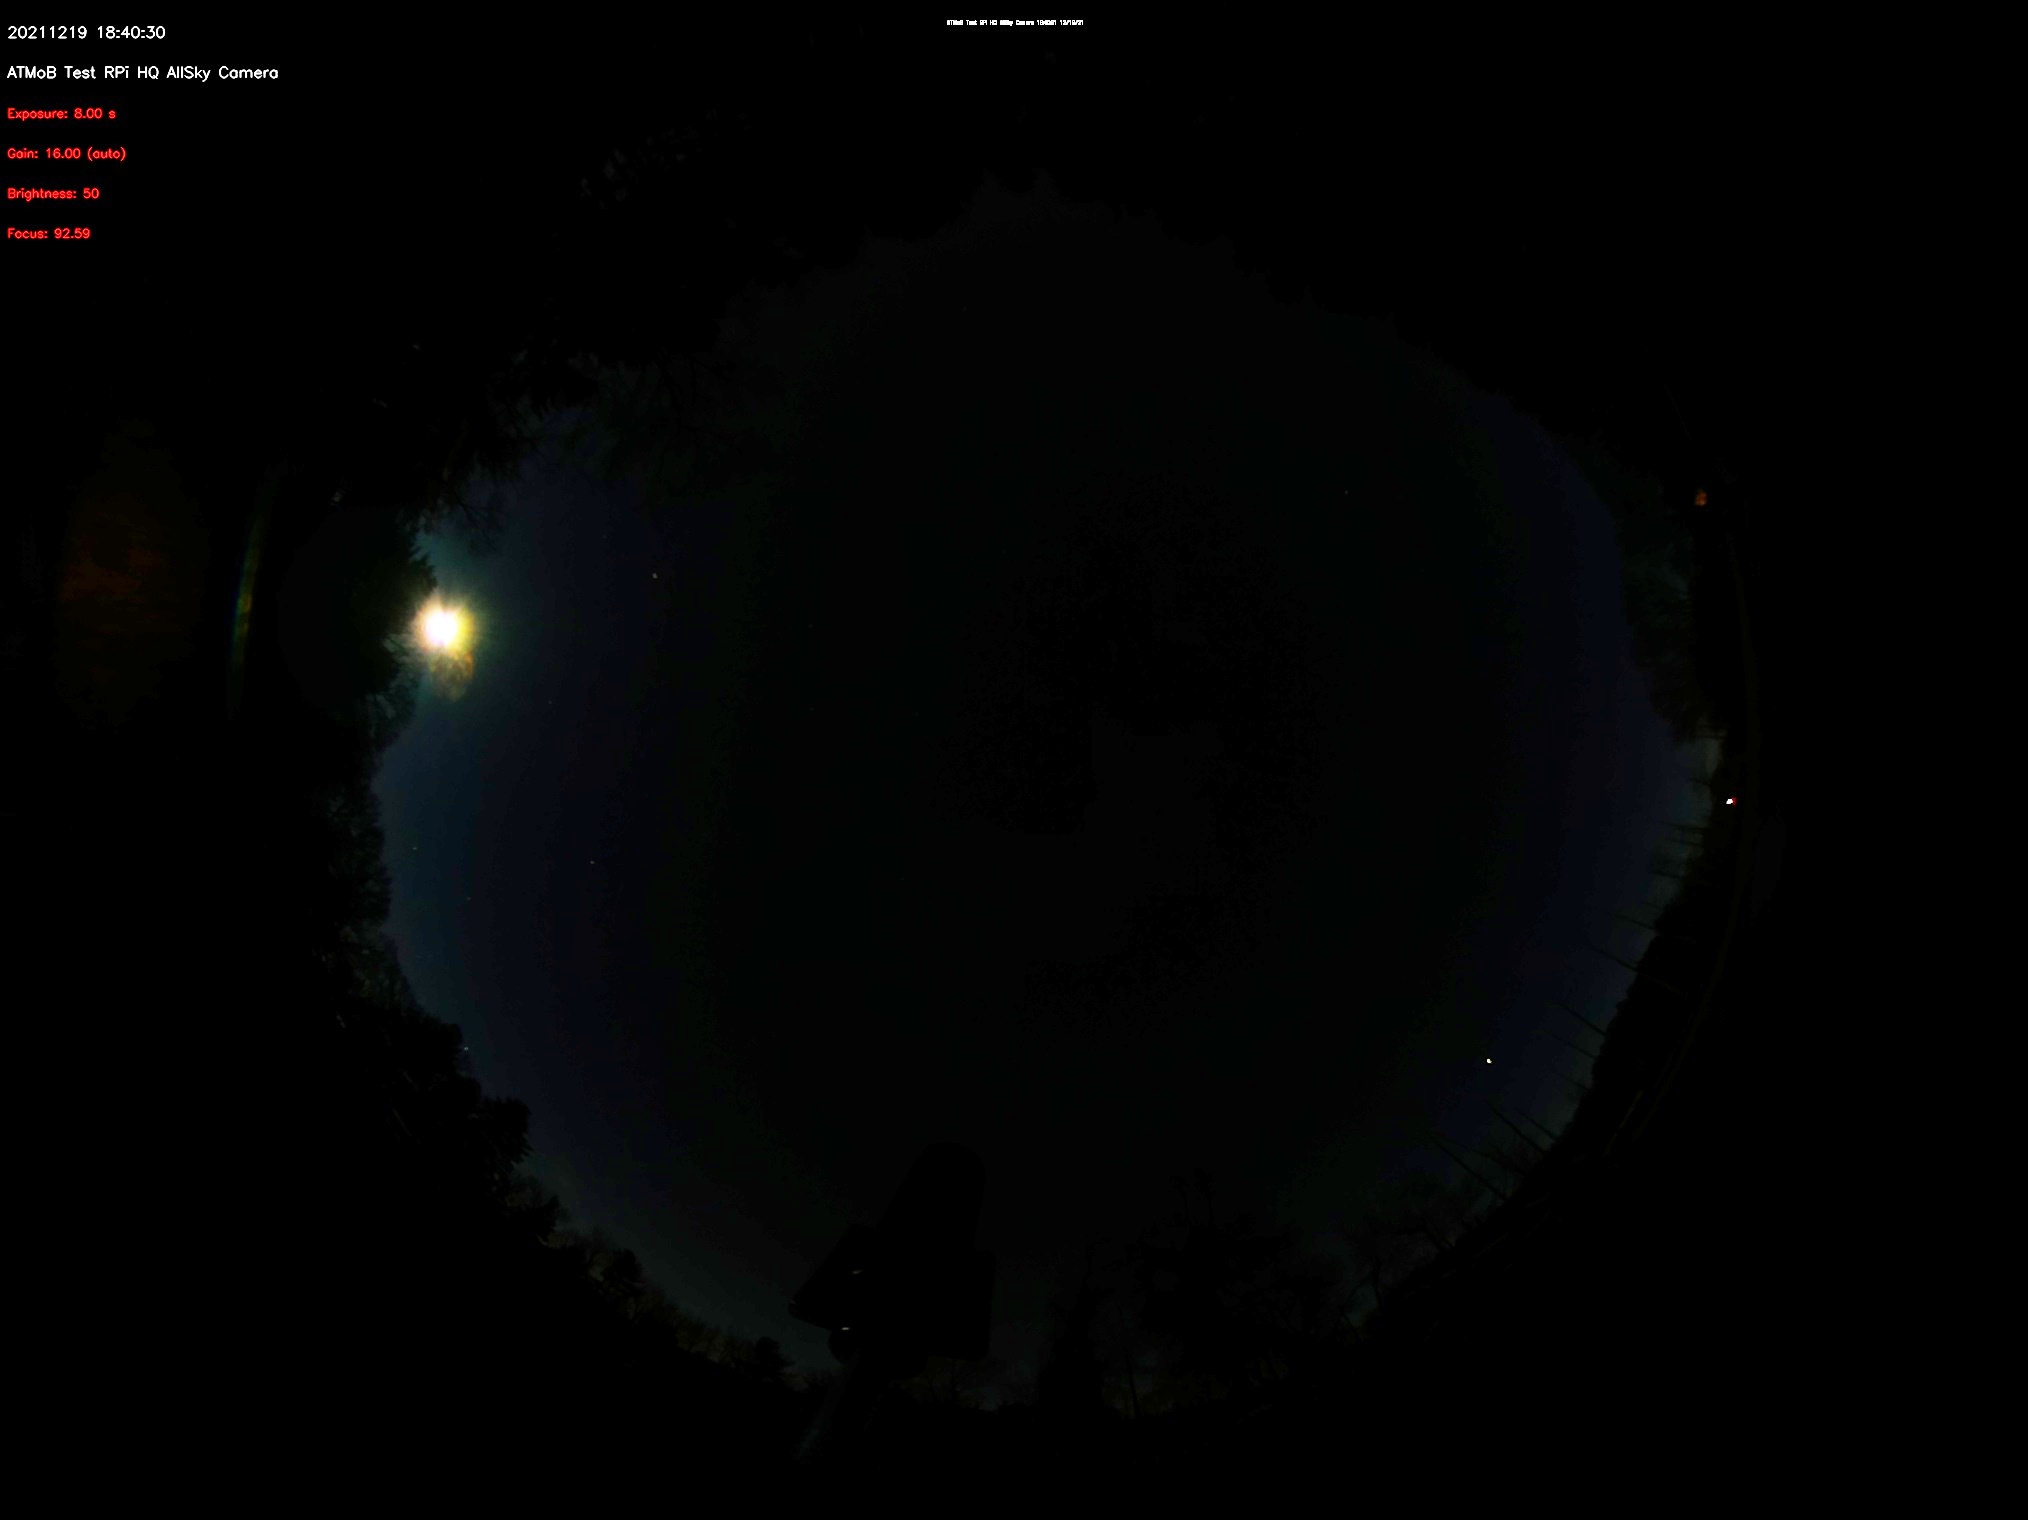
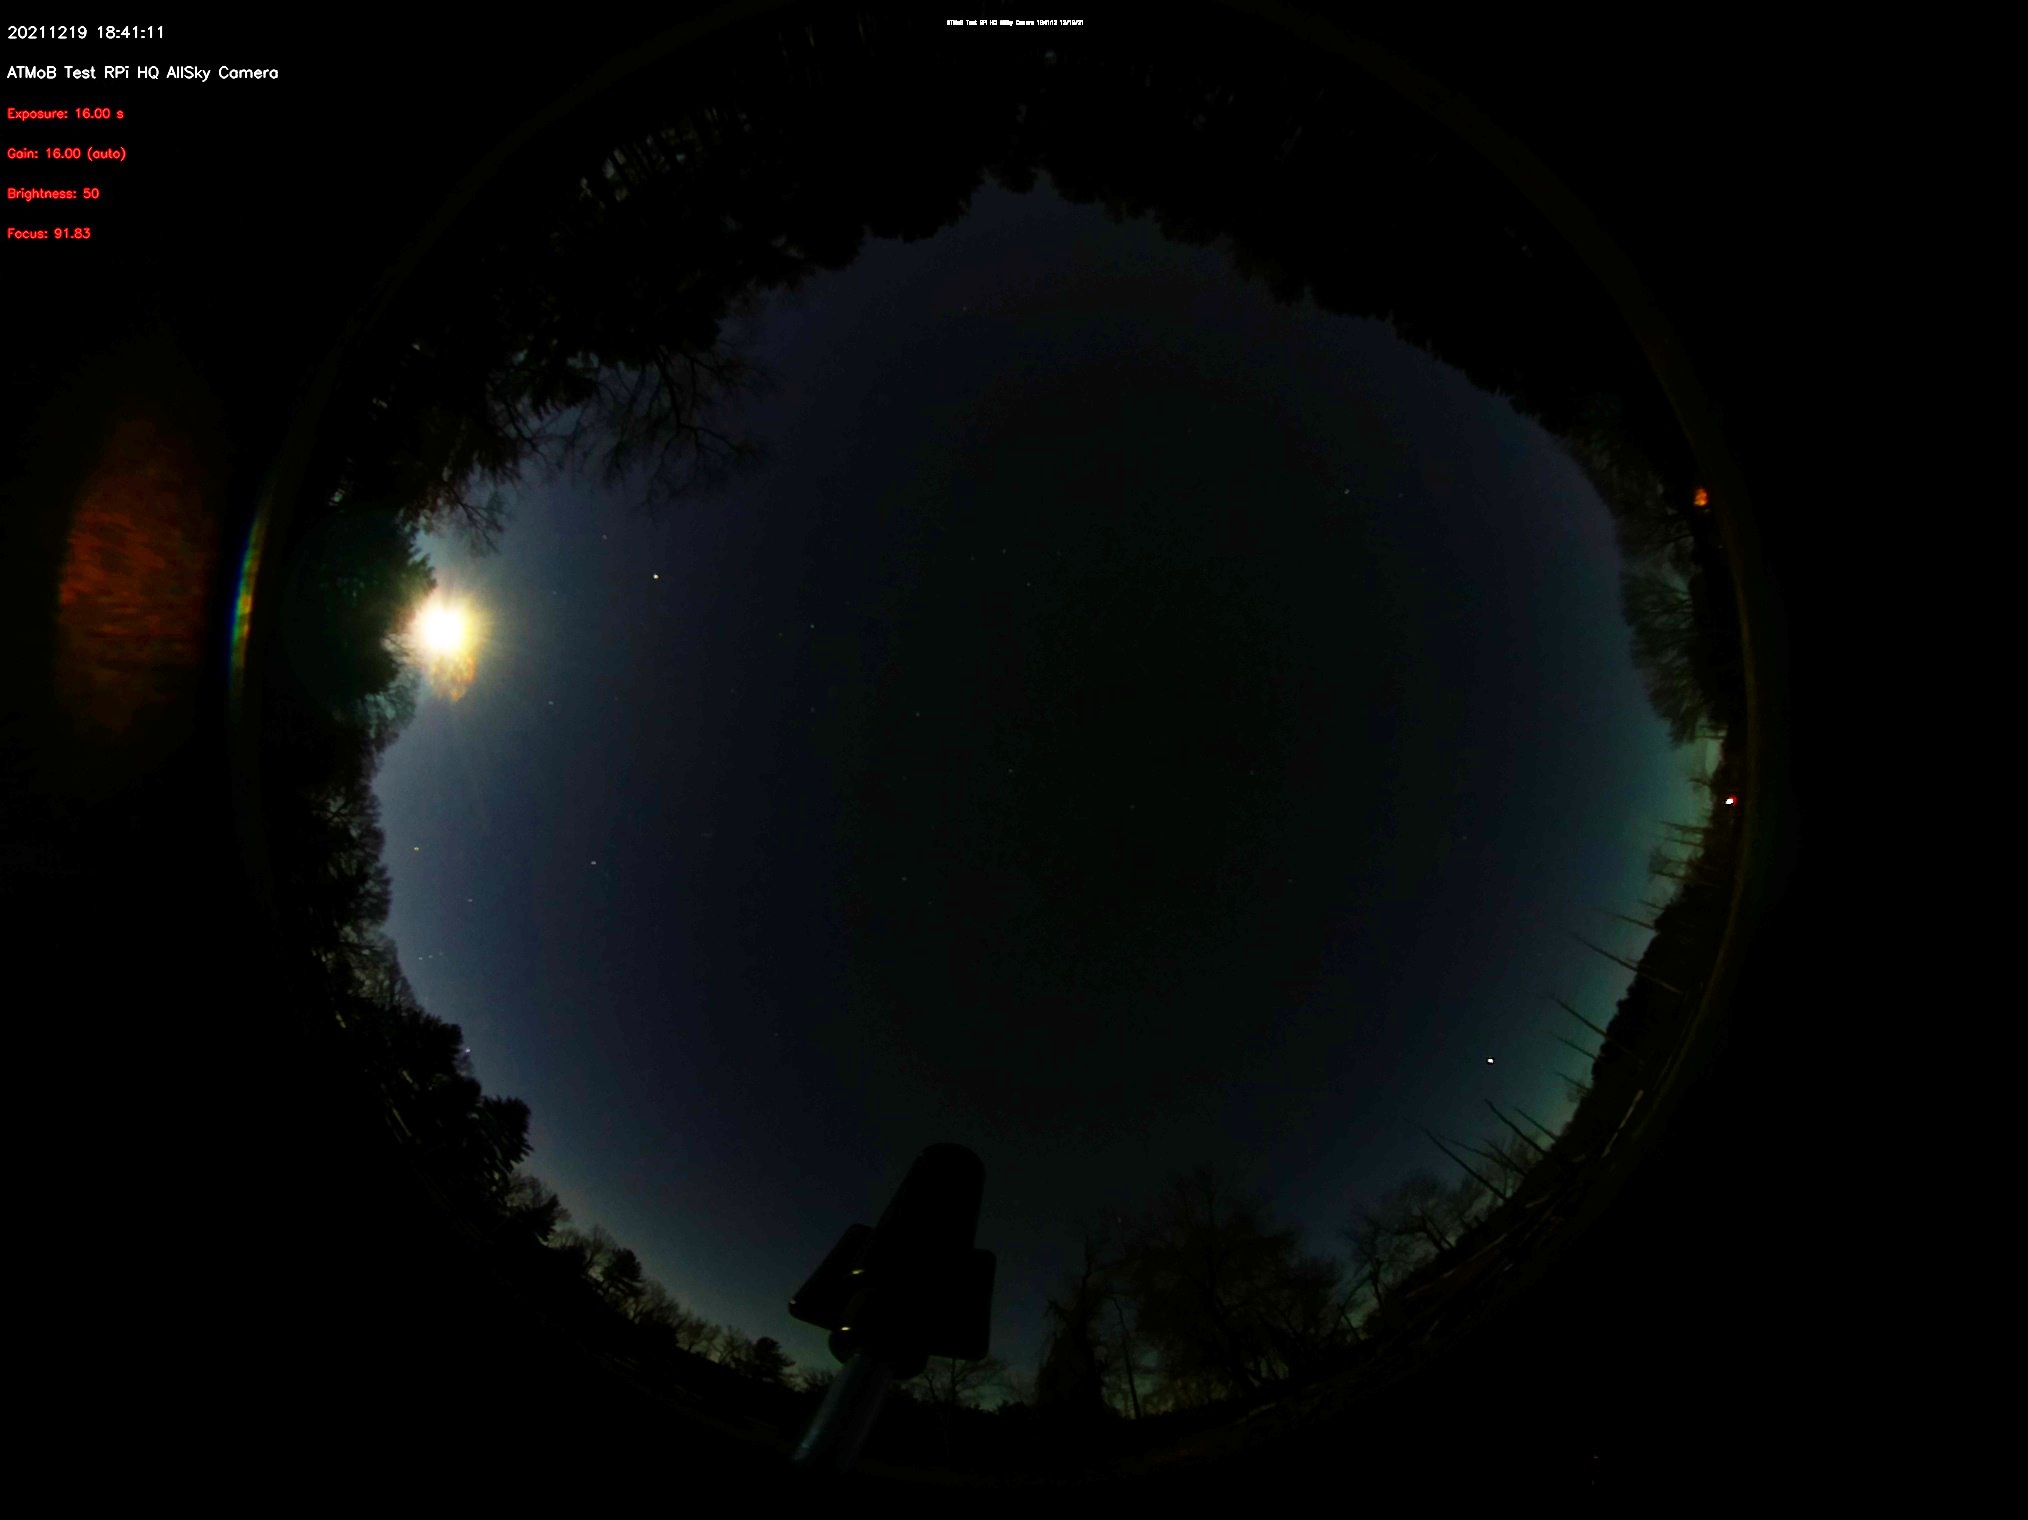
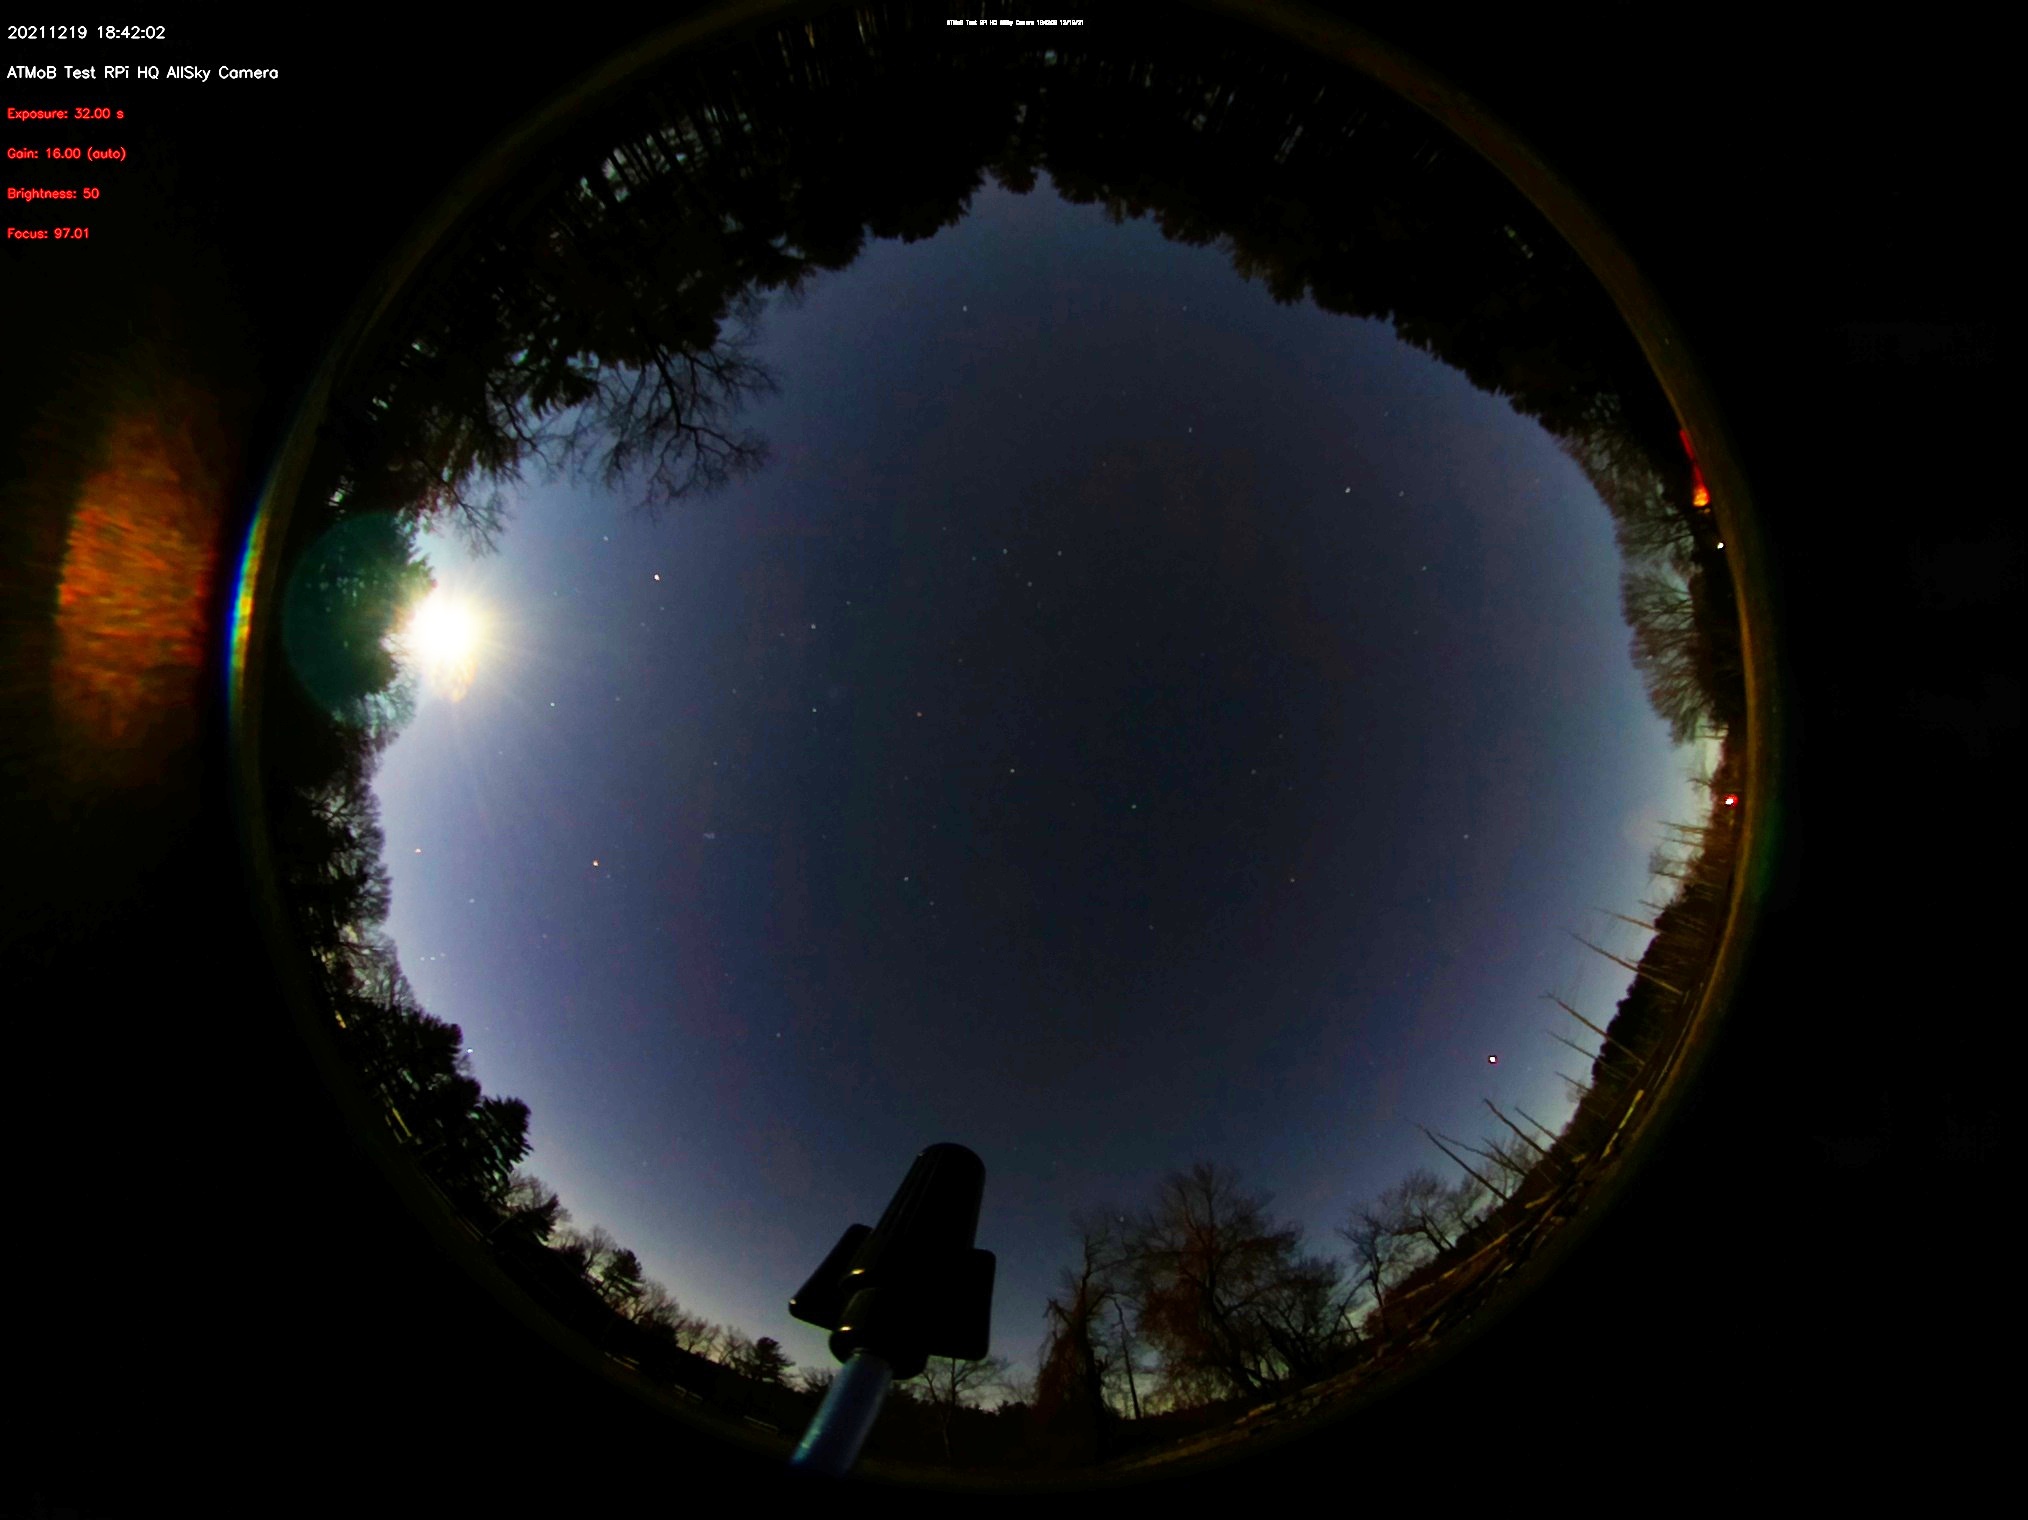
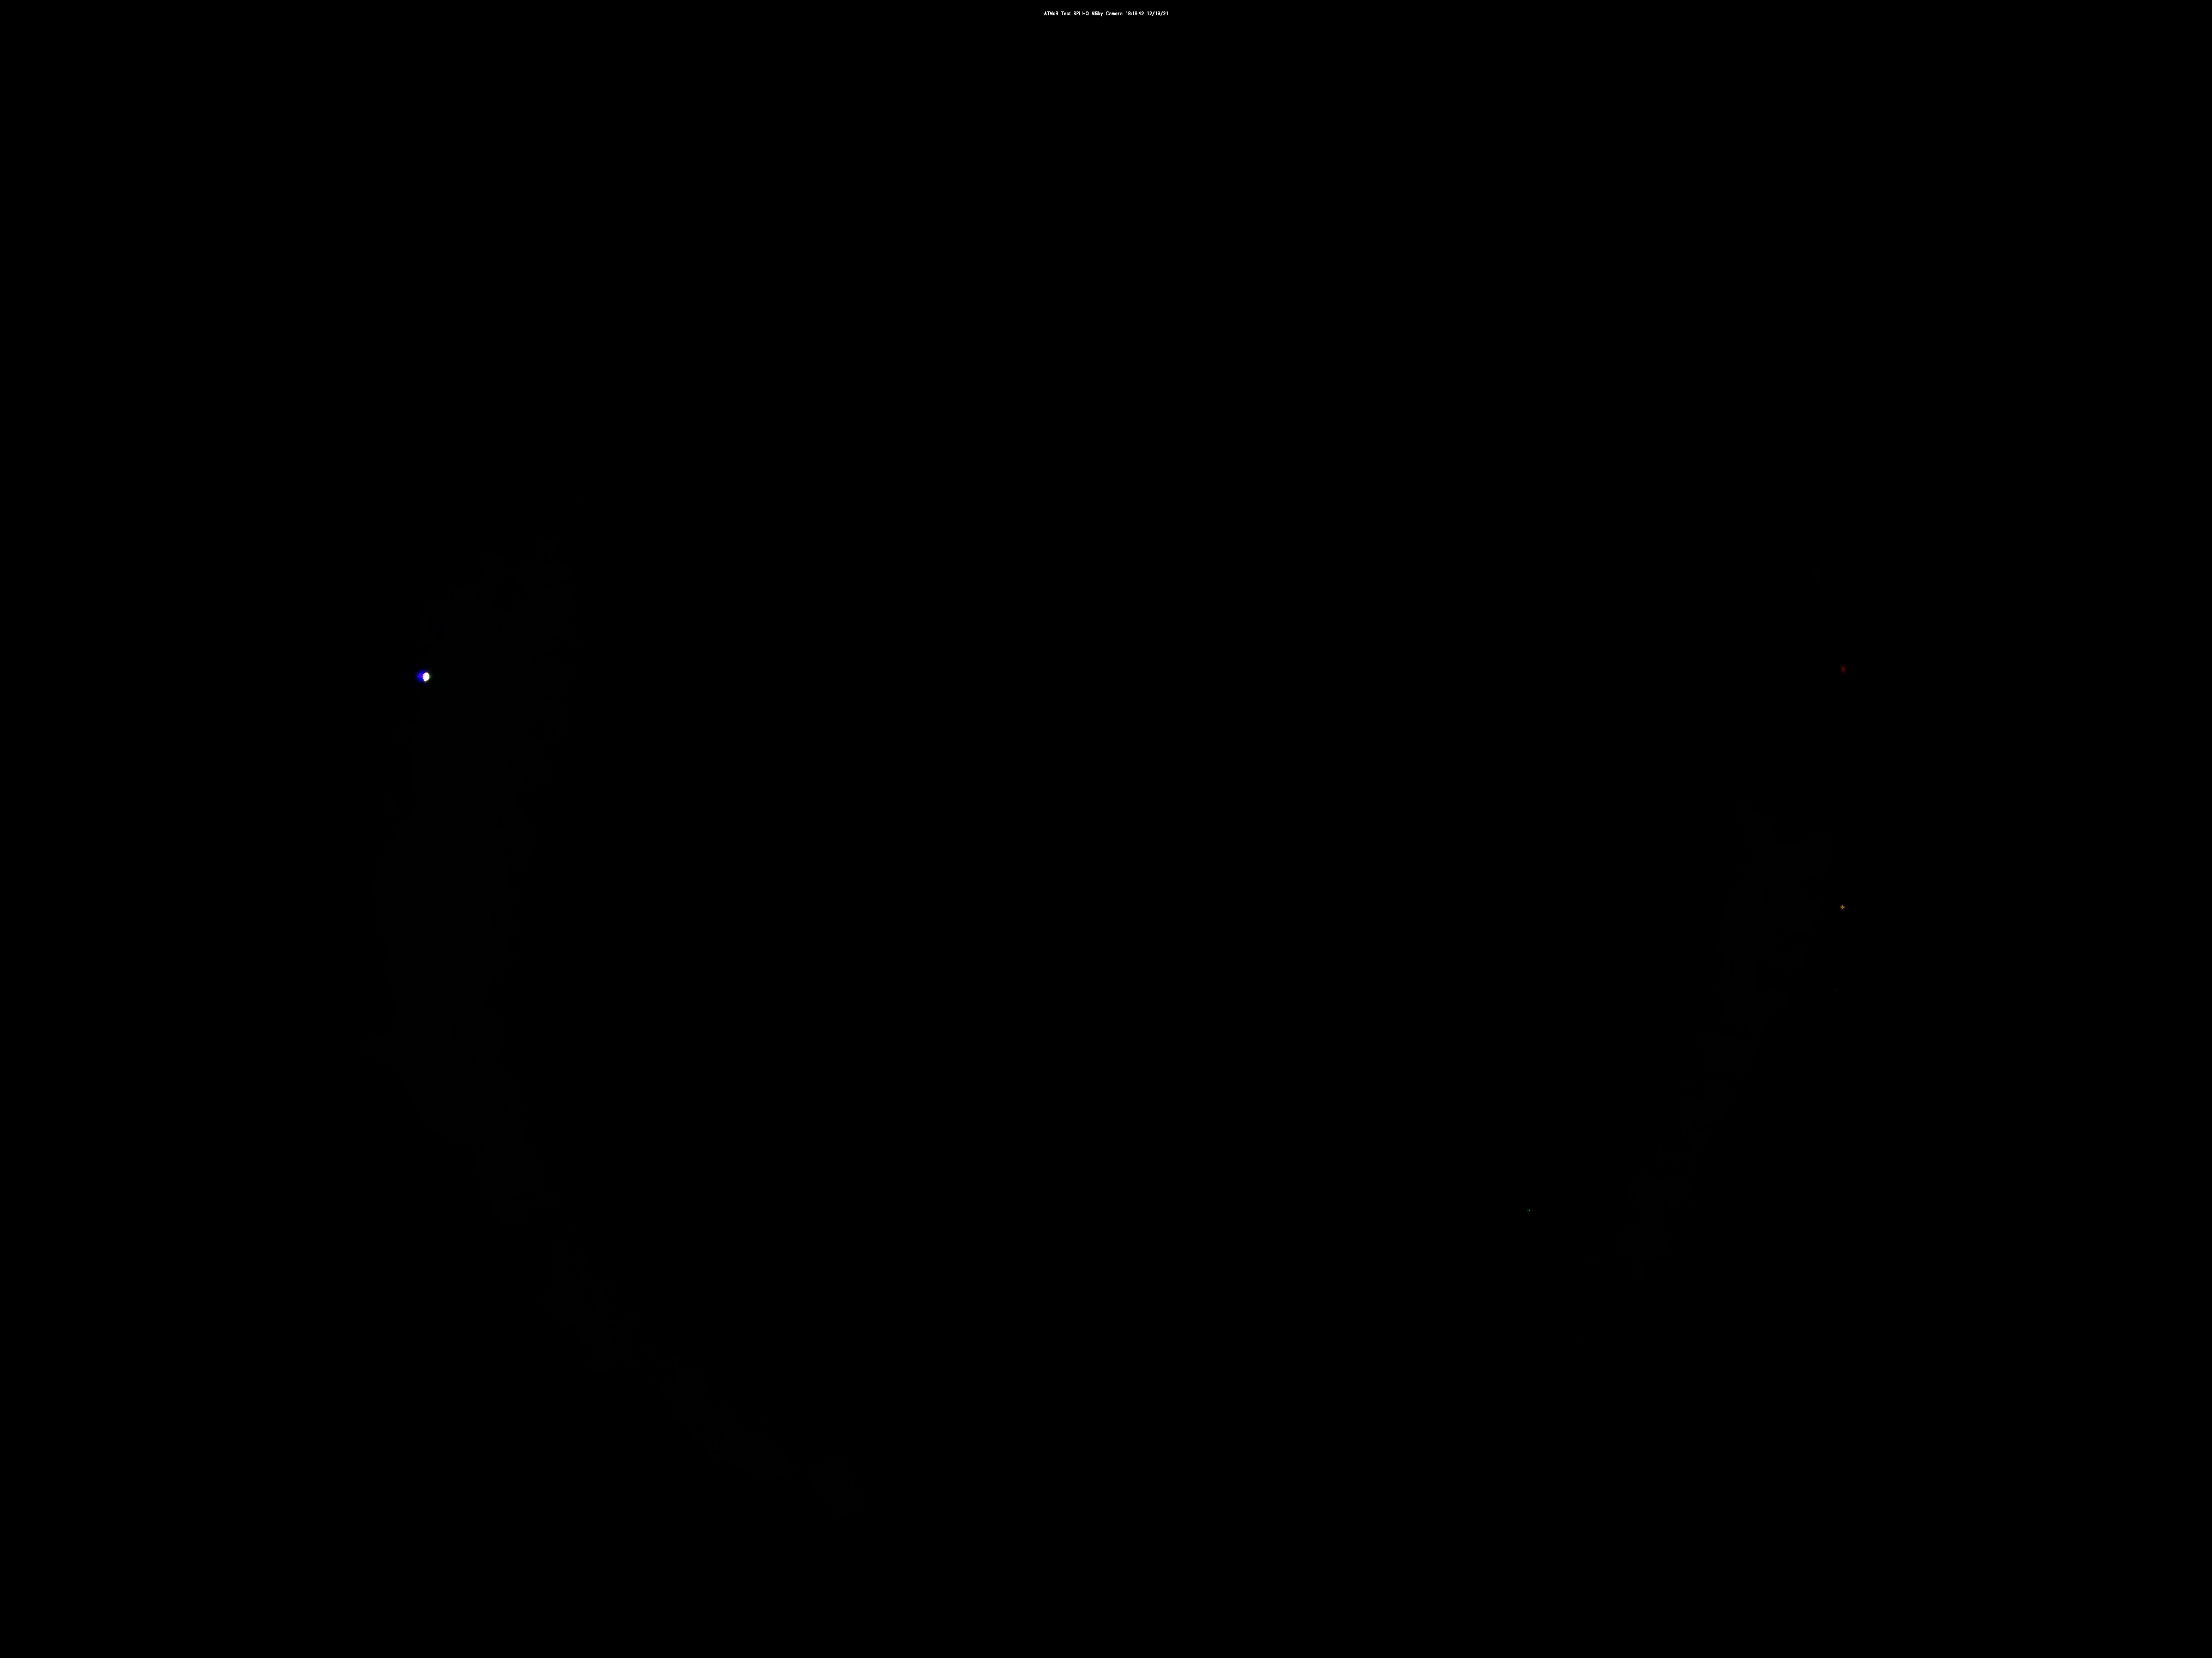
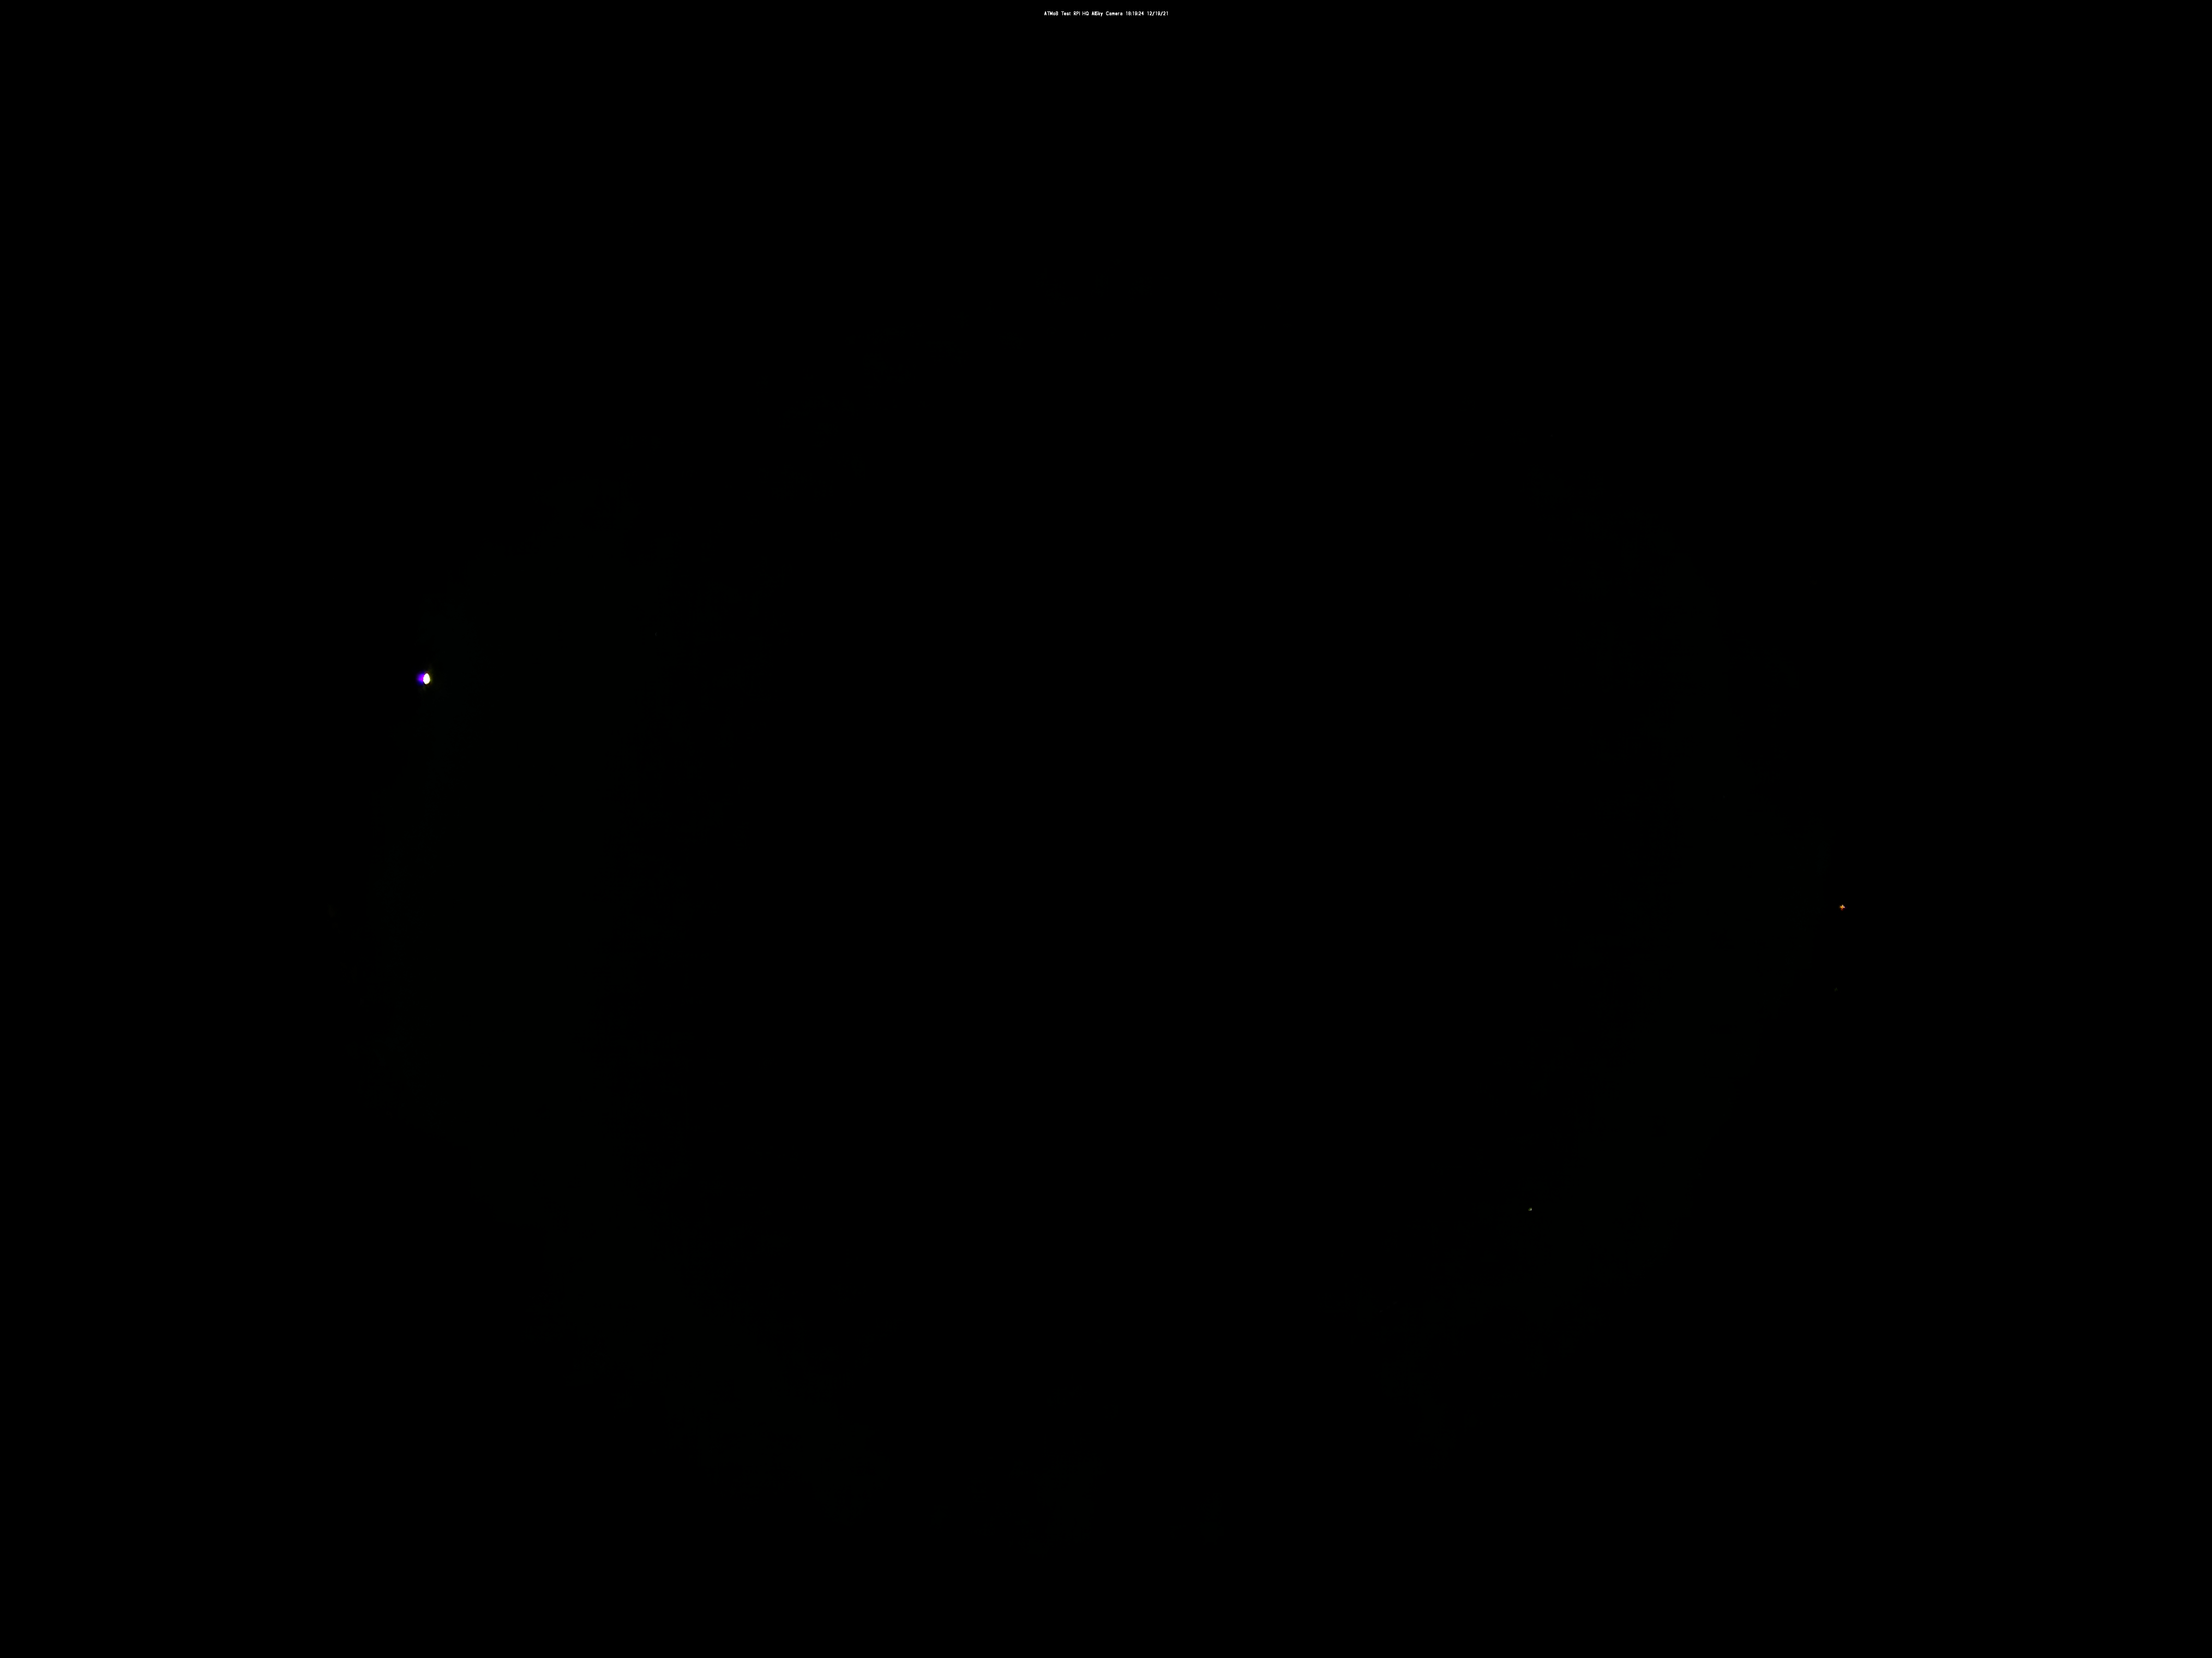
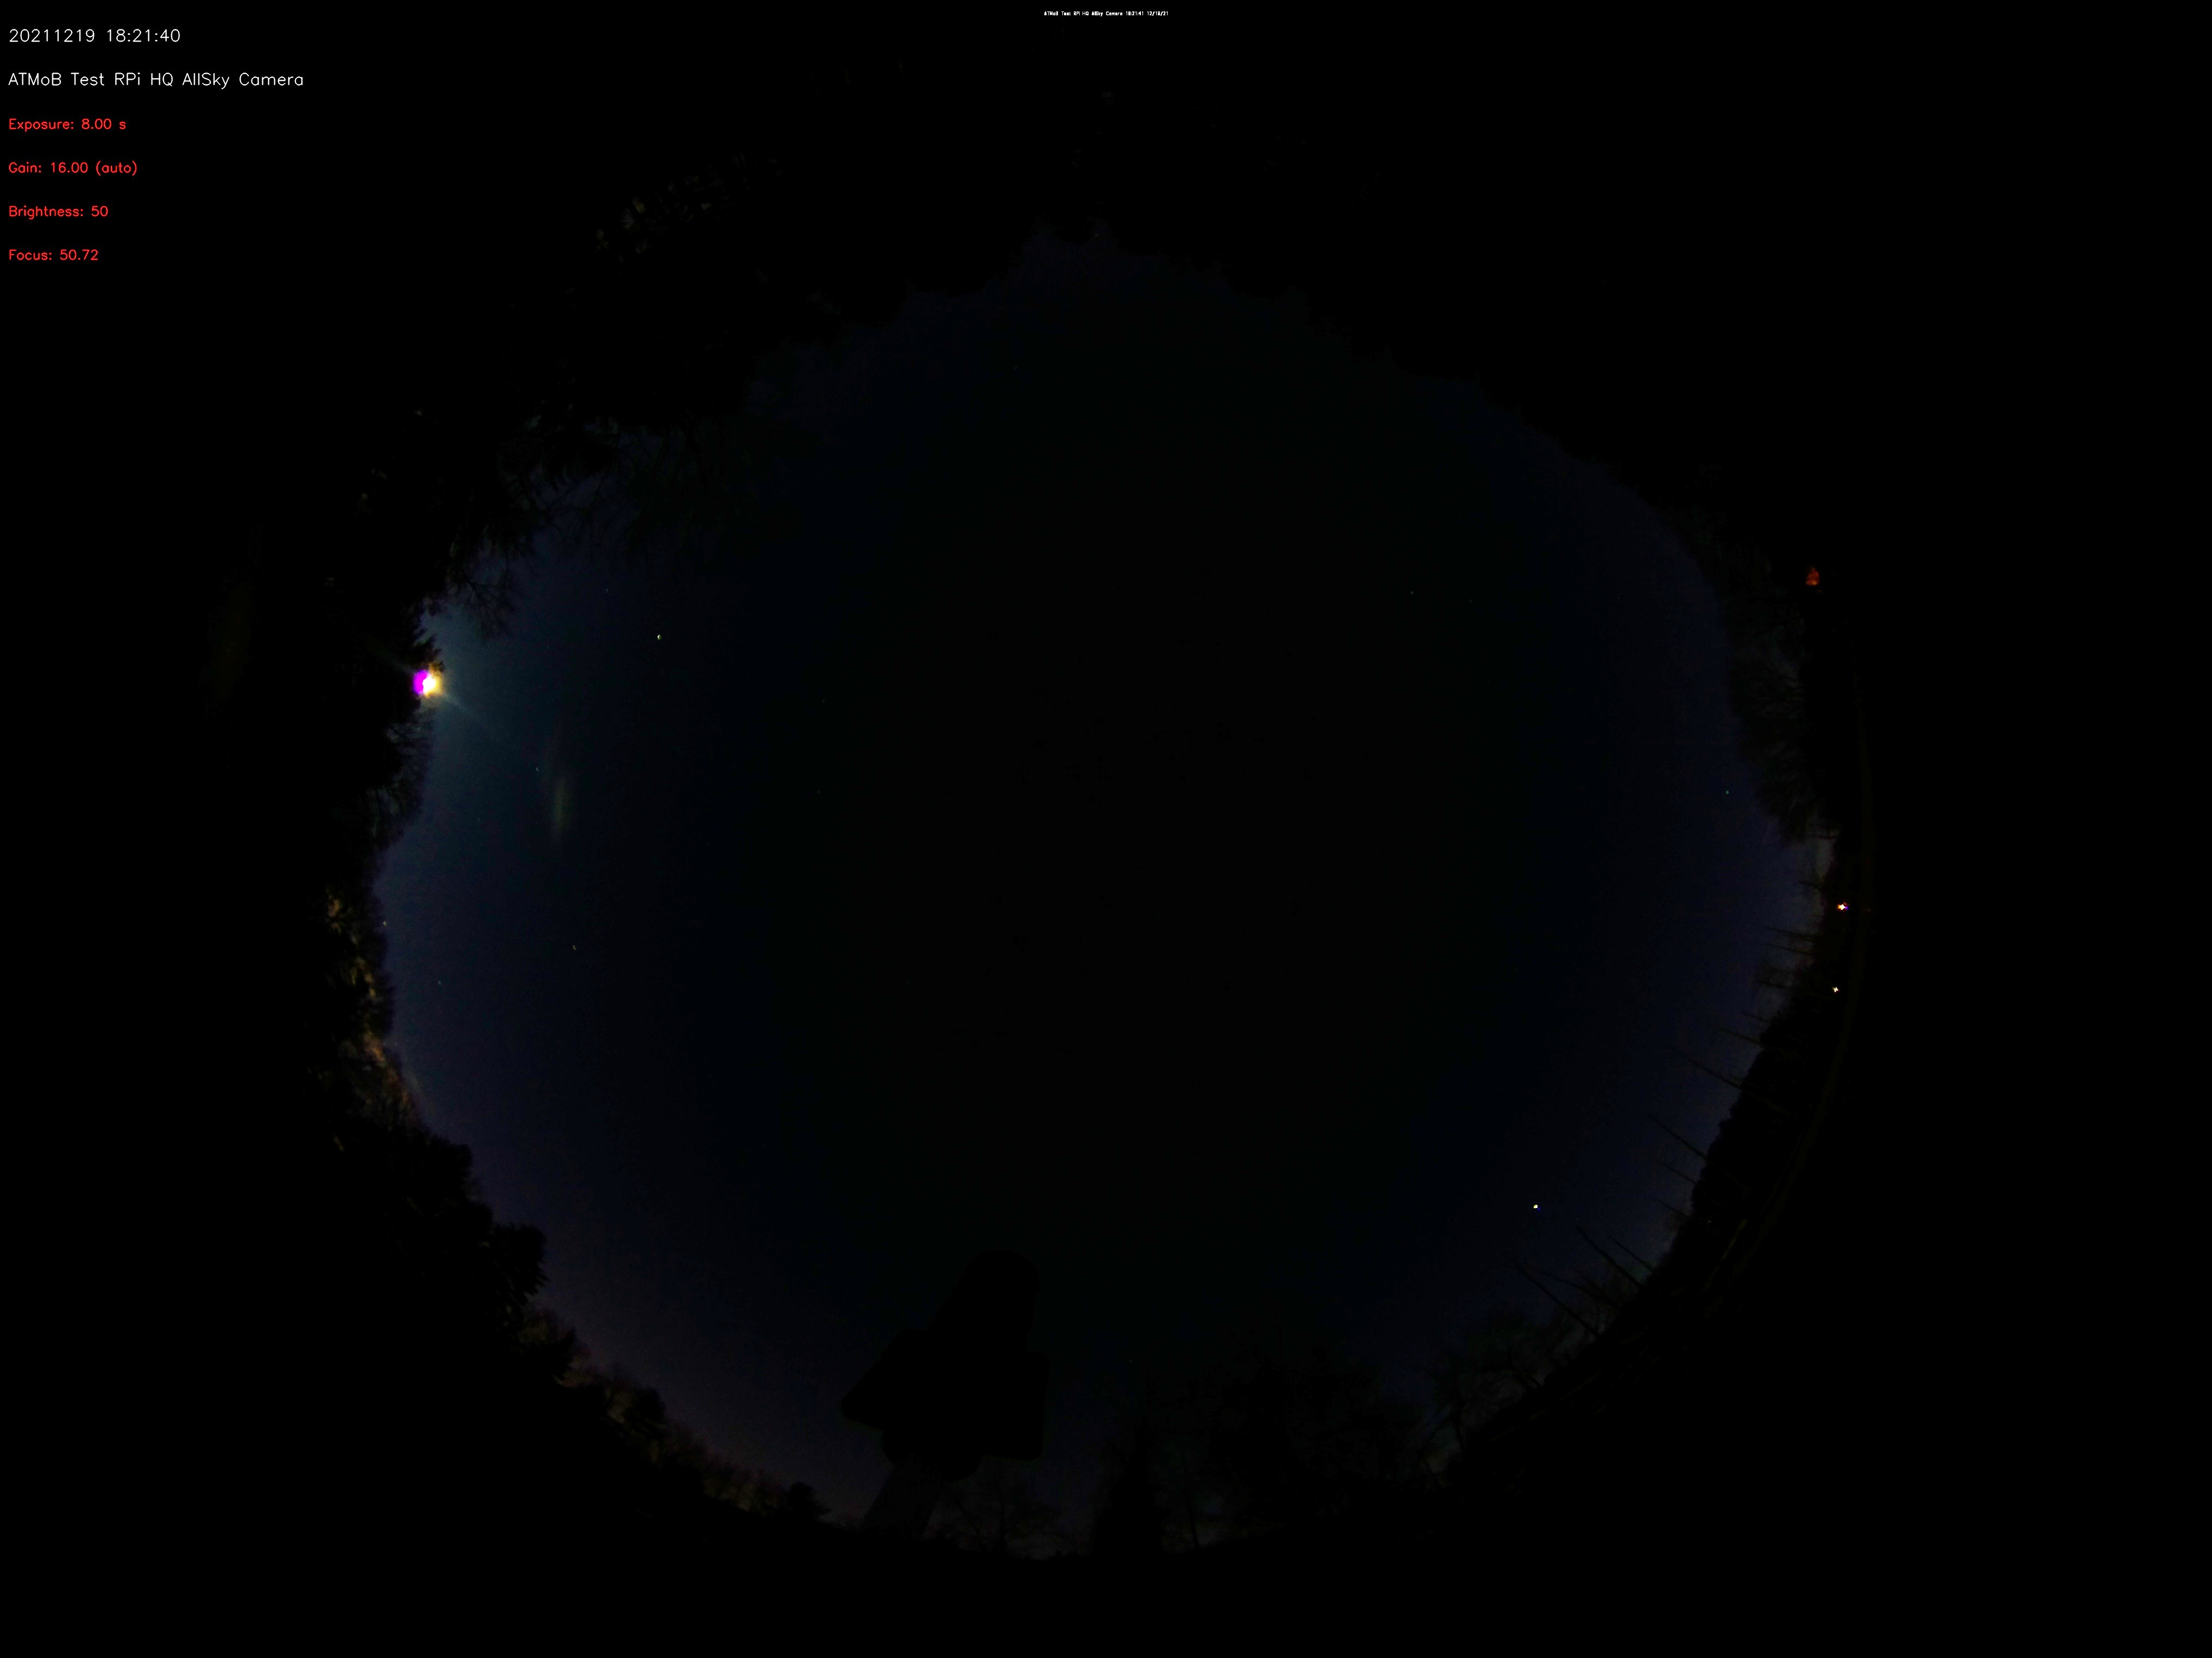
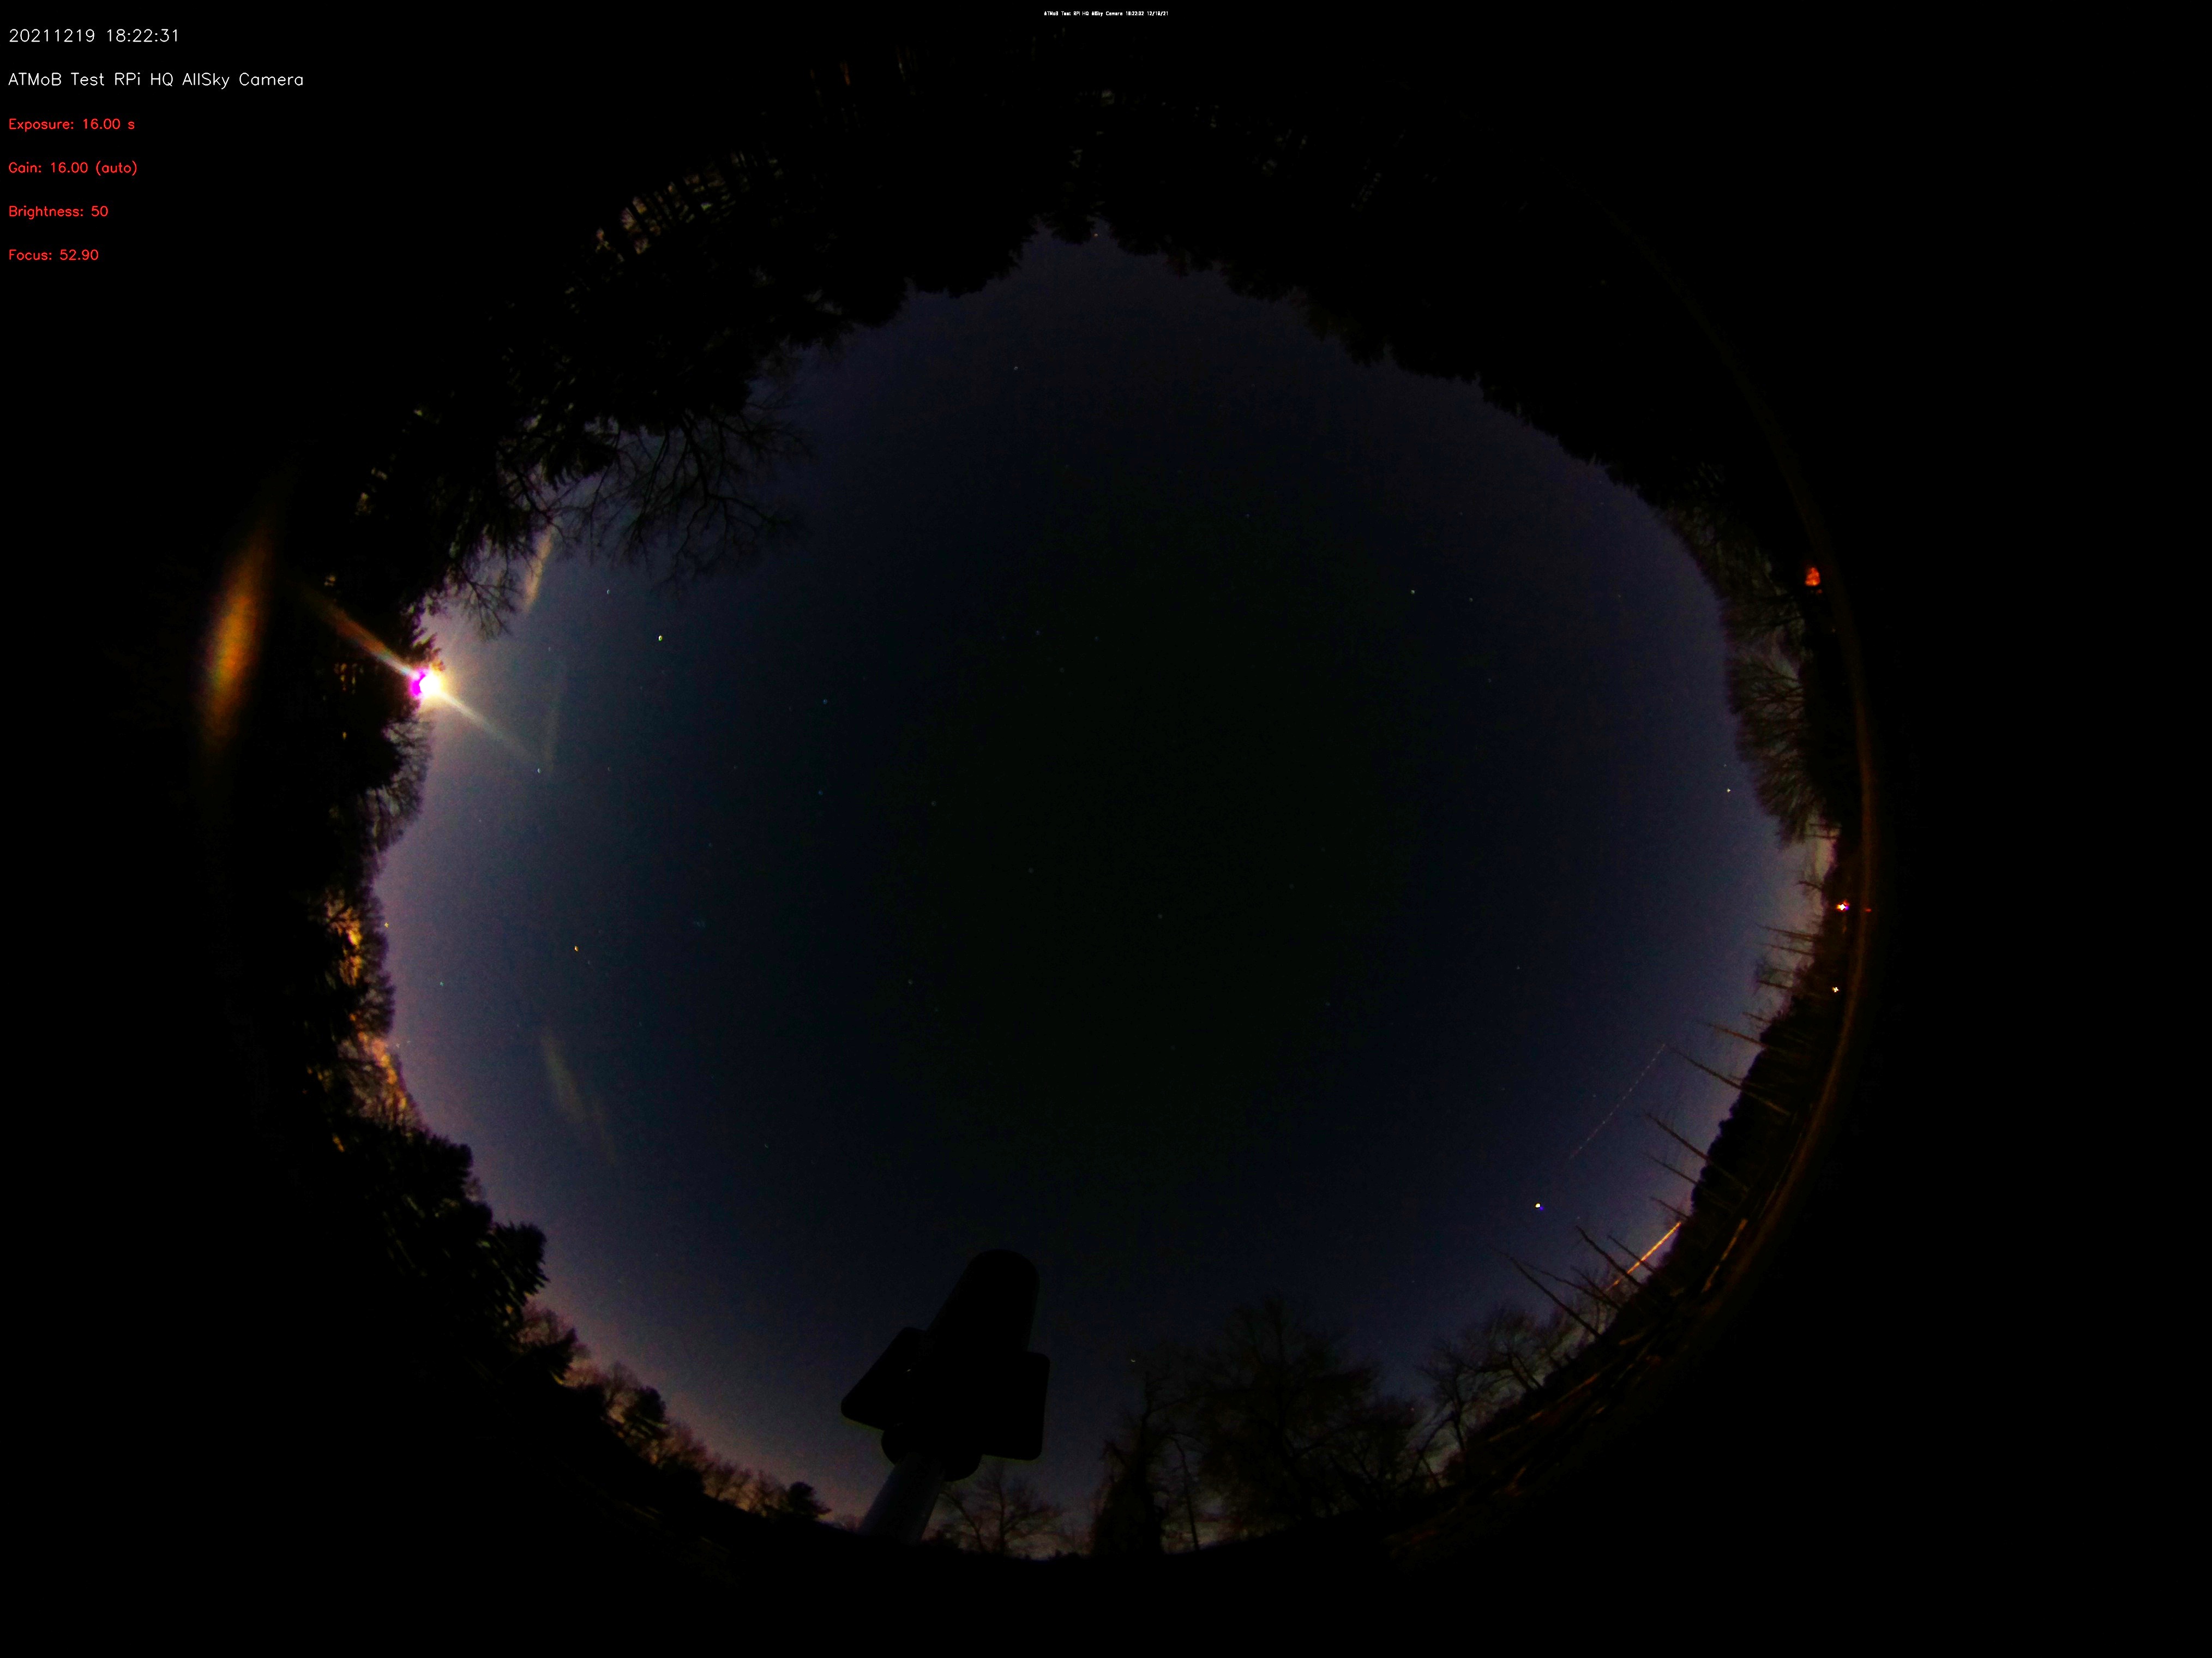
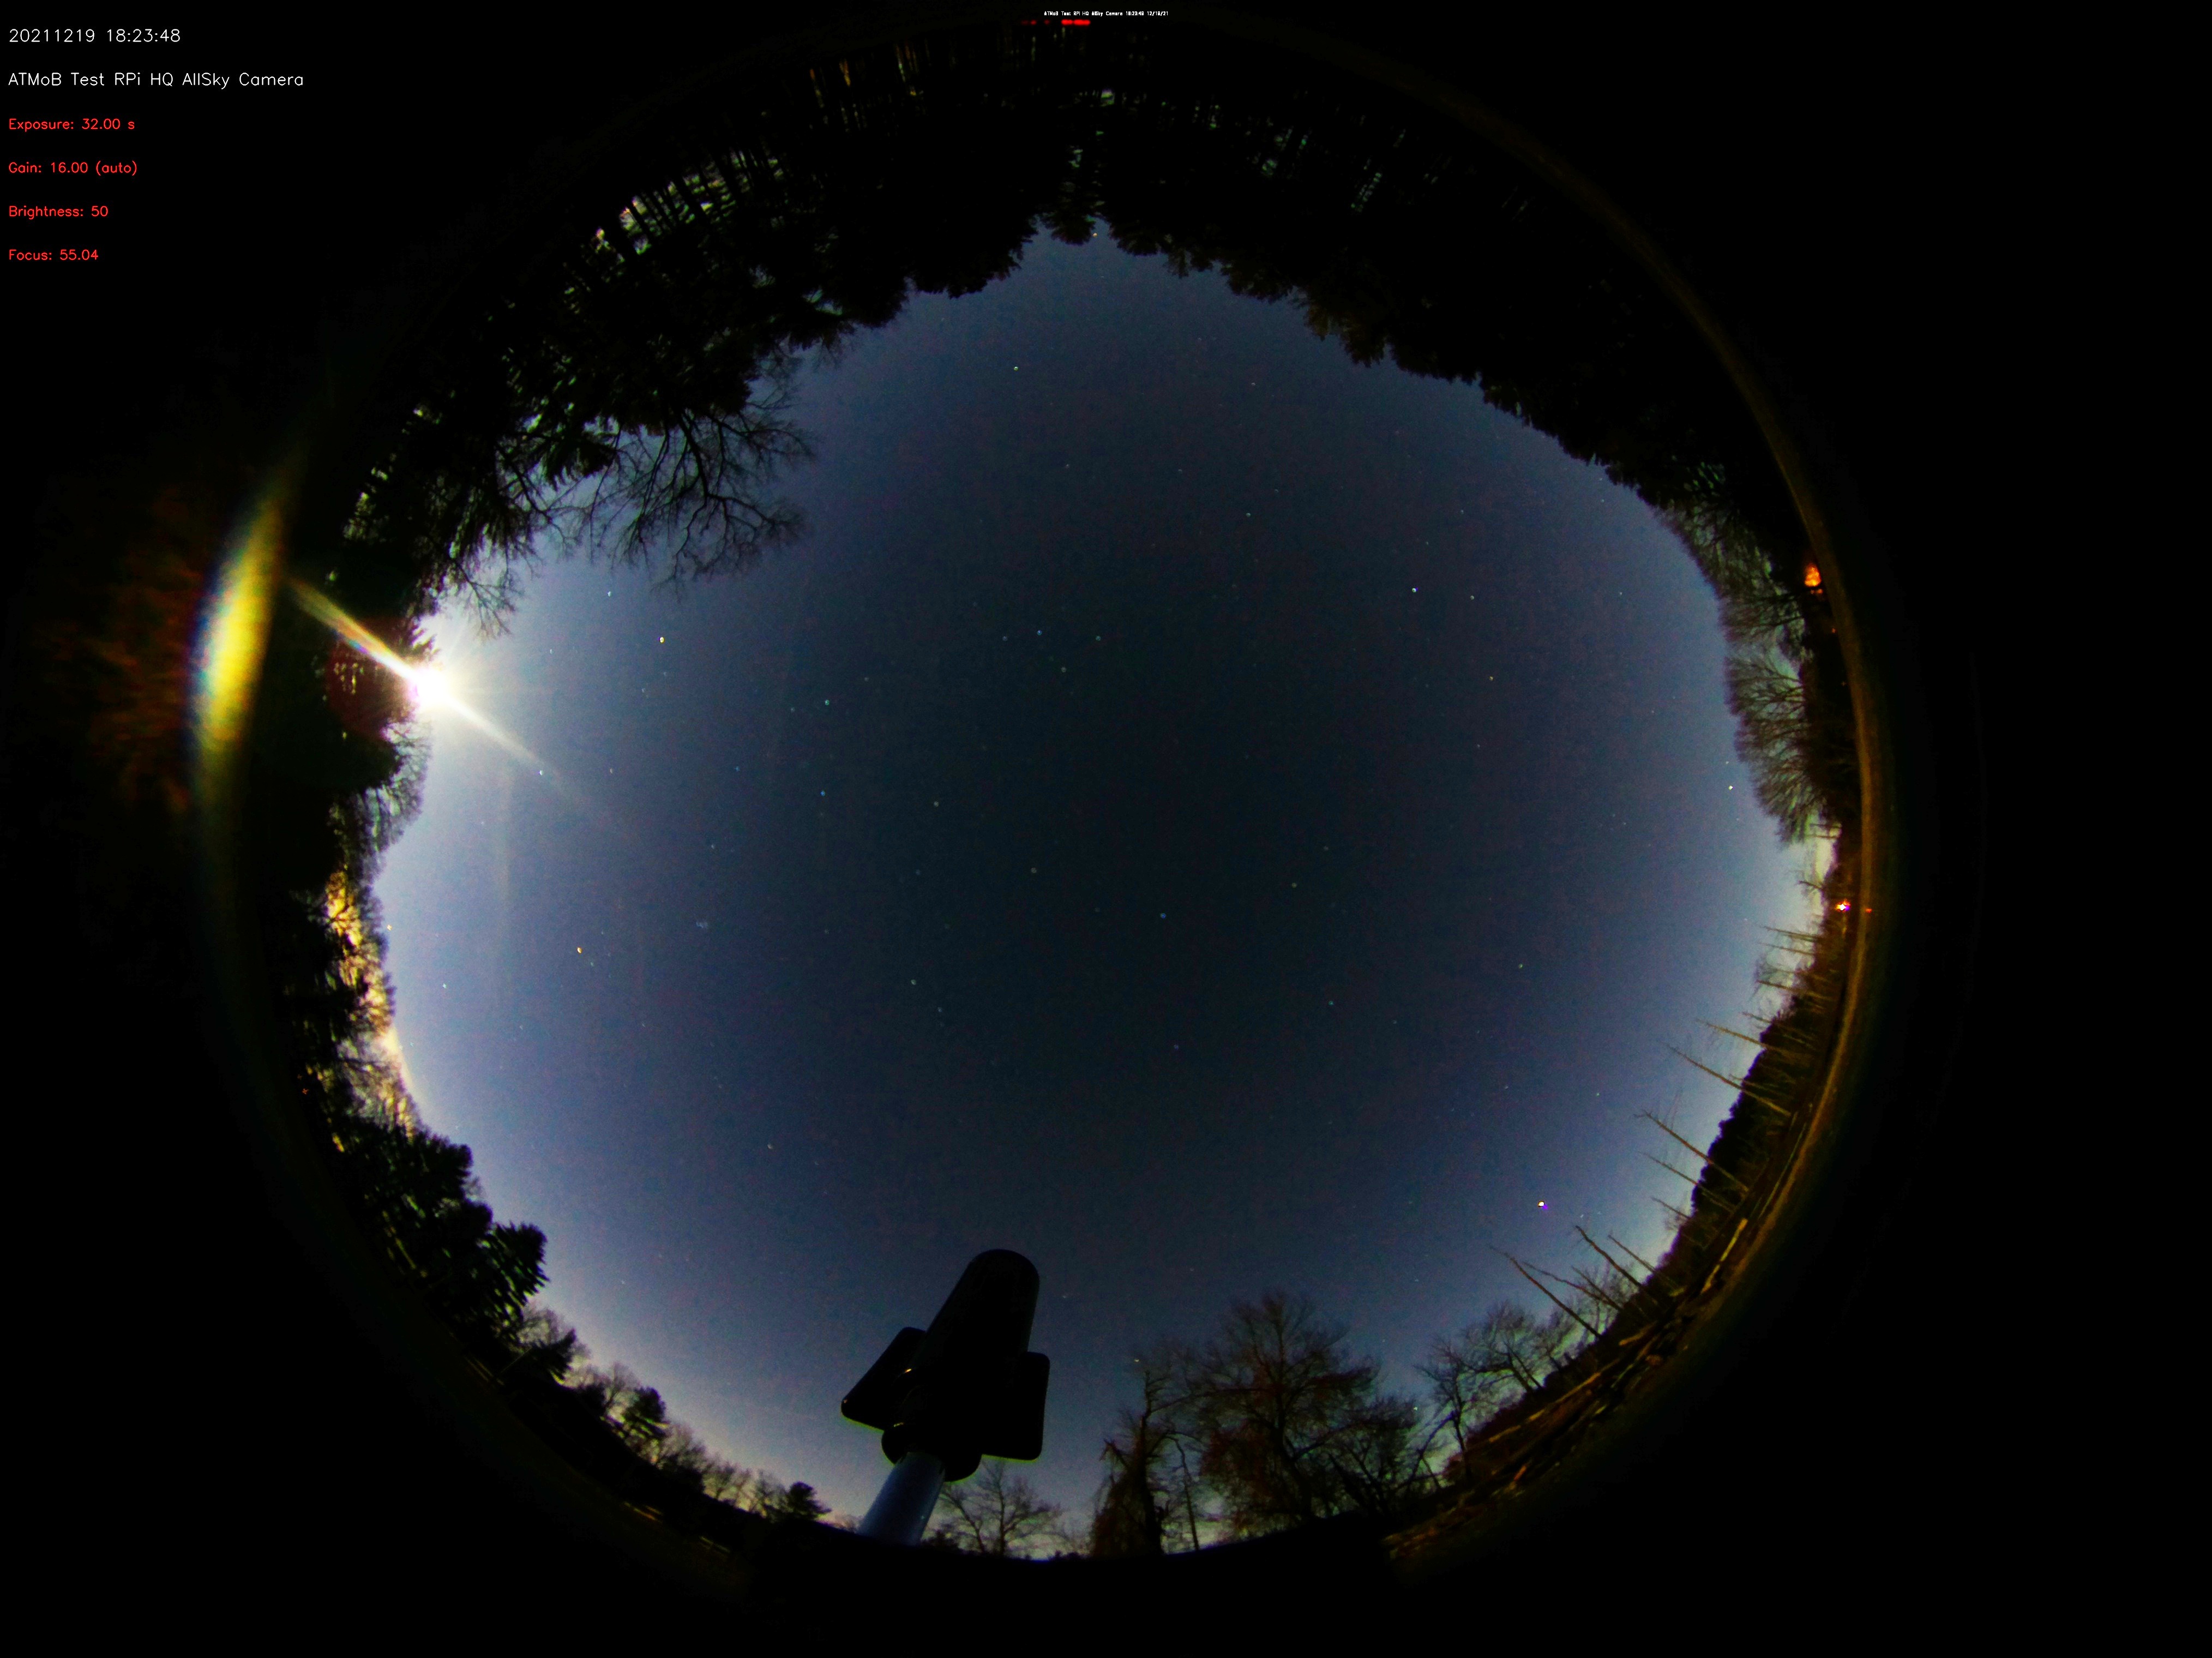
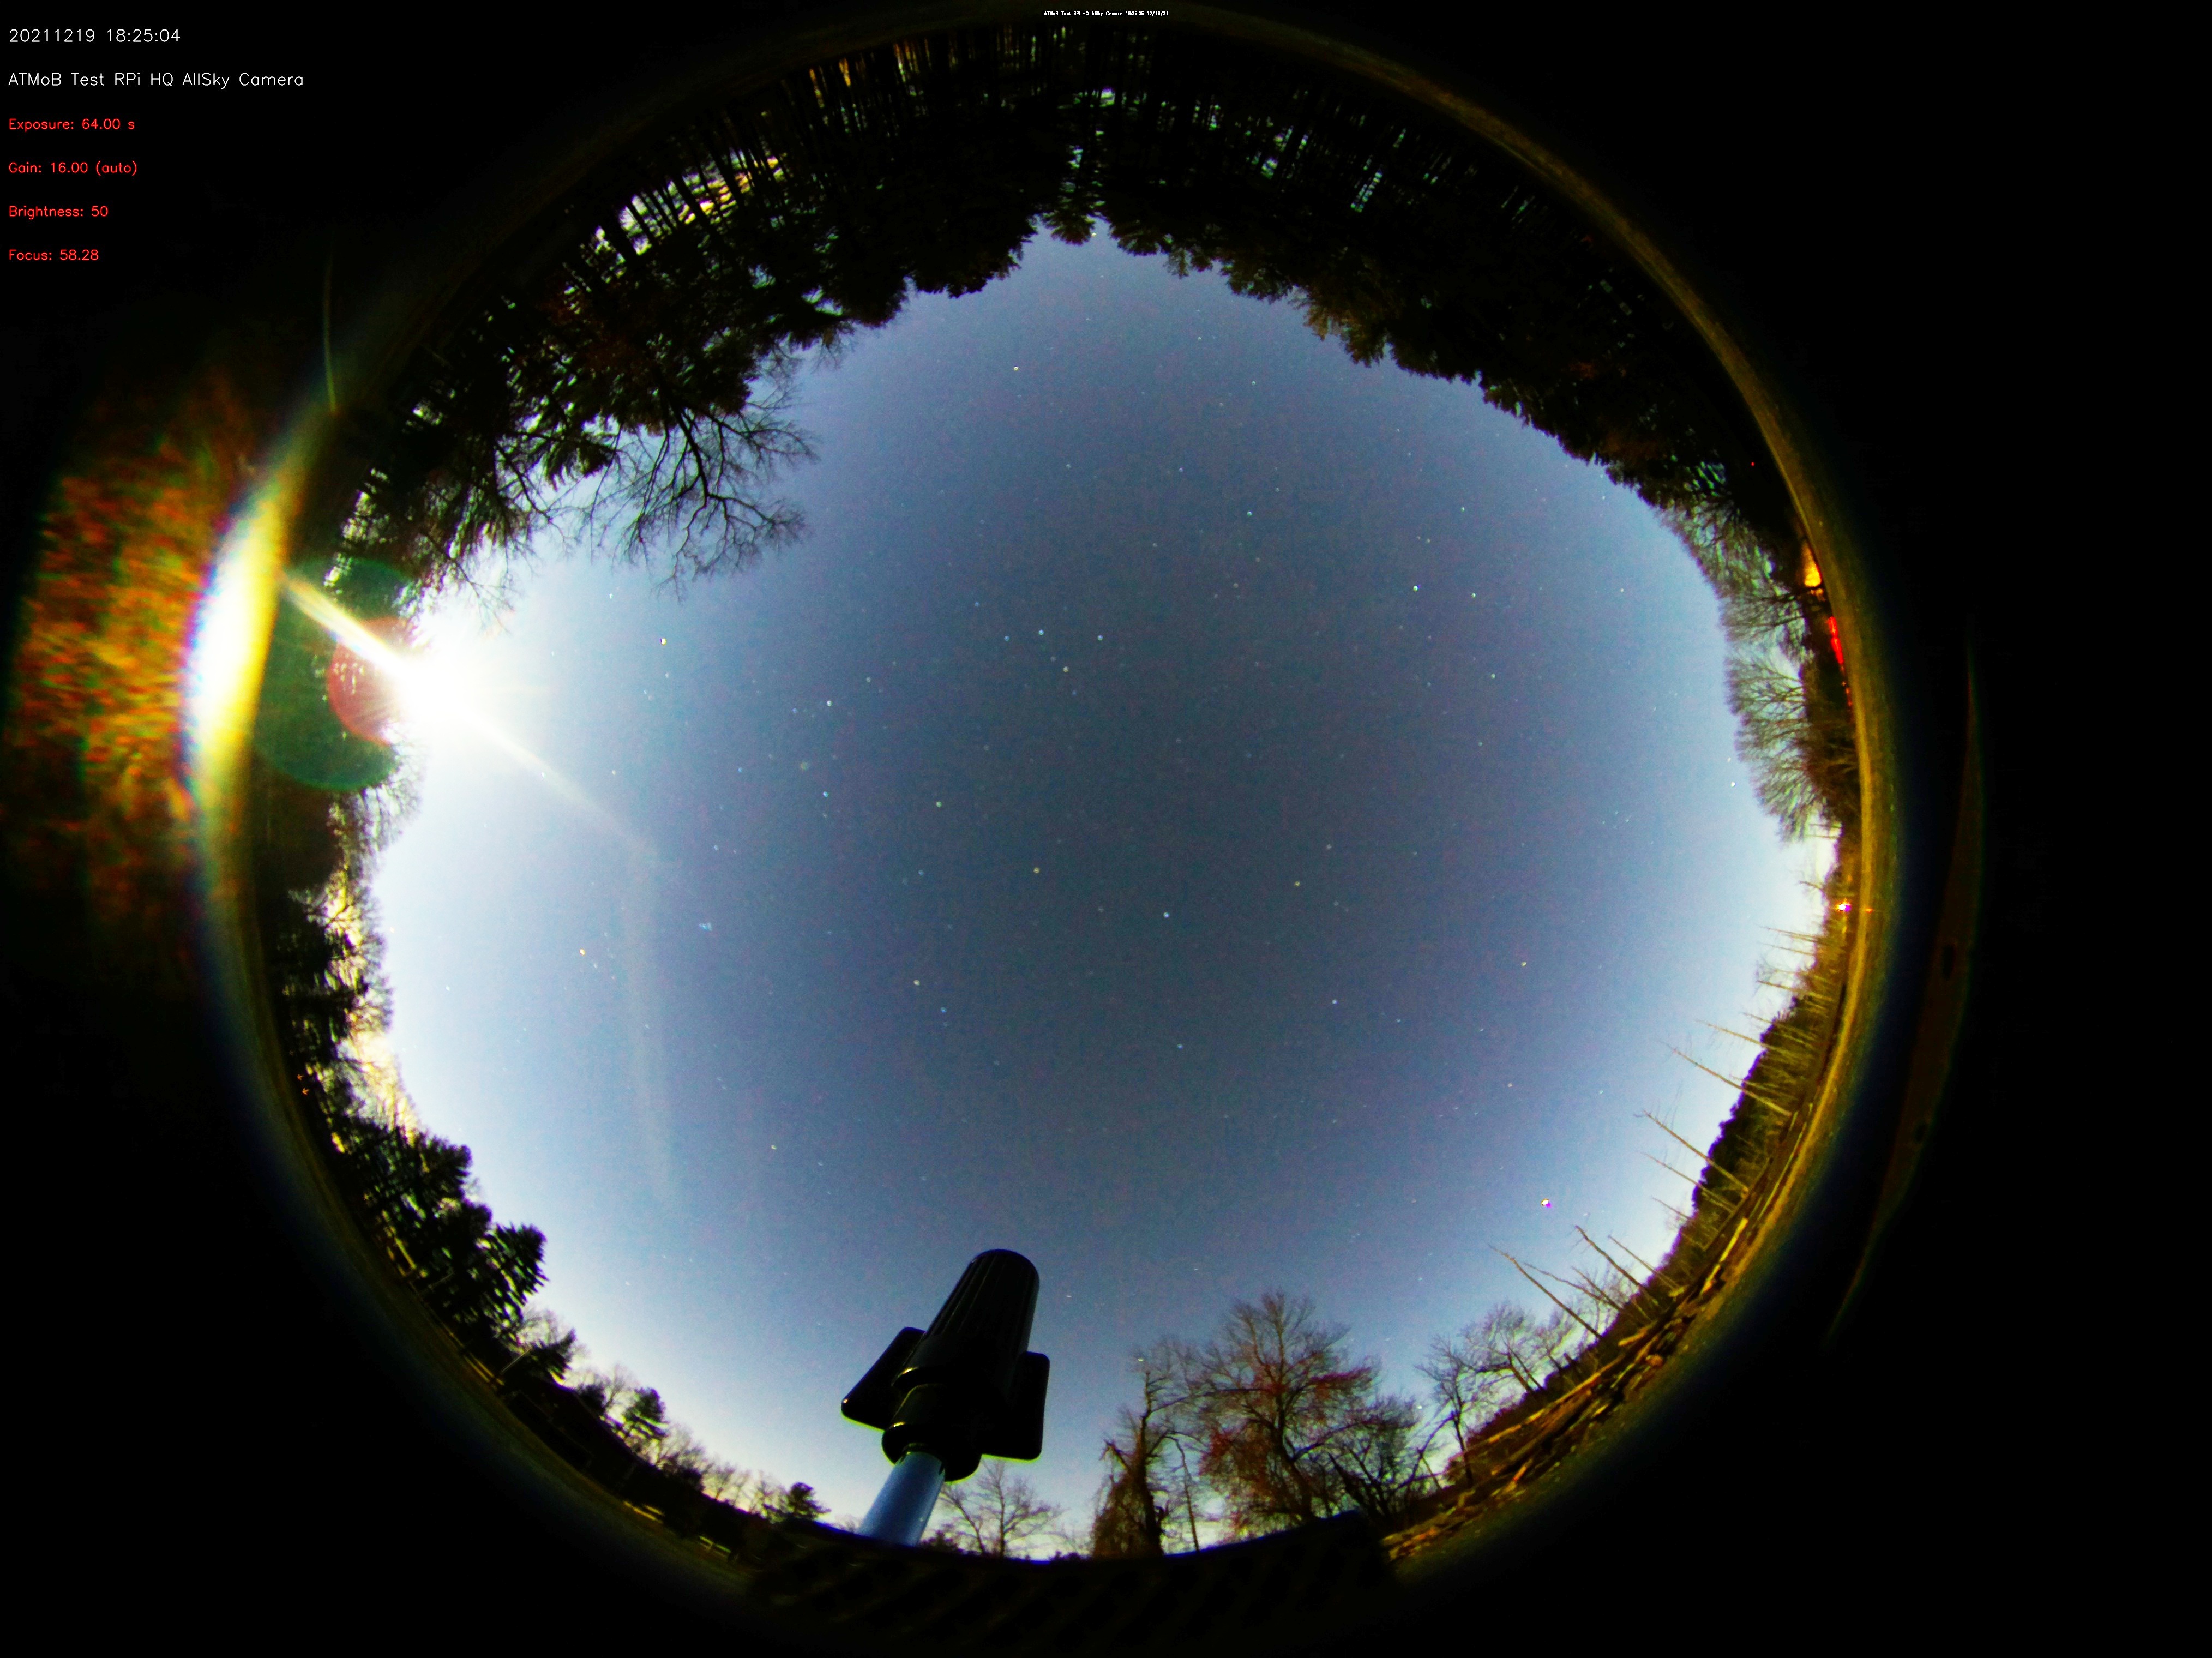
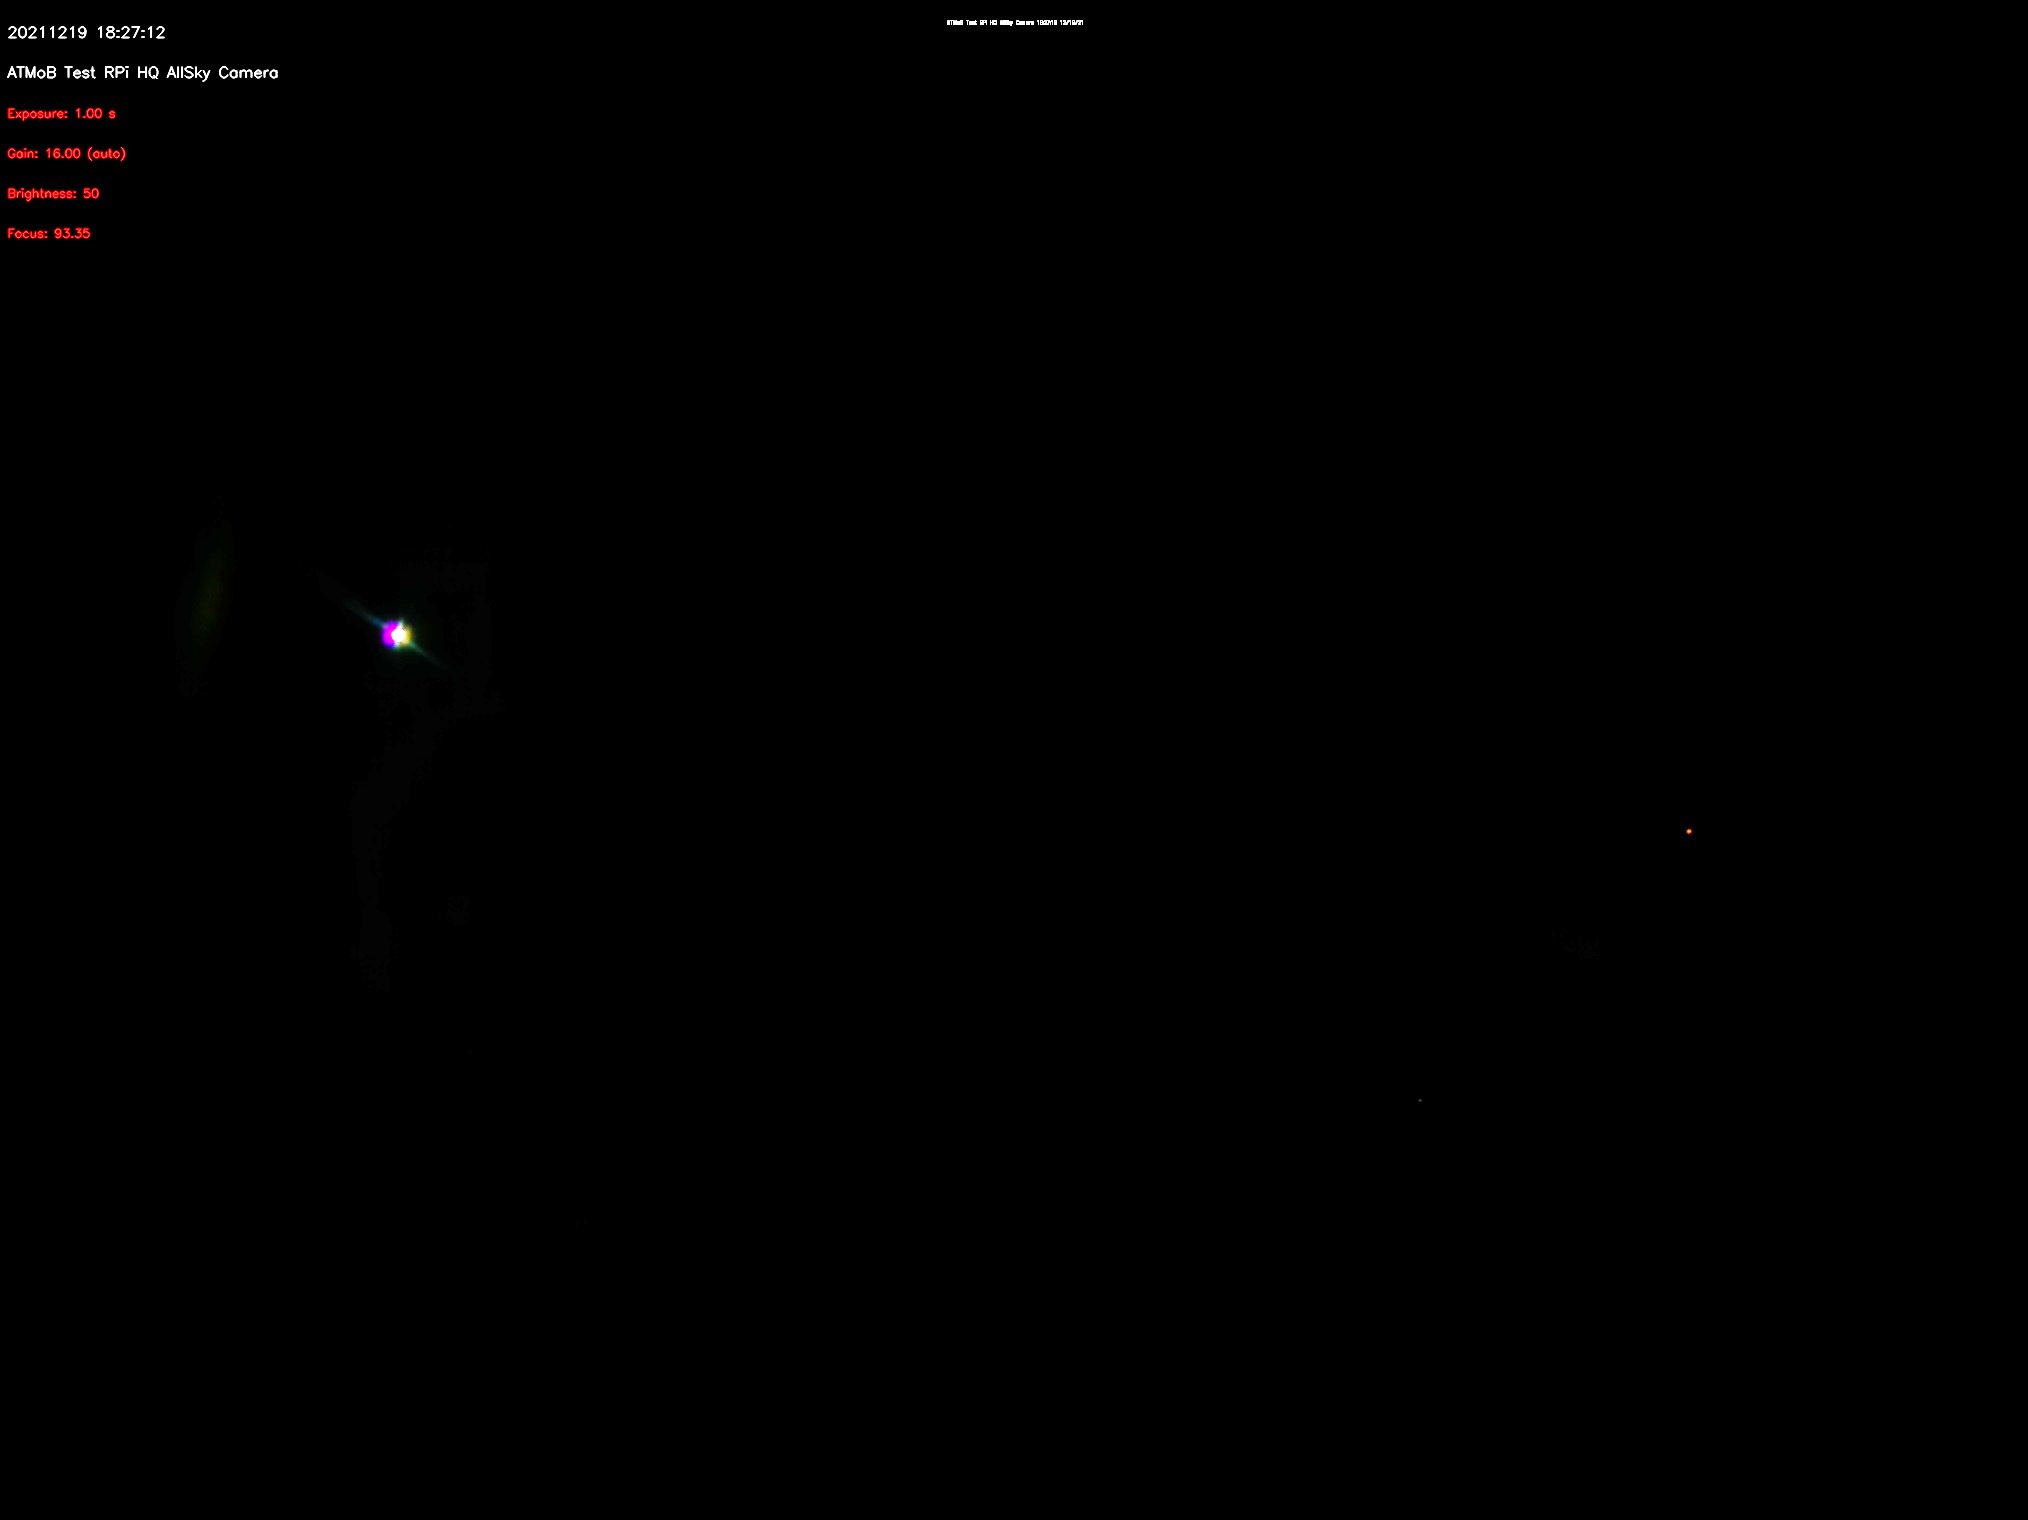
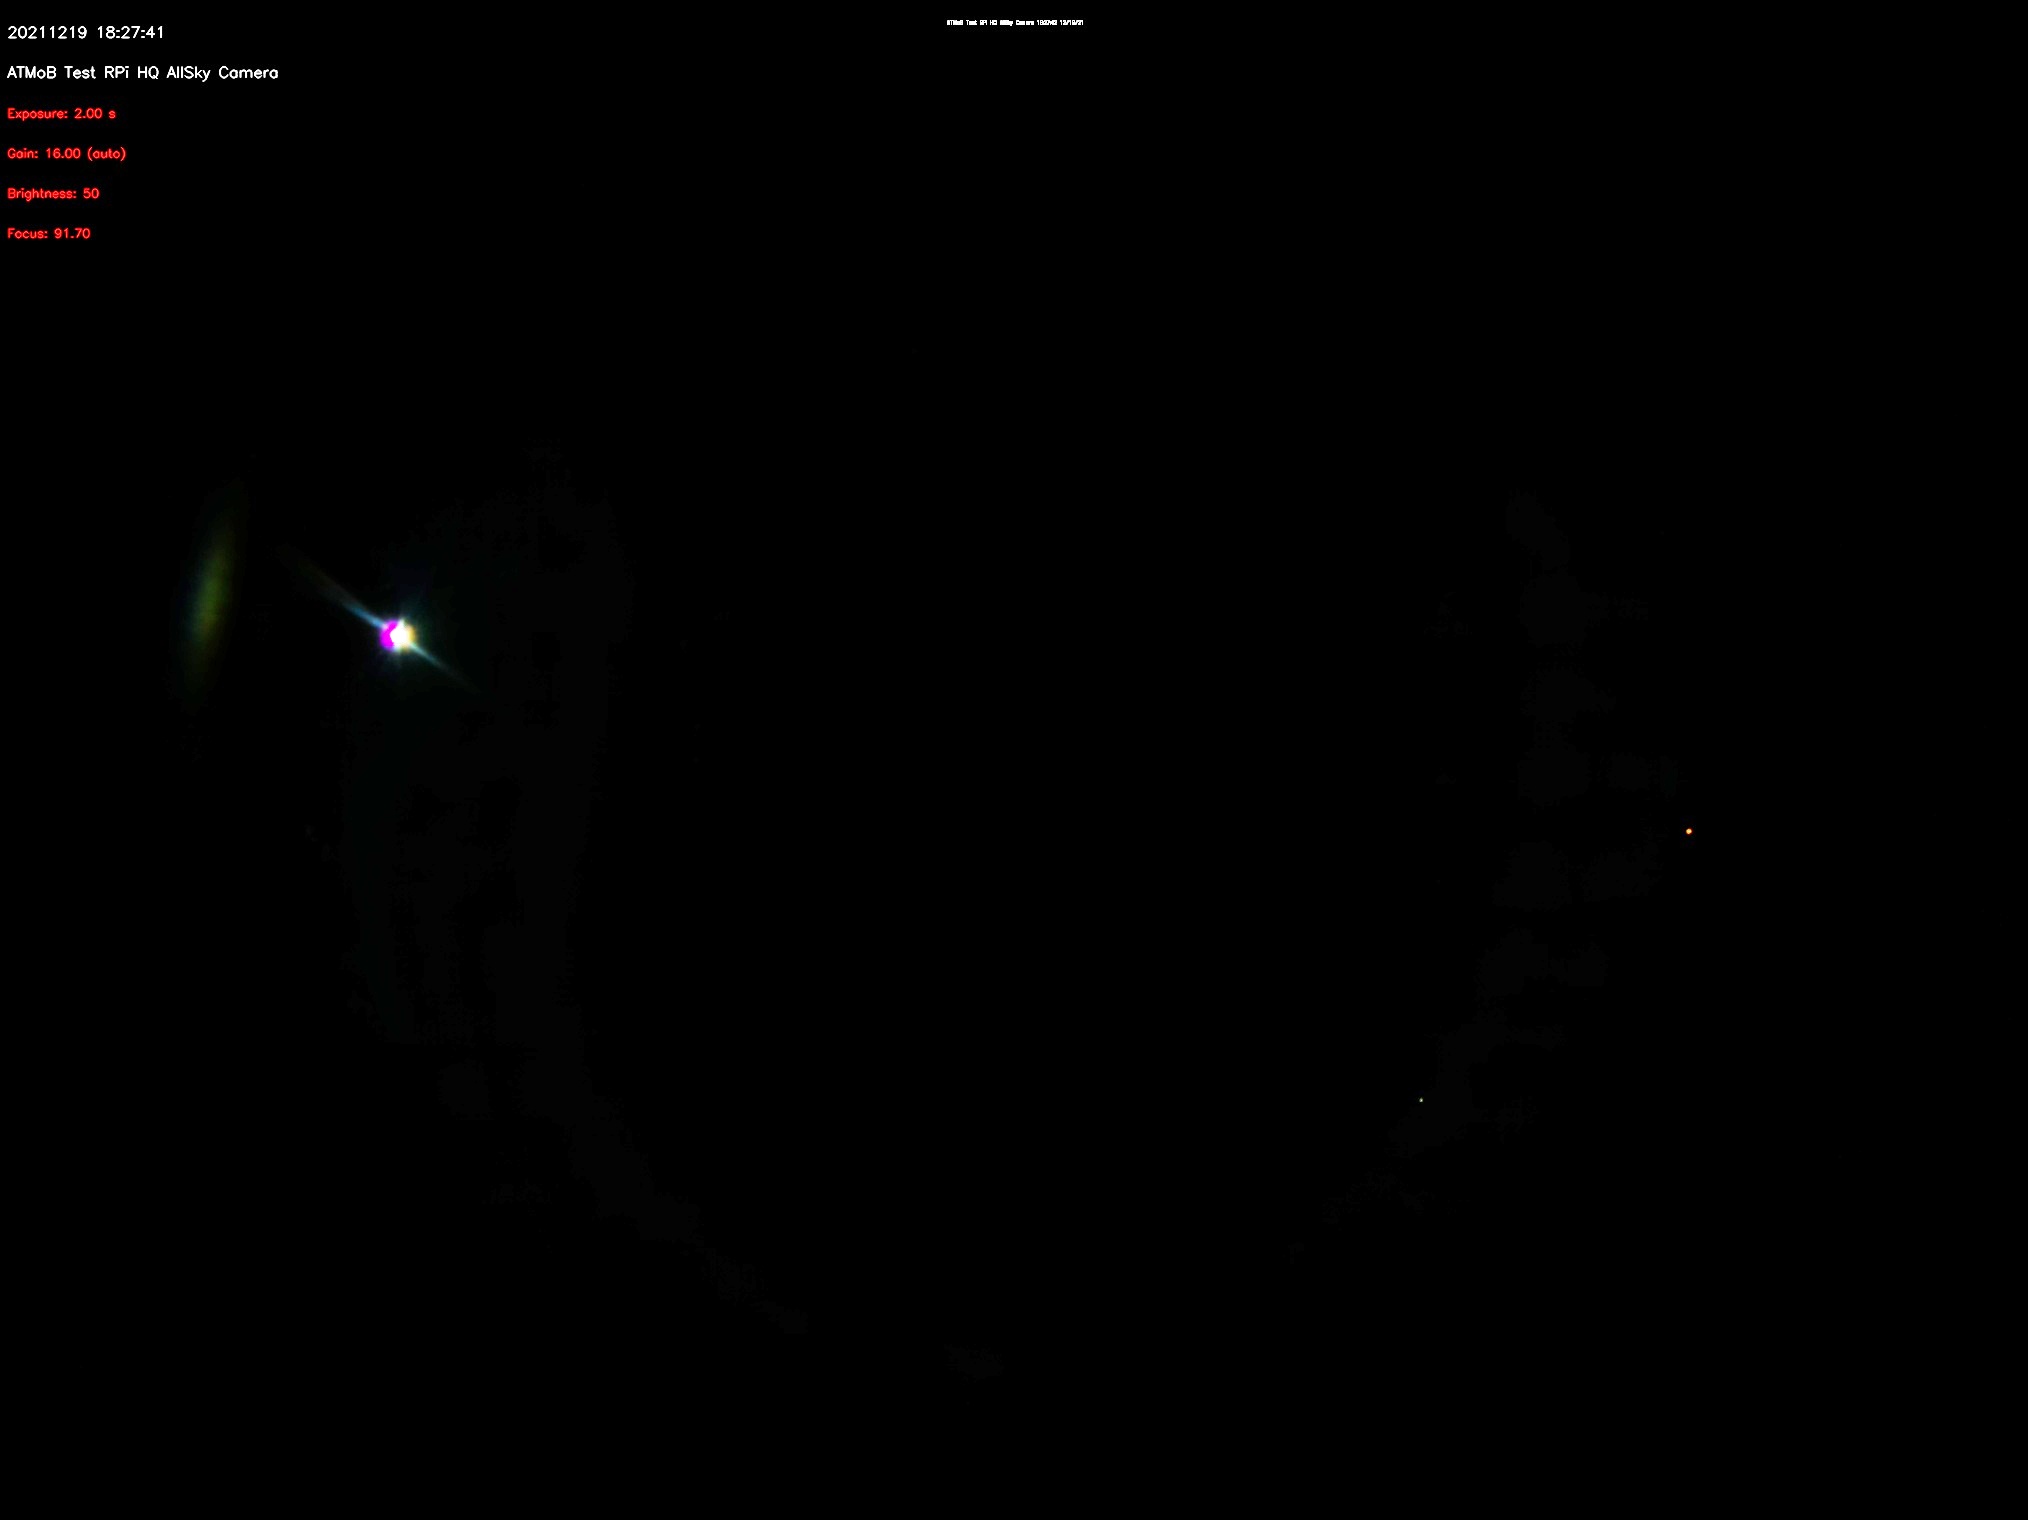
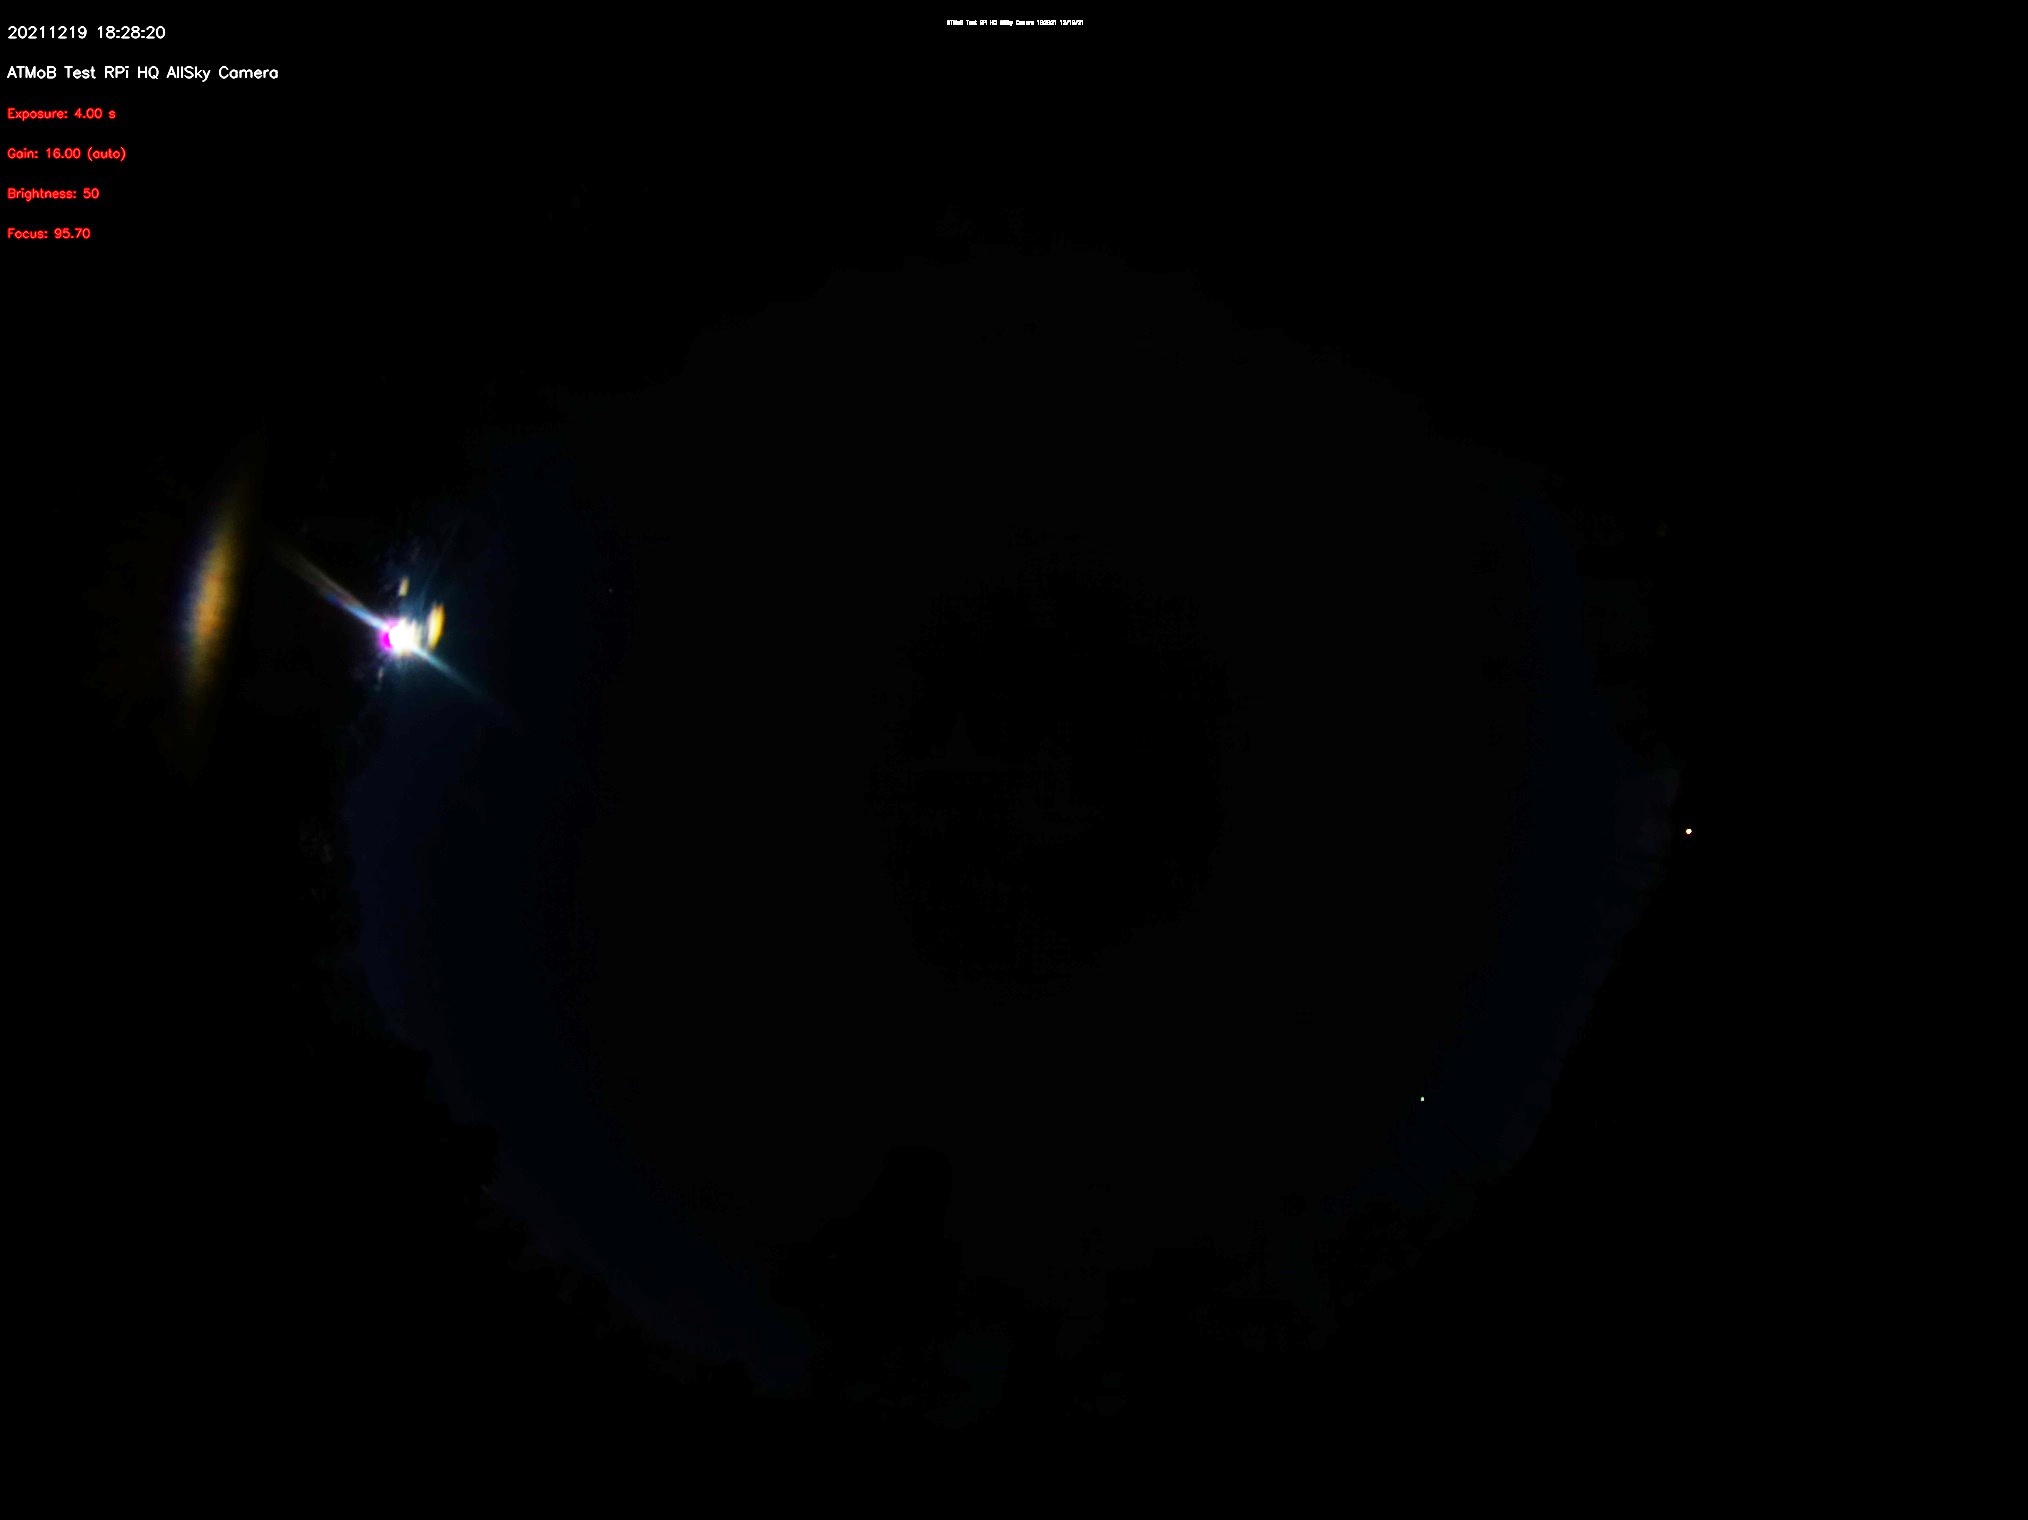
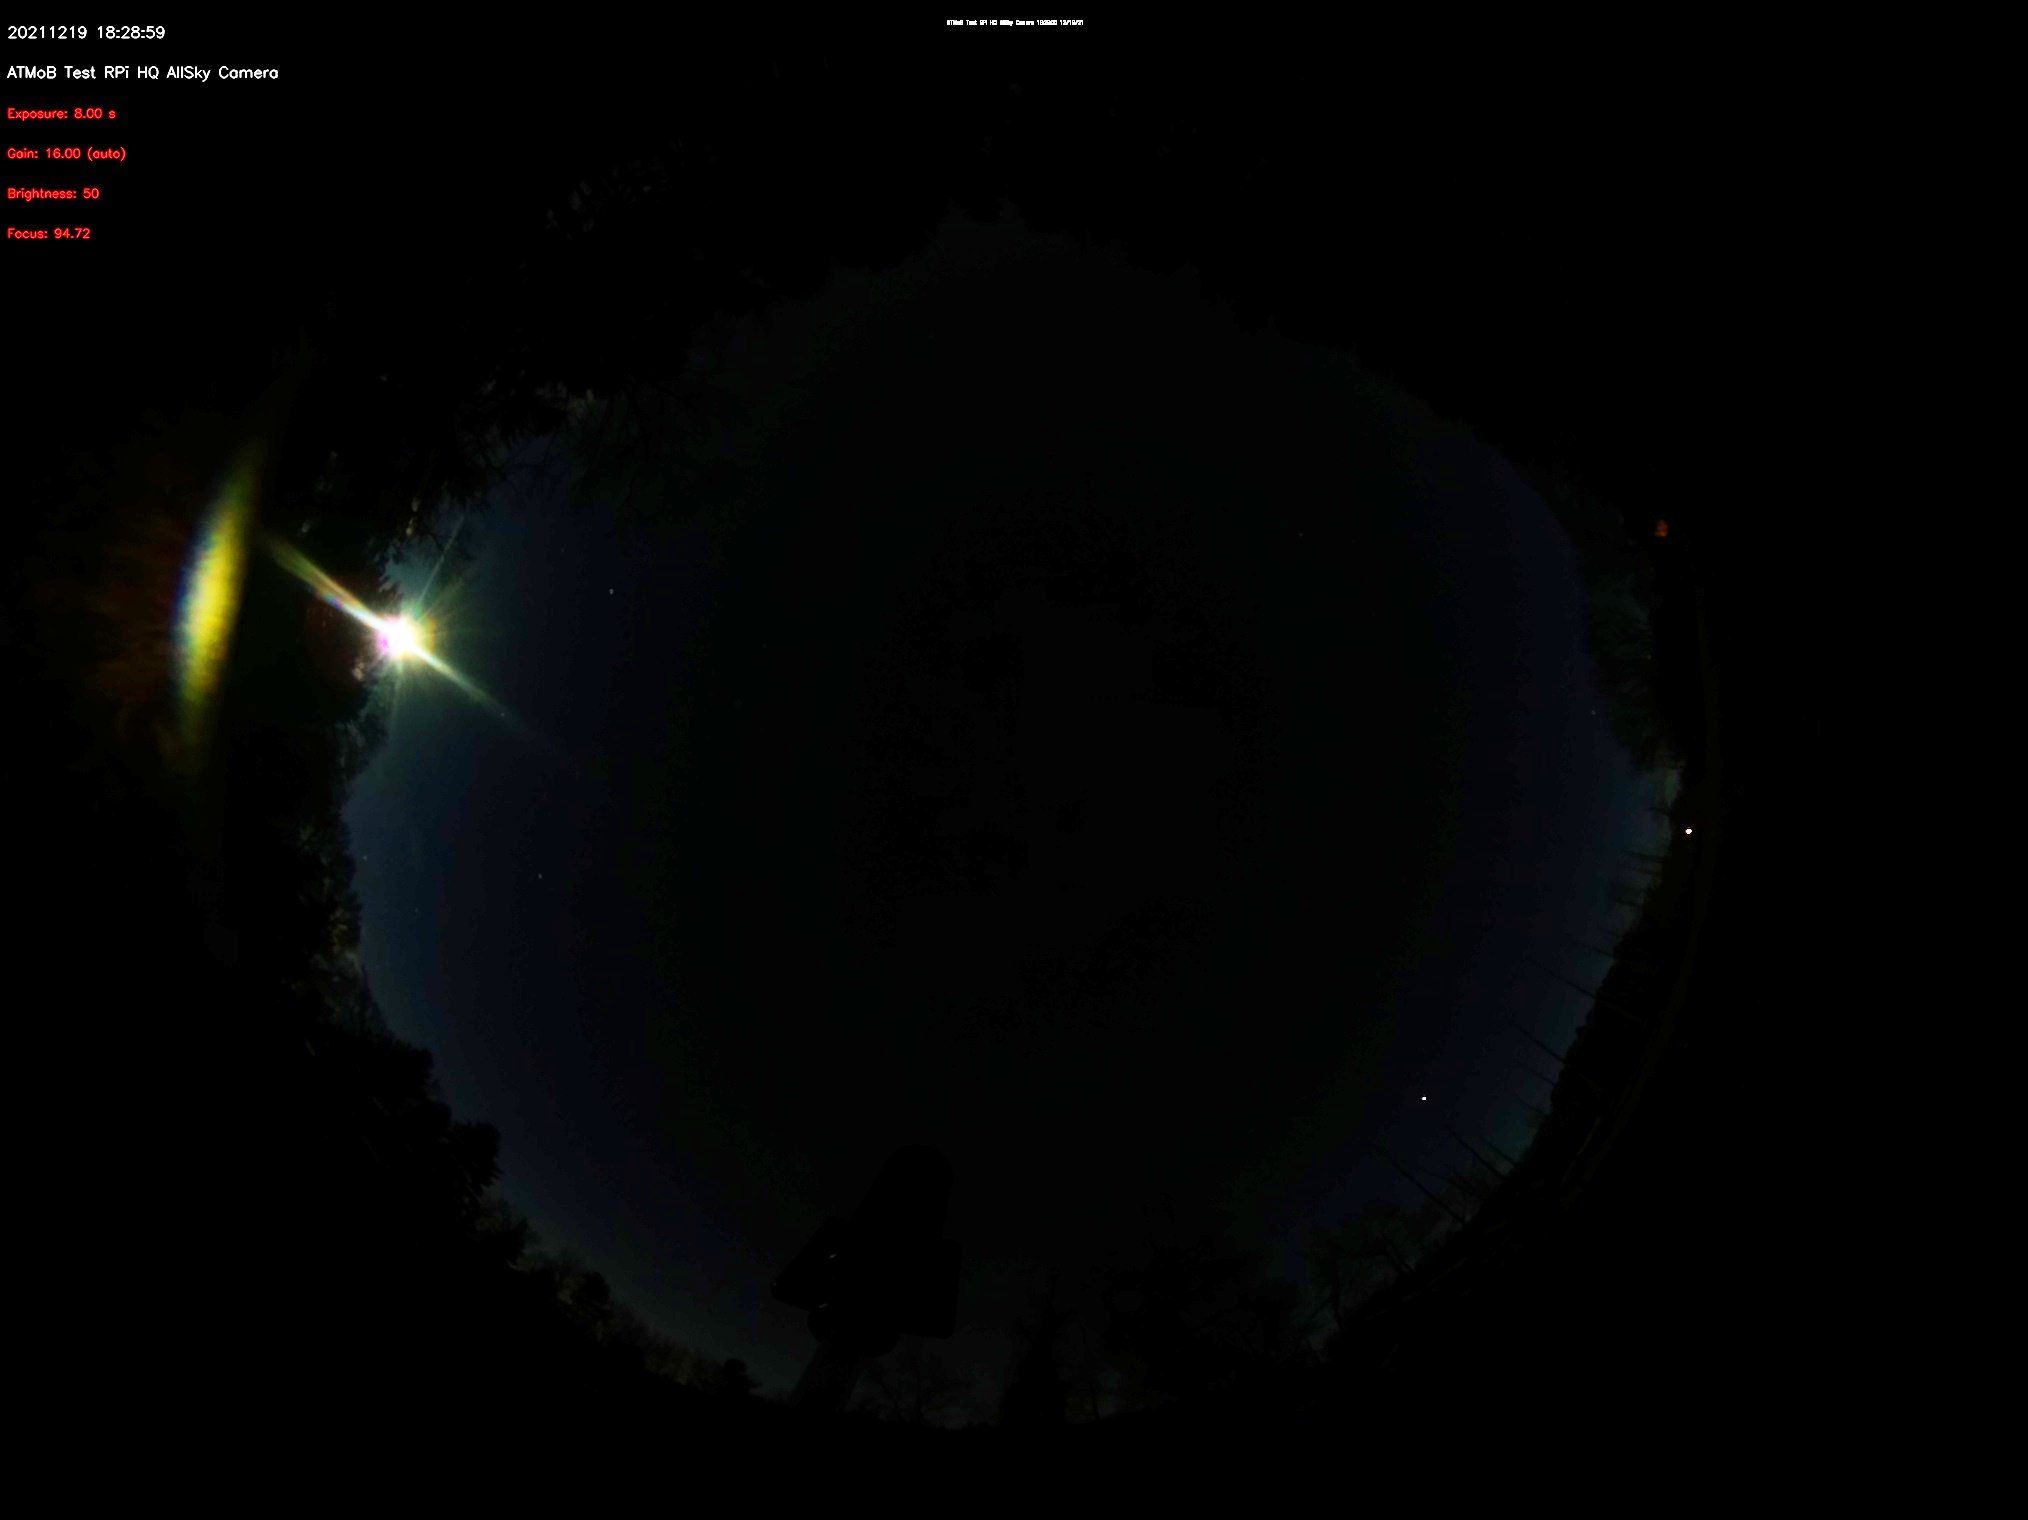
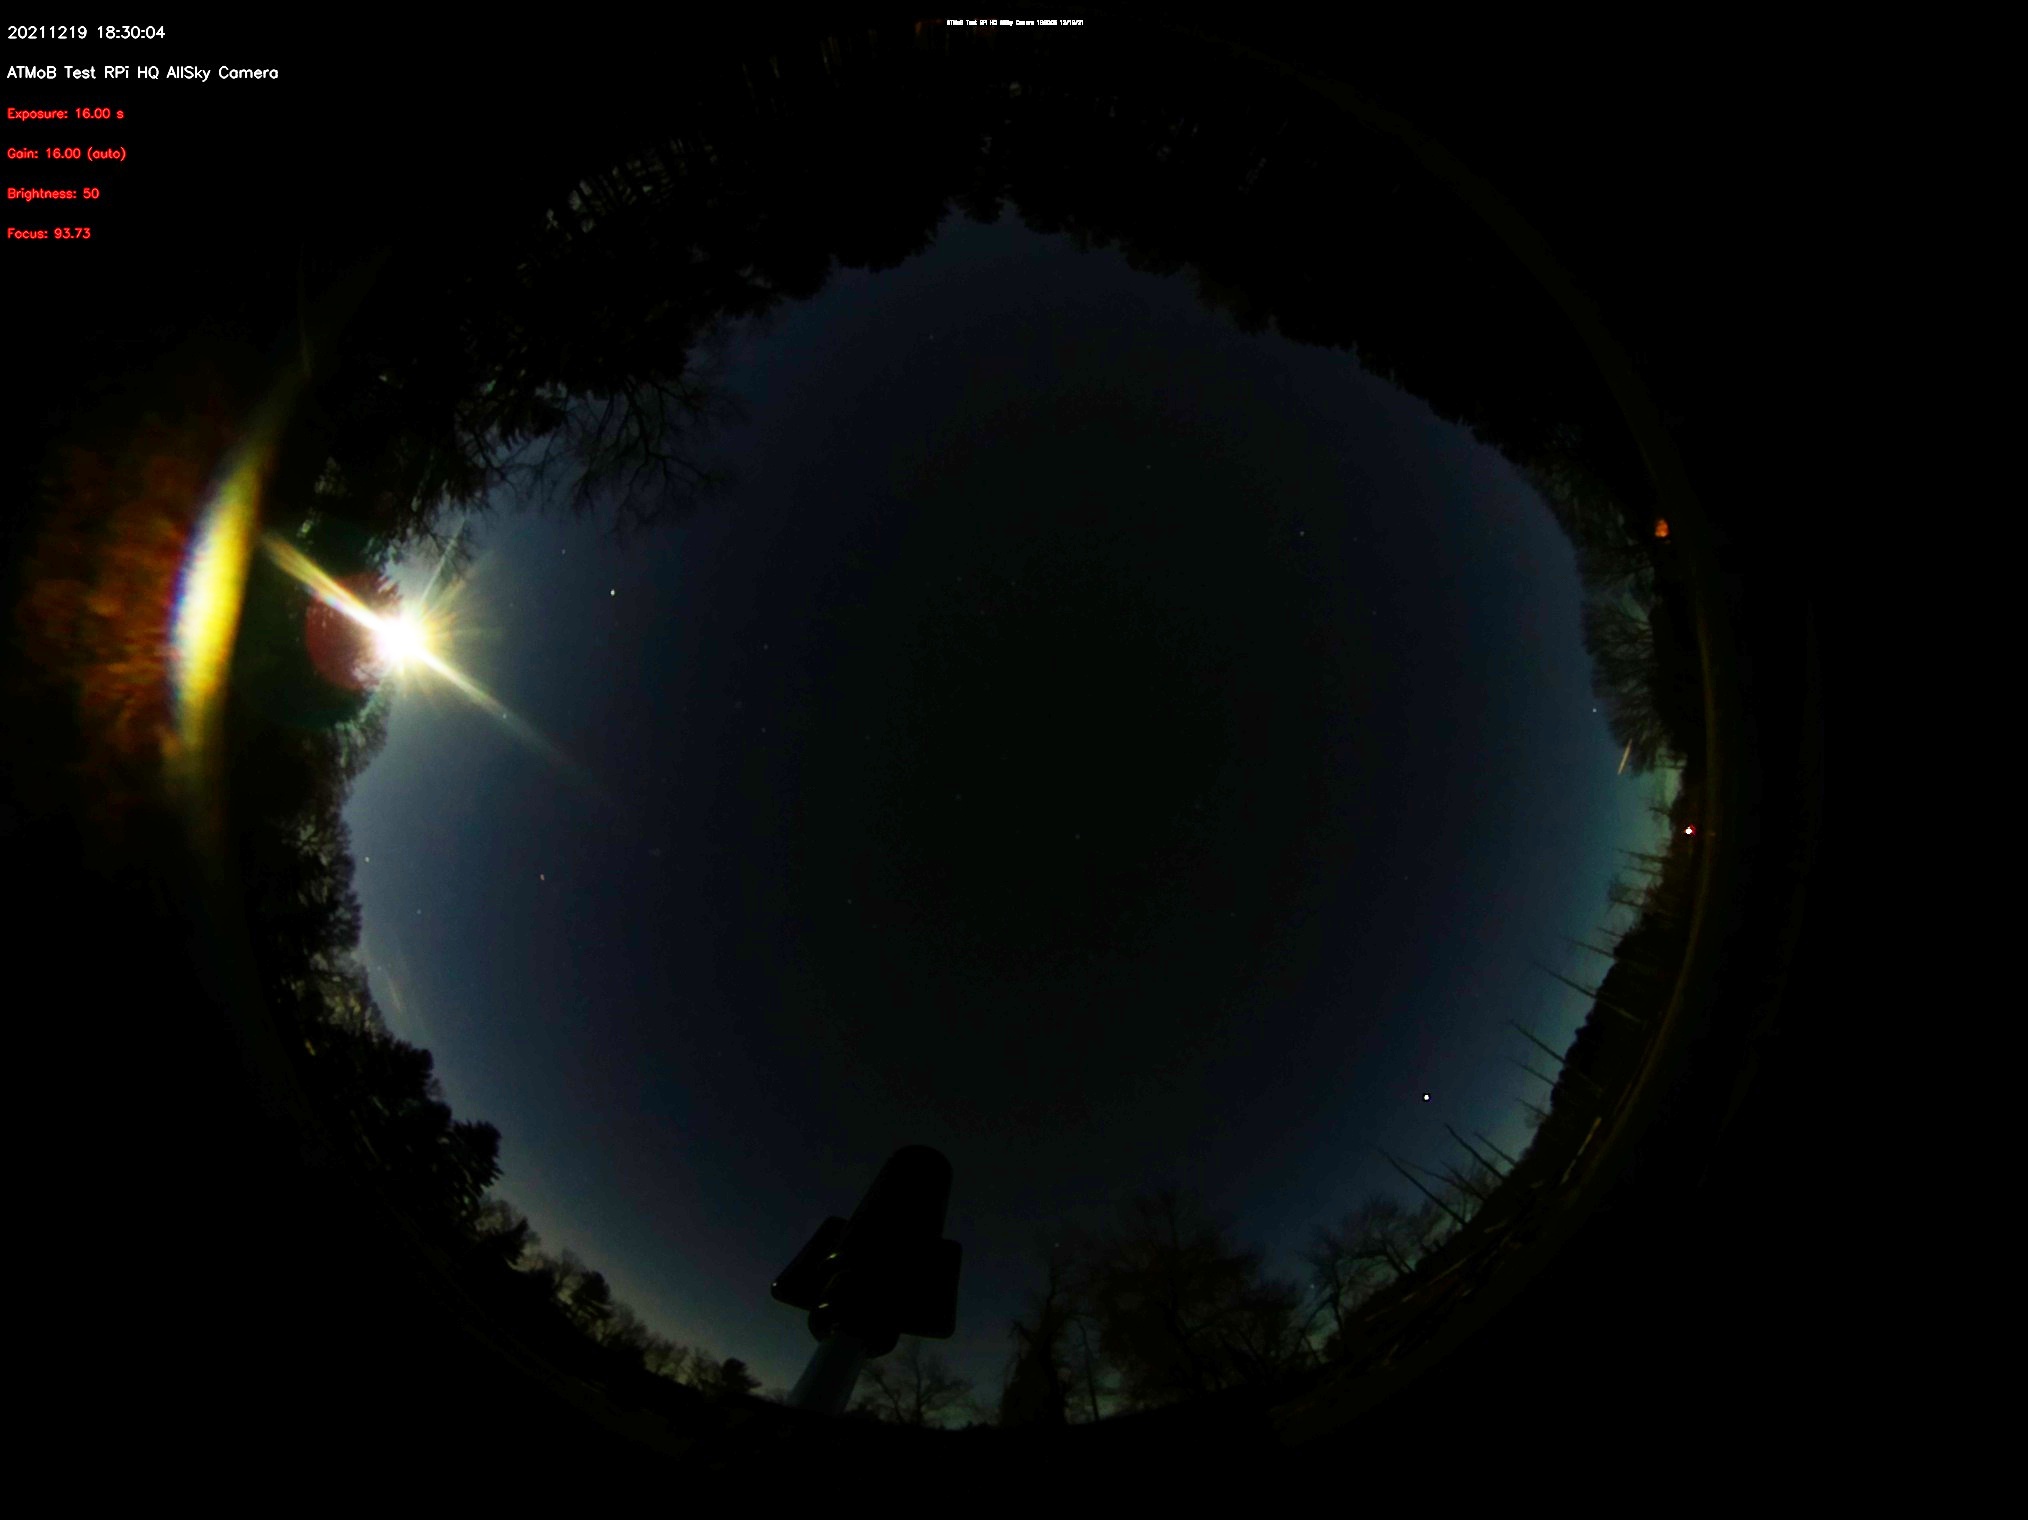
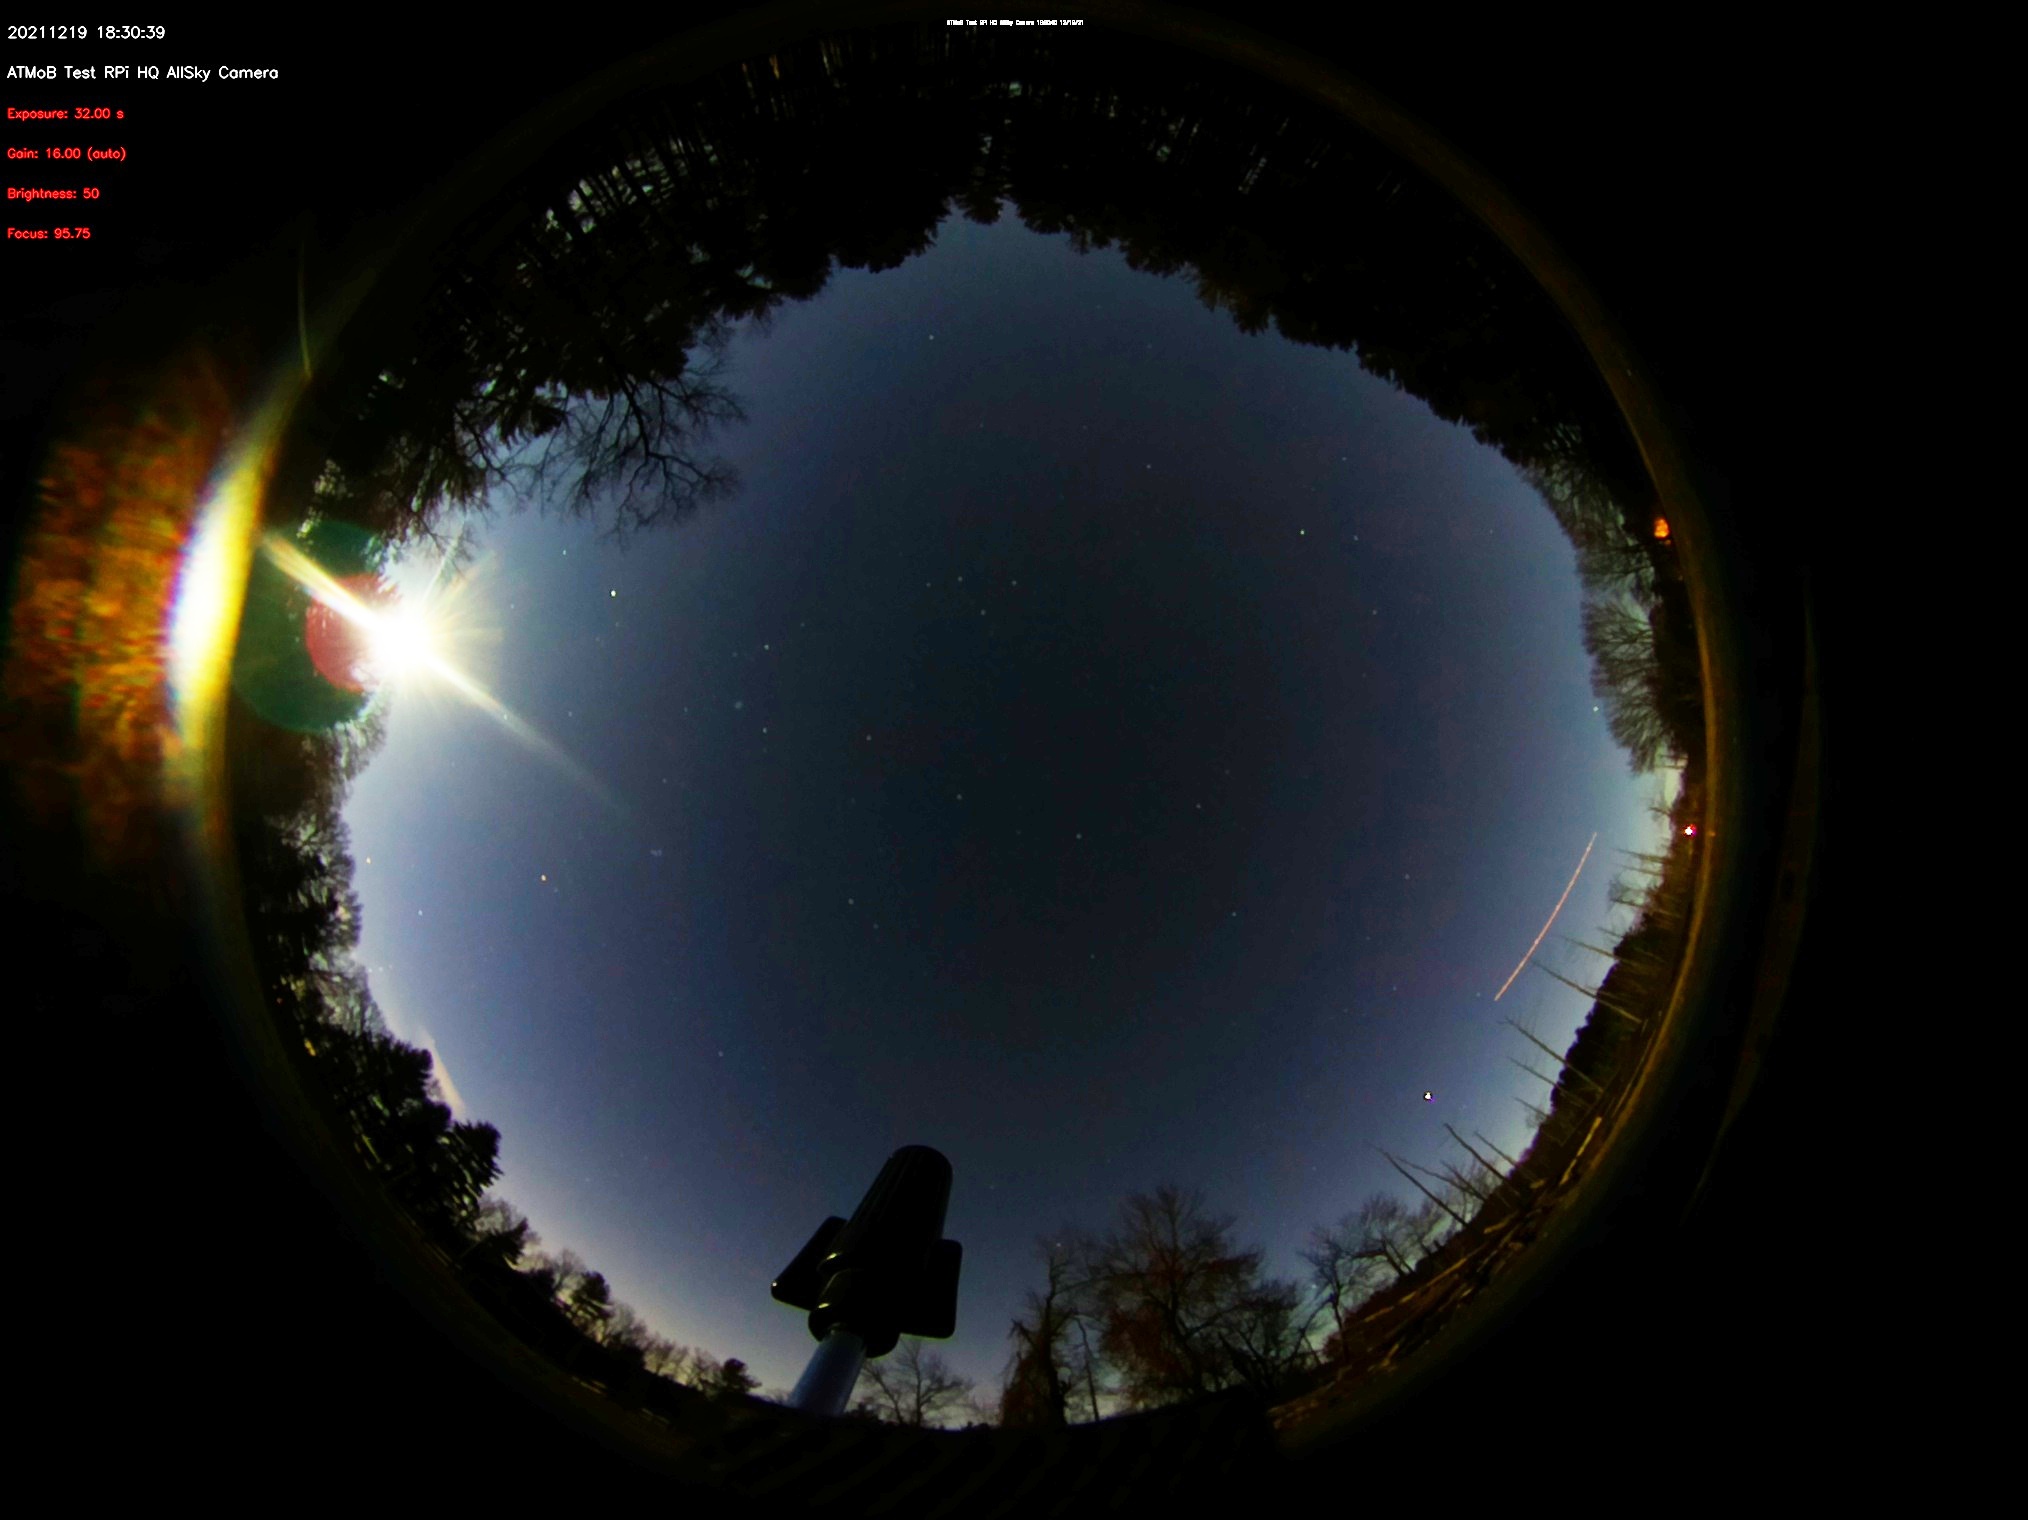
December 19, 2021
Testing of my prototype in the field with a USB battery pack was very successful. Local light pollution conditions at the test site indicate an optimal nighttime shutter speed of between 16s and 32s. I tested both an Arecont Vision MPL1.55 CS-mount lens (which has since been discontinued) and an Arducam 1.56mm M12-mount fisheye lens (Model No: M25156H18). The Arecont is my preference, since it has more aperture; but the M12 lens tested successfully as well. I needed to get a 1mm spacer ring to get the Arecont locked into position at focus.
Don't mind the focus in the table below. I was out in the field and didn't have a good way to check focus.
| Prototype Test Images | 1s Exposure | 2s Exposure | 4s Exposure | 8s Exposure | 16s Exposure | 32s Exposure | 64s Exposure |
|---|---|---|---|---|---|---|---|
| RPi HQ Camera, M12-mount lens, 1x1 binning | JPEG | JPEG | JPEG | JPEG | JPEG | JPEG | |
| RPi HQ Camera, M12-mount lens, 2x2 binning | JPEG | JPEG | JPEG | JPEG | JPEG | JPEG | JPEG |
| RPi HQ Camera, CS-mount lens, 1x1 binning | JPEG | JPEG | JPEG | JPEG | JPEG | JPEG | JPEG |
| RPi HQ Camera, CS-mount lens, 2x2 binning | JPEG | JPEG | JPEG | JPEG | JPEG | JPEG |